Navigate Odoo Accounting
 Log in, to Your Odoo database,
Once on the database, click on the Odoo Accounting App; if you do not have the app installed click on Apps, look for Accounting, and then click on Install. The first thing you will see on you enter the Odoo Accounting App, is a list of shortcuts: https://youtu.be/R5JDePbxcf0, this link will redirect you to a video tutorial for this process.
Click on "Let's Start", located under Company data, once you edited the information, or kept it the same, click on "Apply".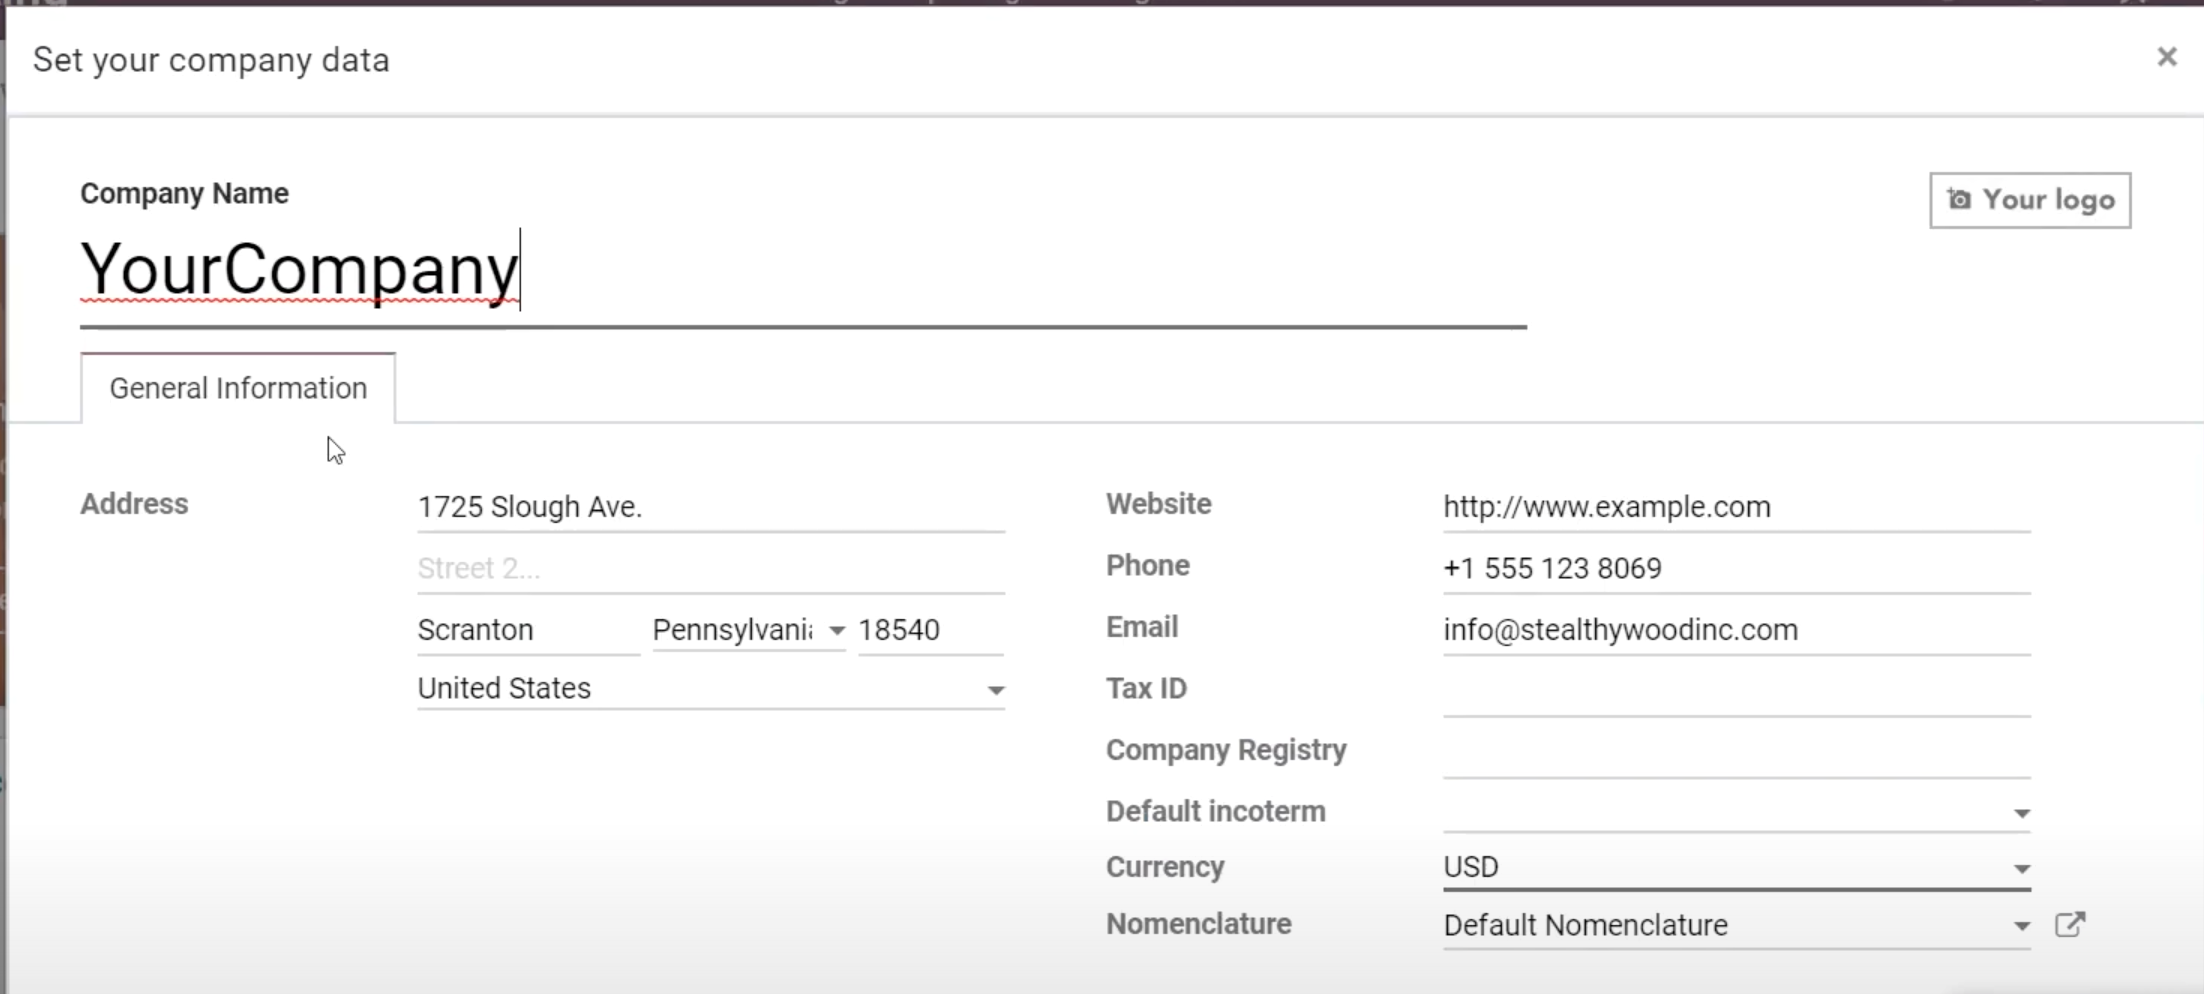
An all done tick will appear beneath the company data.
To Add A Bank, the Bank Account is where you can set up your Bank Information.
The Bank Account will help you synchronize all of your transactions with your bank account.
Click on Add a Bank, beneath Bank Account. A list of Bank names will appear, if you want to search for your bank, click on "searcher a bank institution", and write down the name of your bank. In addition, if you can not find your bank, click on "Create it", there you can add your bank information.
 Once you find your bank, click on it. You will see the "Provider" and Online identifier.
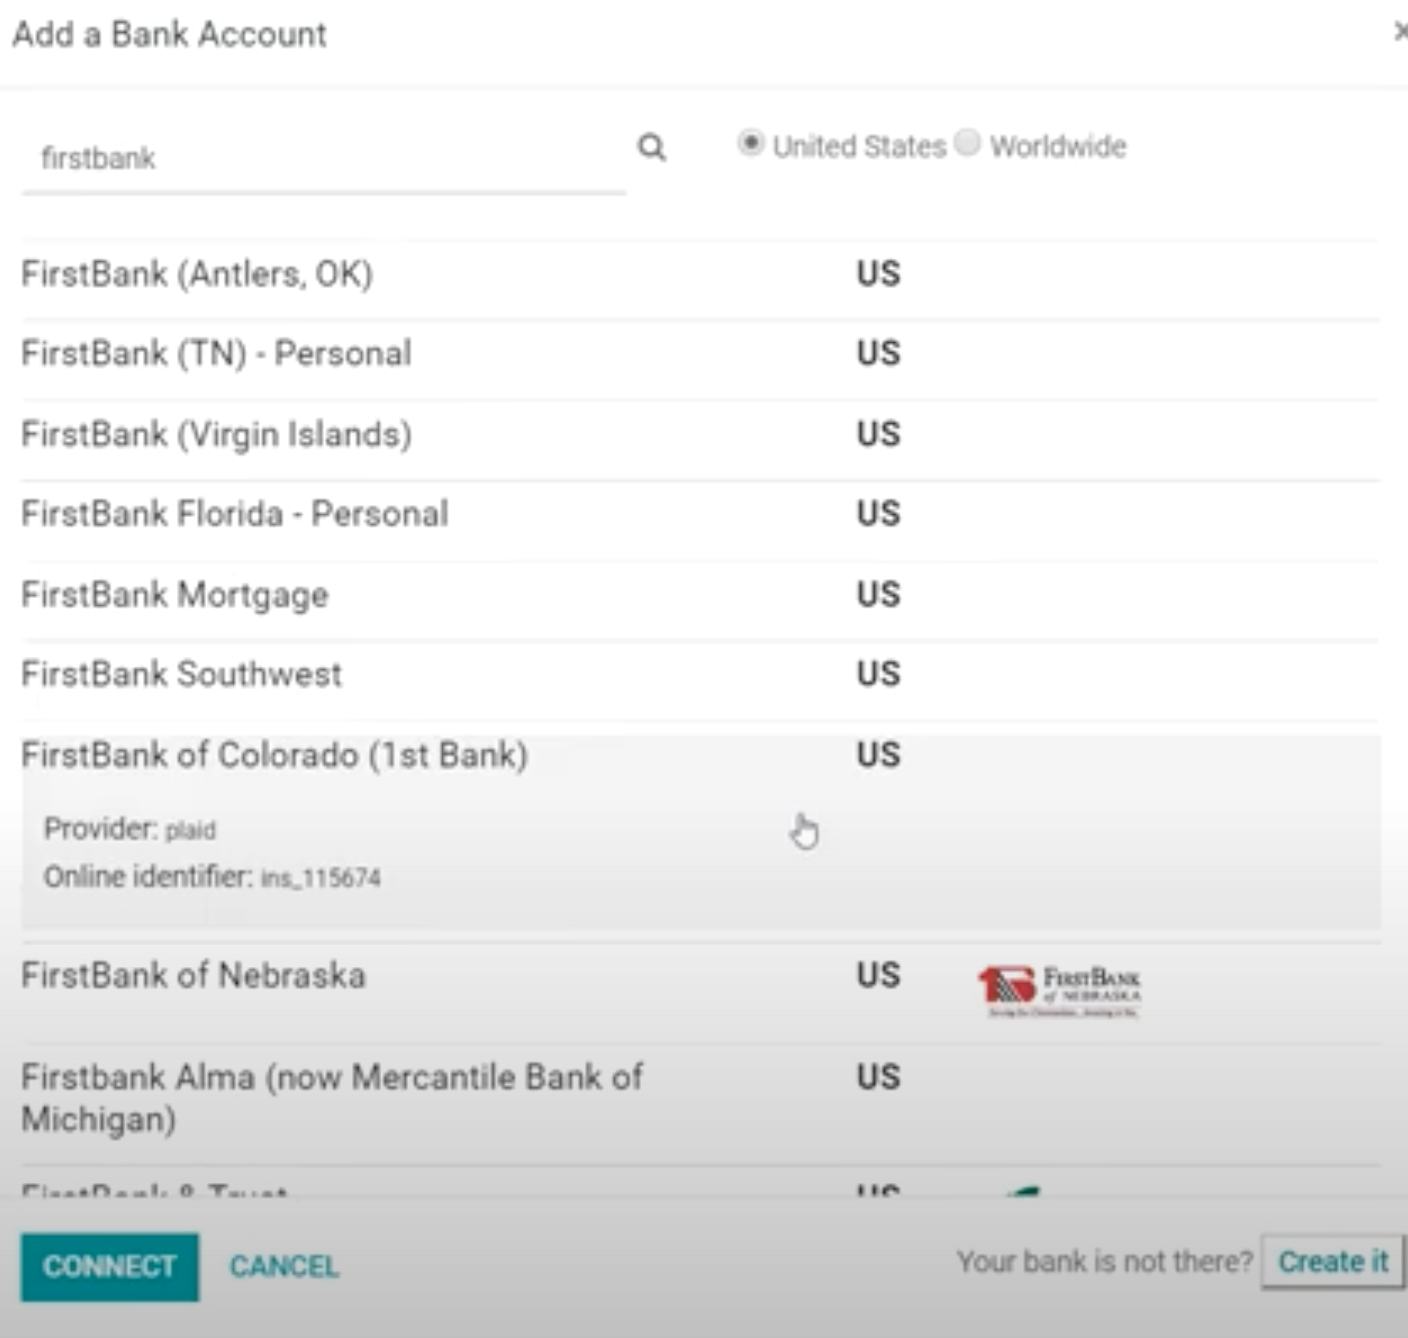
Finally, click on "Connect".
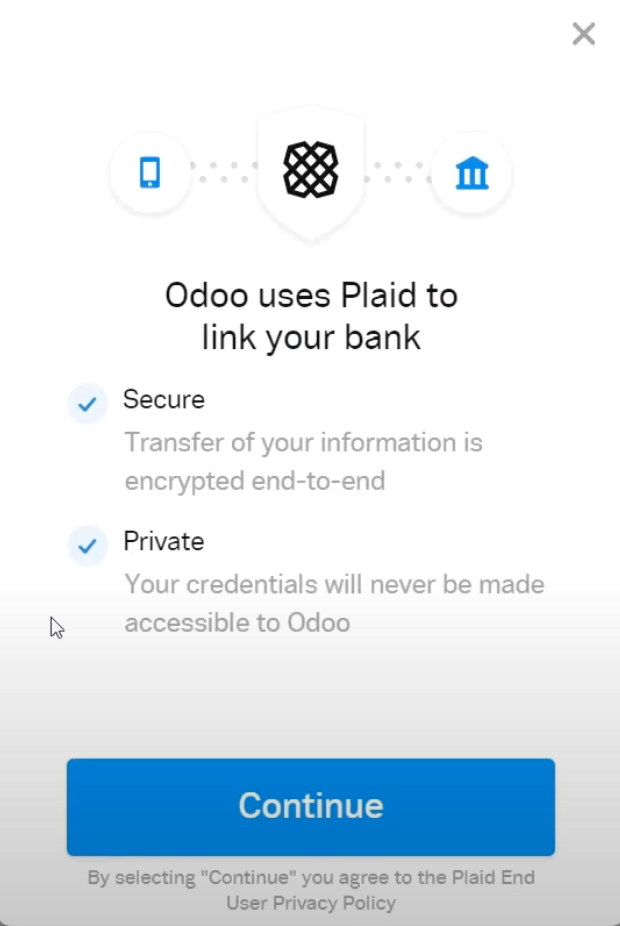
Note: If the Provider is Plaid, you will receive a Pop-up payment. Where, the buyer will need to submit the required information, in order for the payment to go through.
In order to edit the "Fiscal Year", click on the small box beneath it.
The Fiscal year will help you generate your yearly reports. The date is set by default, on the beginning of January of the year, and the last day of December, of that year.
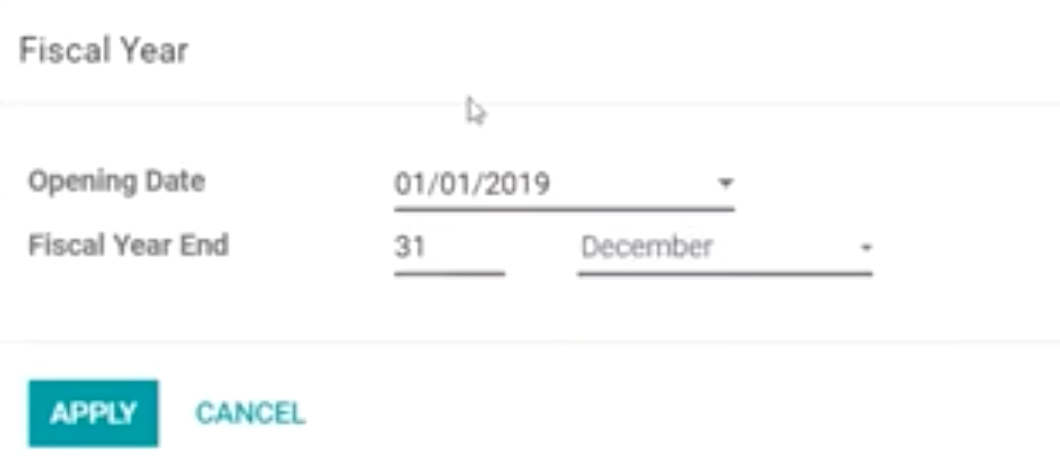
You can change it, according to your company's fiscal year, just by clicking on the dates, and then click on "Apply".
Chart of Accounts. You can access the Chart of Accounts by either clicking on Review, below it, or by clicking on Configuration, Chart of Accounts. 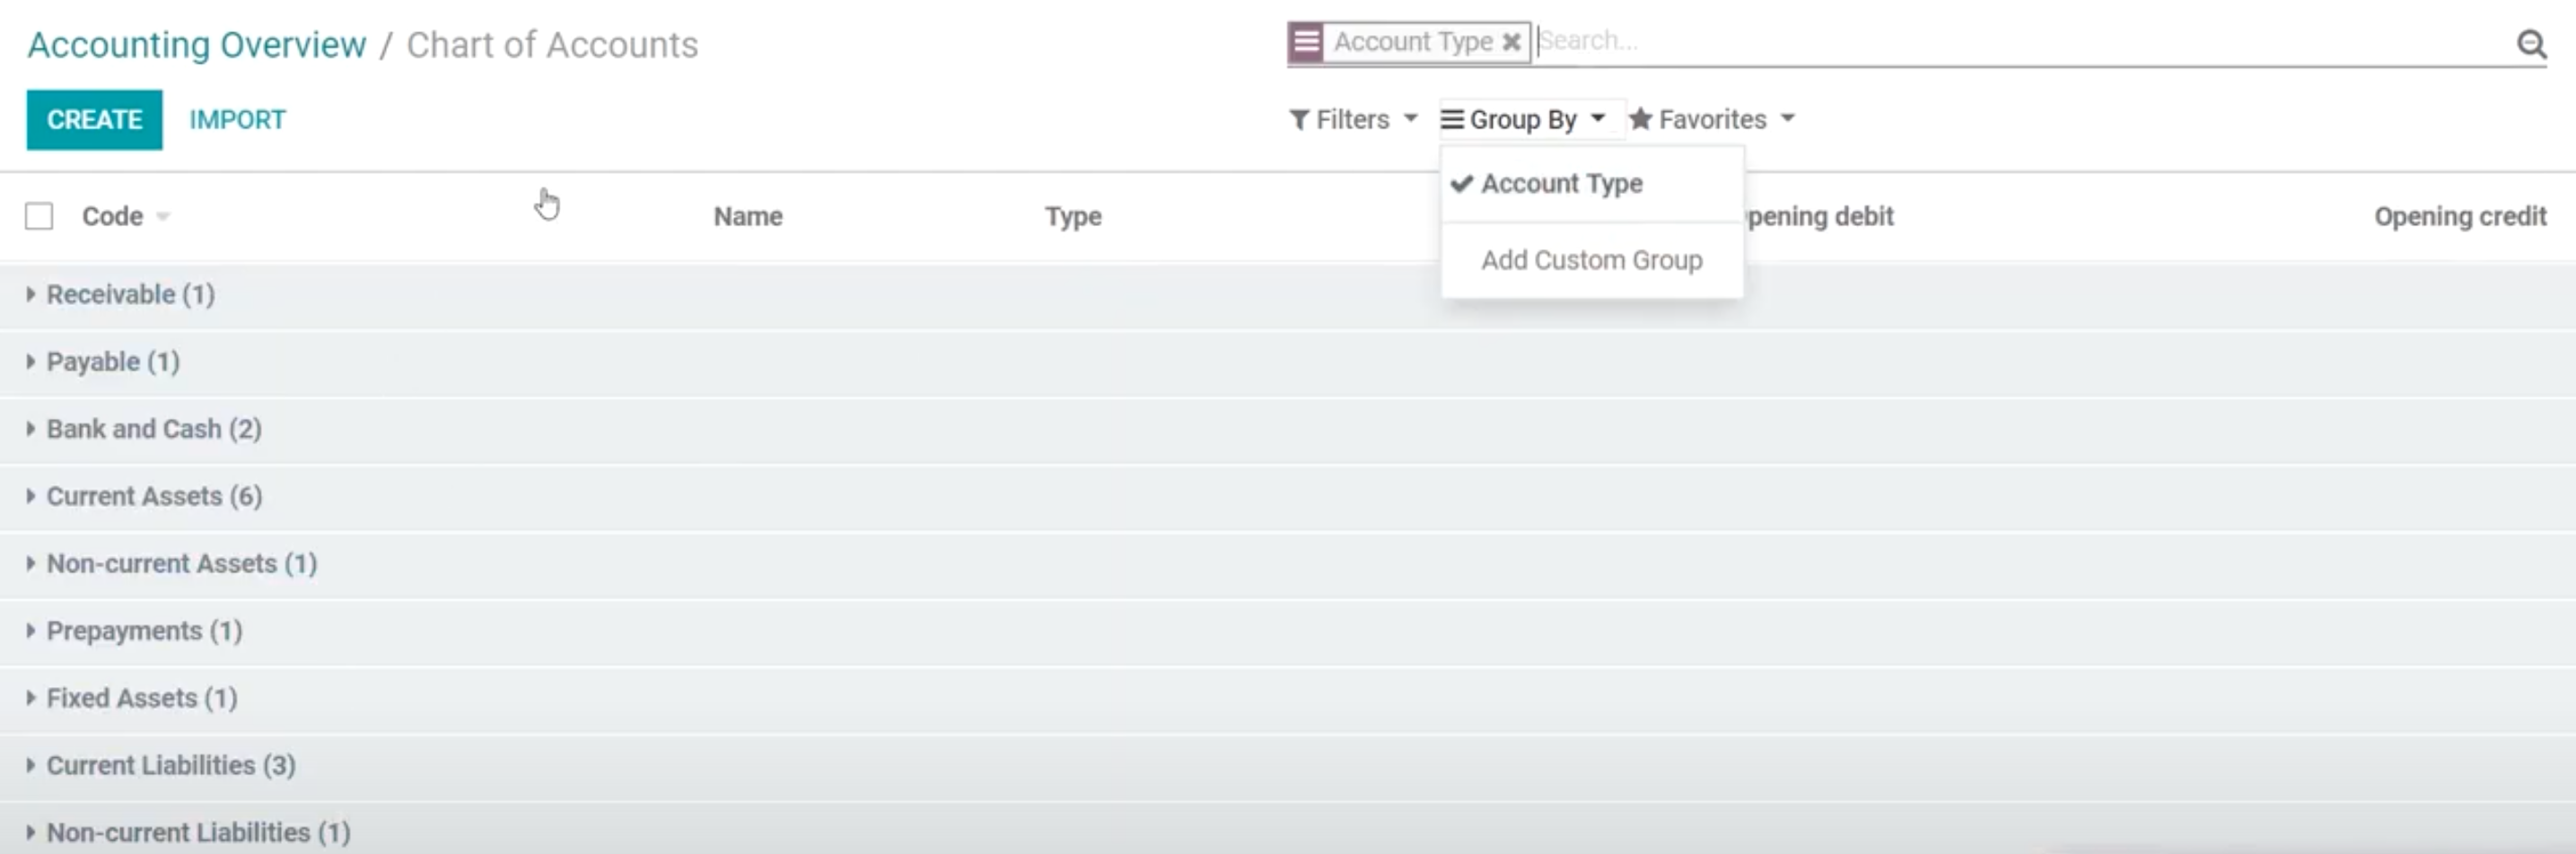
Once you have accessed the Chart of Accounts, you will be able to organize the data, by clicking on Group By, Account Type. In addition, all of the account information, data, have been, by default, defined according to your company's country.
Note: Every country has specific rules when it comes to paying taxes, salaries, and expenses. Therefore, once you have created your Odoo Account, and added the location of your business operation, any accounting data added, will be calculated according to that country's rules and regulations.
You can close the Shortcut list located at the top in orange. Once you closed it, you can create additional shortcuts, by clicking on the three dots, located on the top right corner of the boxes below
Create a new Invoice
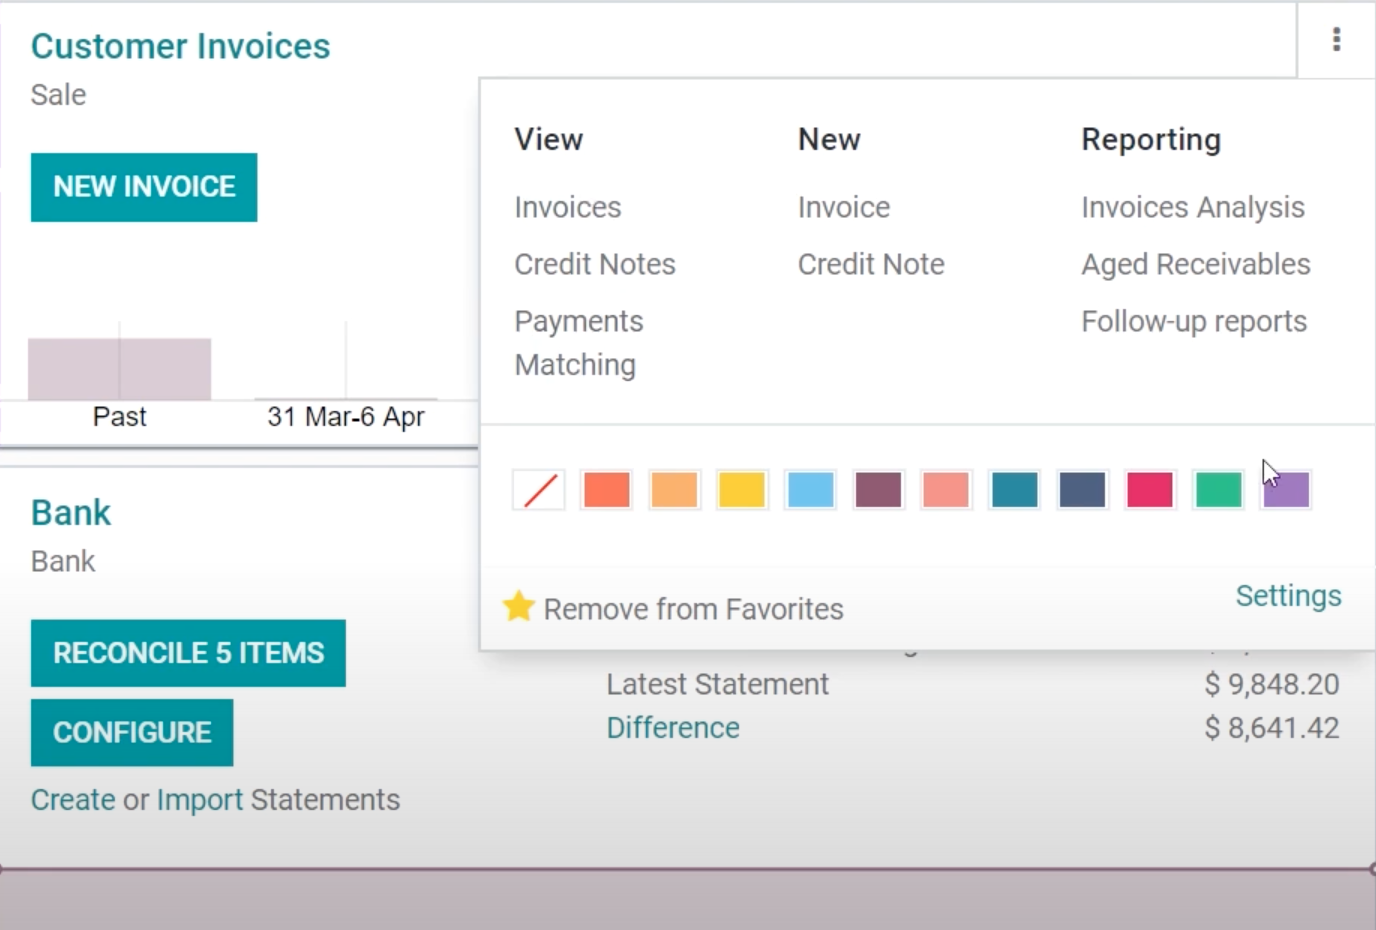 You can create a new Invoice, by clicking on "Customers", "Invoices". Or you can click on "New Invoices", Located at the bottom left of the Customer Invoice Box.
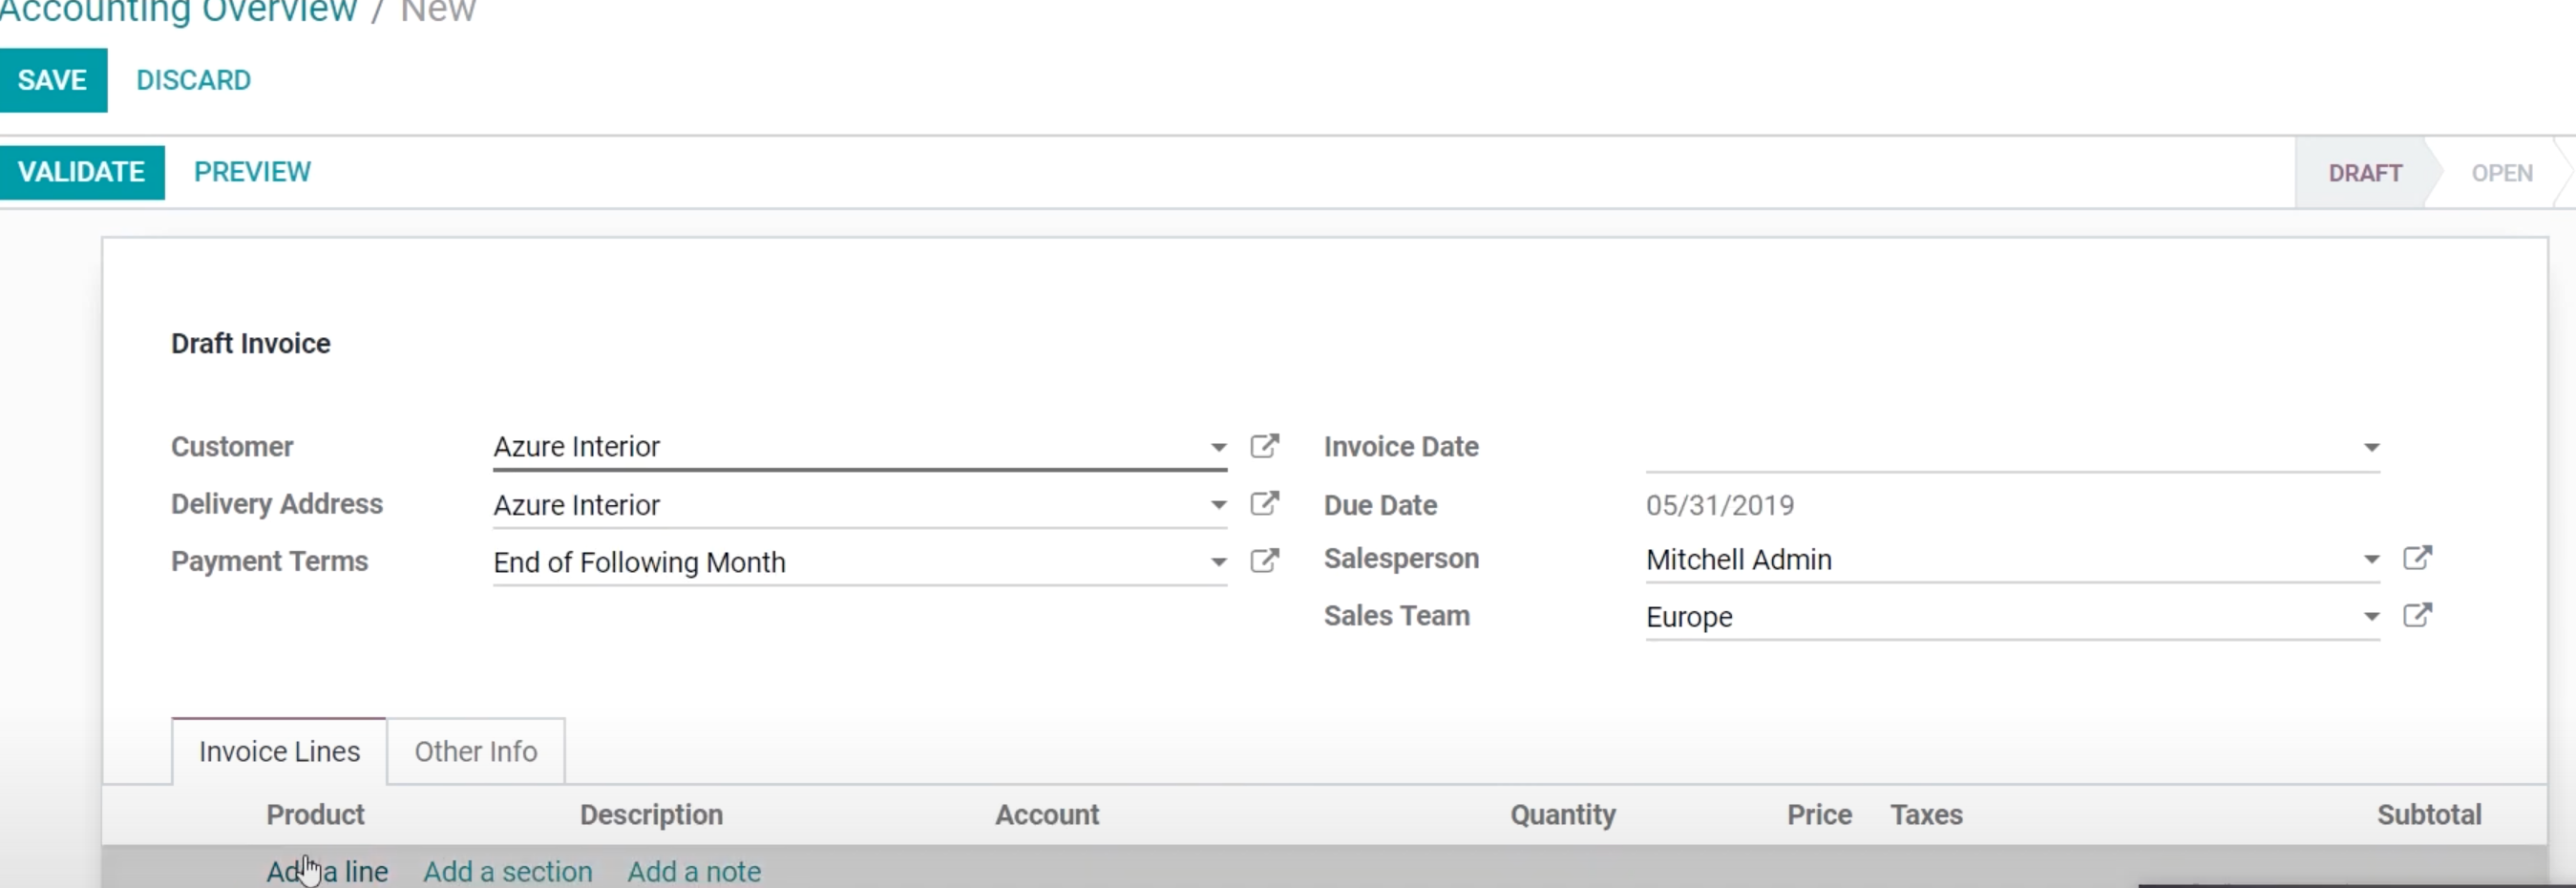
Once you have filled in, all the required information, click on Validate, Register Payment, and then Validate.
Scroll down a little bit, you will see the invoice has been uploaded. In addition, you will be able to see if the payment was completed or not.
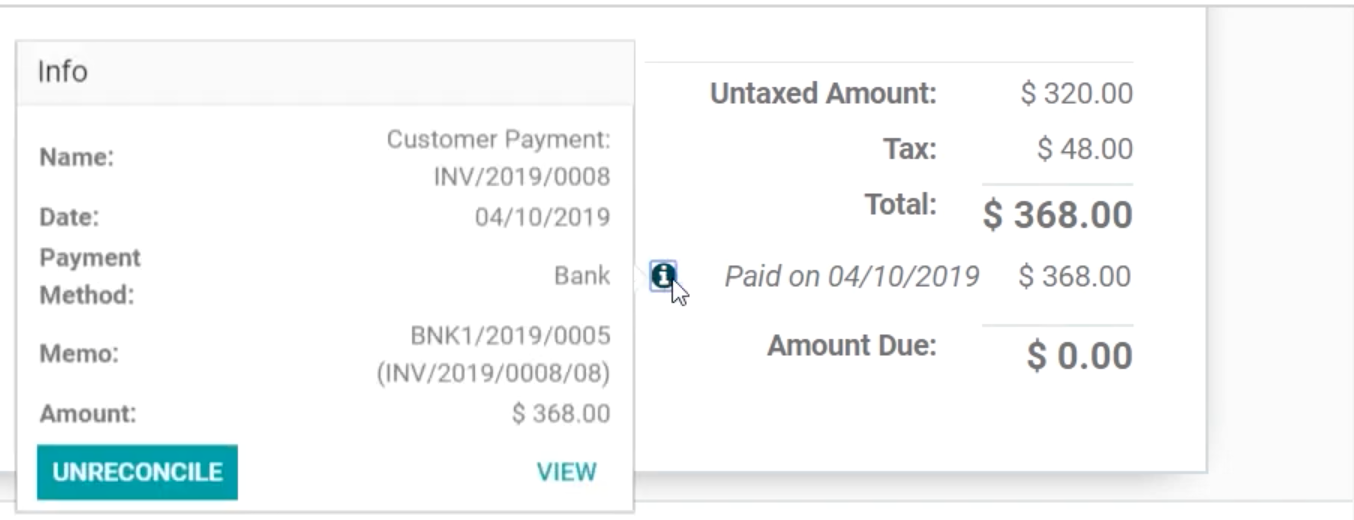
For additional information, related to the payment, click on the information located in a small "i" next to the payment.
 Journal Entry
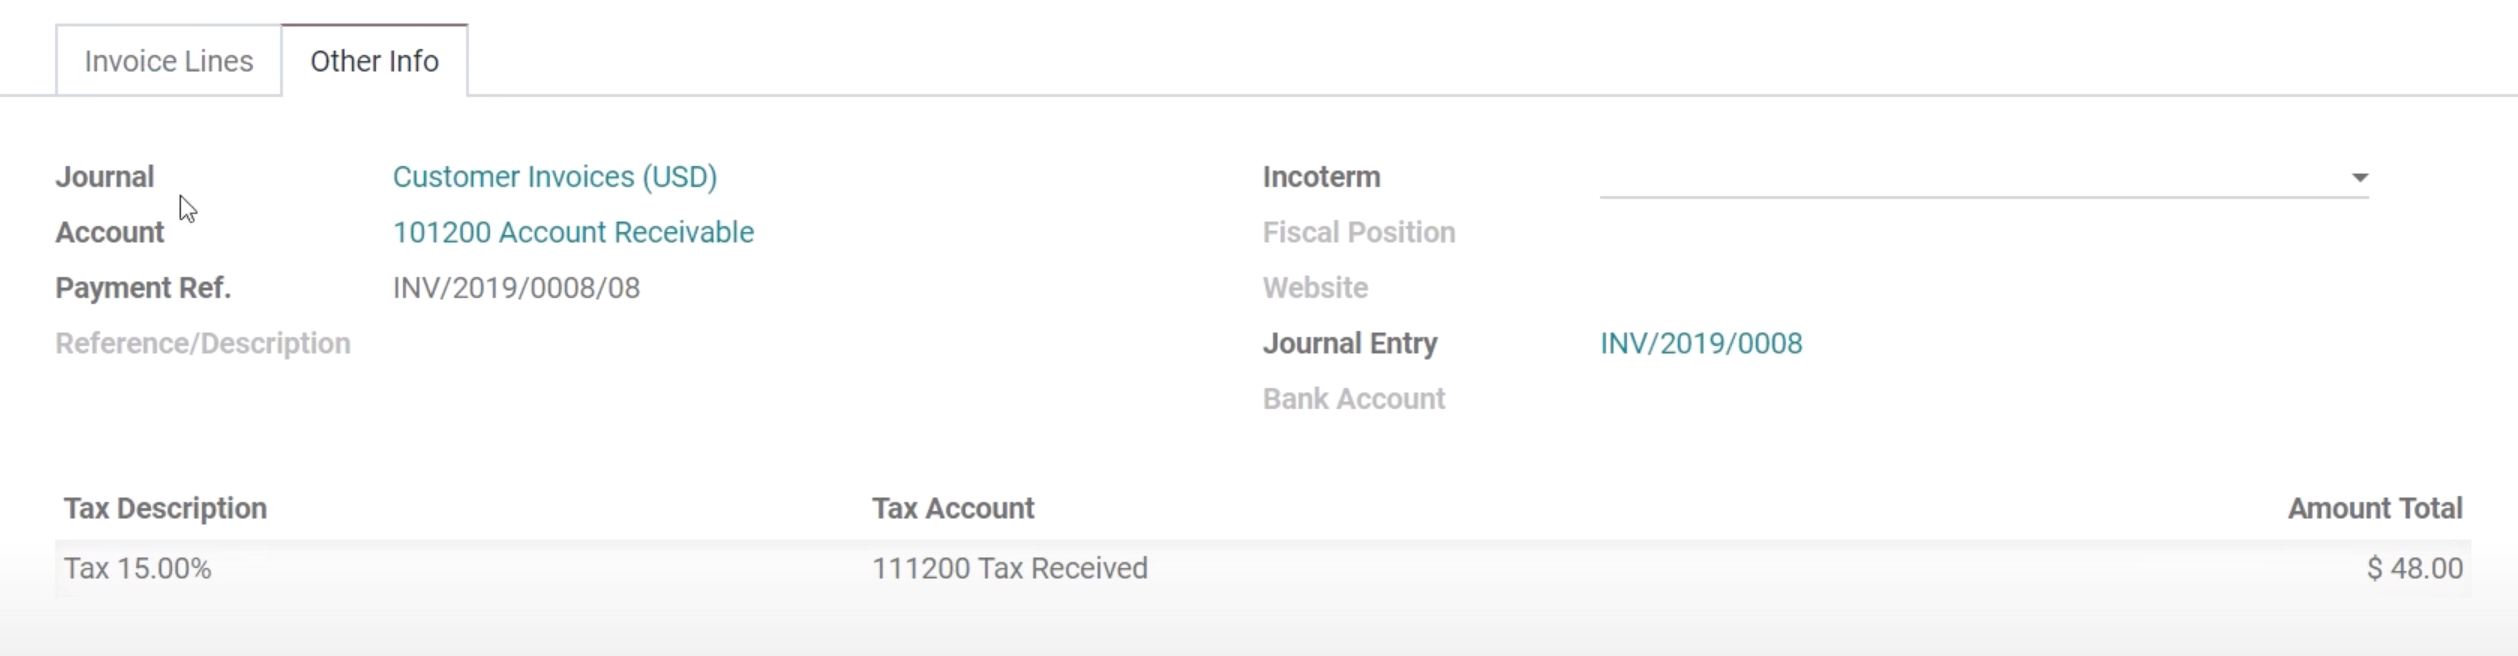
You can access the Journal Entry, by clicking on "Other Info", located right next to the "Invoice Lines".
Once you have accessed the Journal Entry. You will see a line with the Titles, Debit, Credit, Taxes applied, and Due Date.
Everything should be balanced.
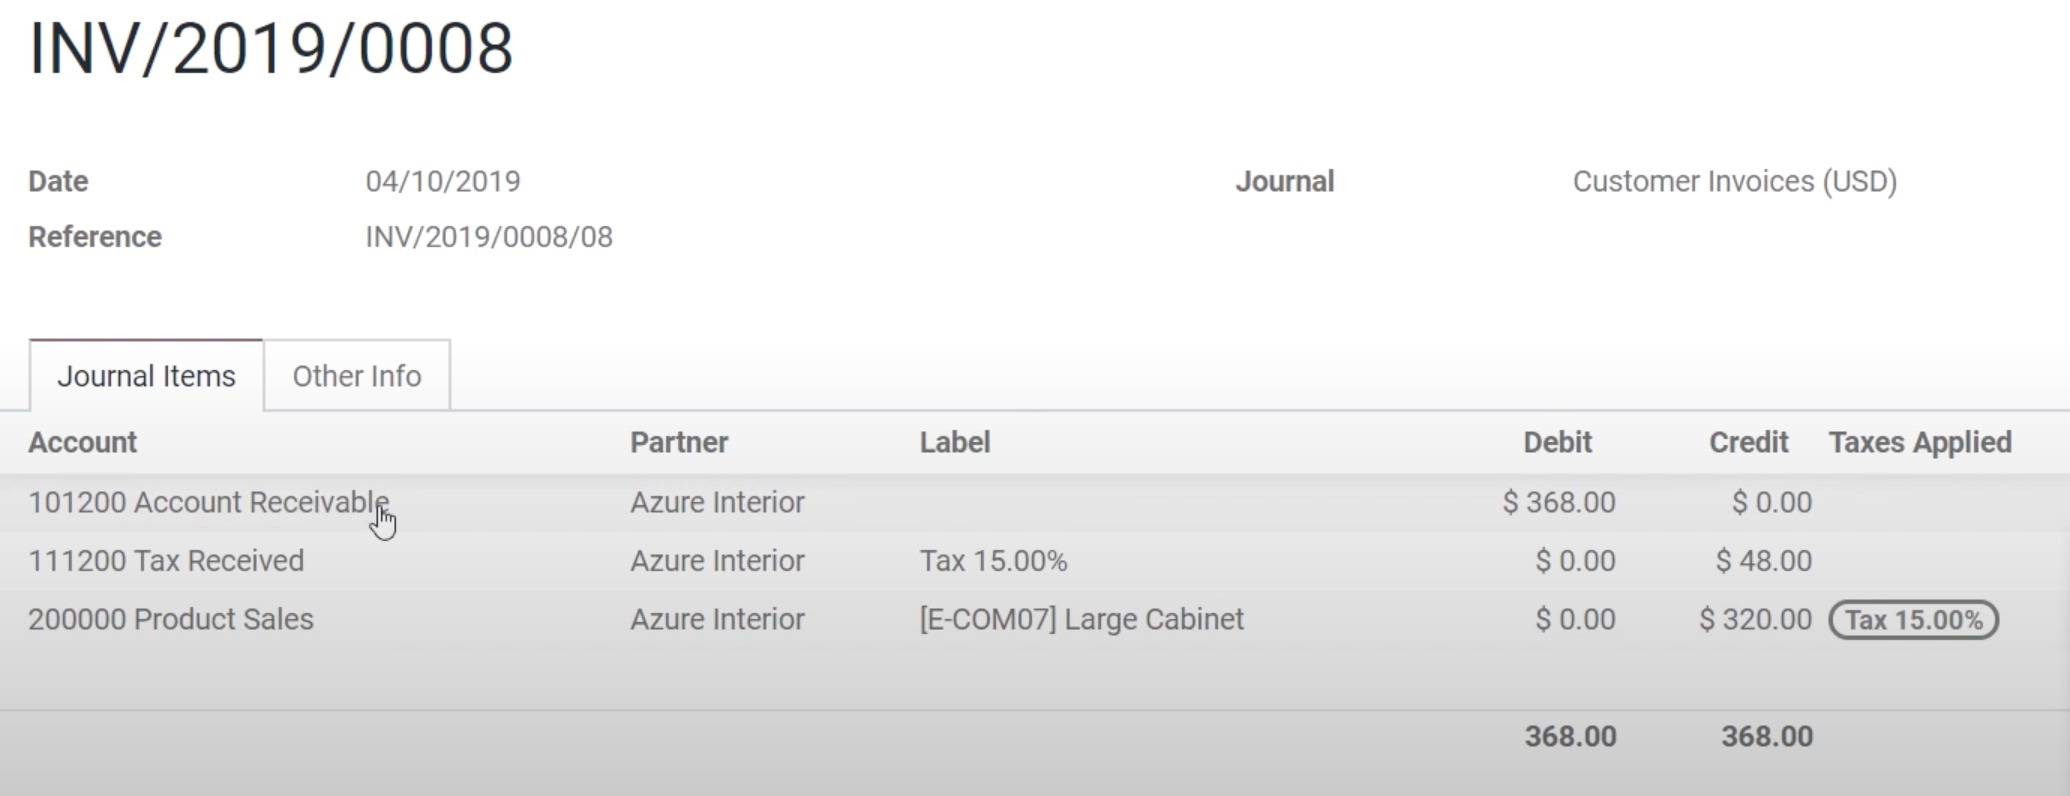 To check on all your current data related to your Journal Entry, and if you want to manually add data.
Go To Accounting, Journal Entries.
Some customers have a slow accounting process, or they might have misplaced their invoices. Therefore, it will take time for them to pay you back. With Odoo accounting, you will be able to schedule a Payment Follow-up on unpaid invoices.
Step 1: Make sure your payment terms have been step-up correctly, as mentioned in the beginning,
Step 2: Click on the unpaid invoices, located in the first box, where you can create a New Invoice.
Step 3: Click on any unpaid invoice
Step 4: Click on Action, Send and Print, A pop-up will appear where you can edit your Email to be sent to the required recipient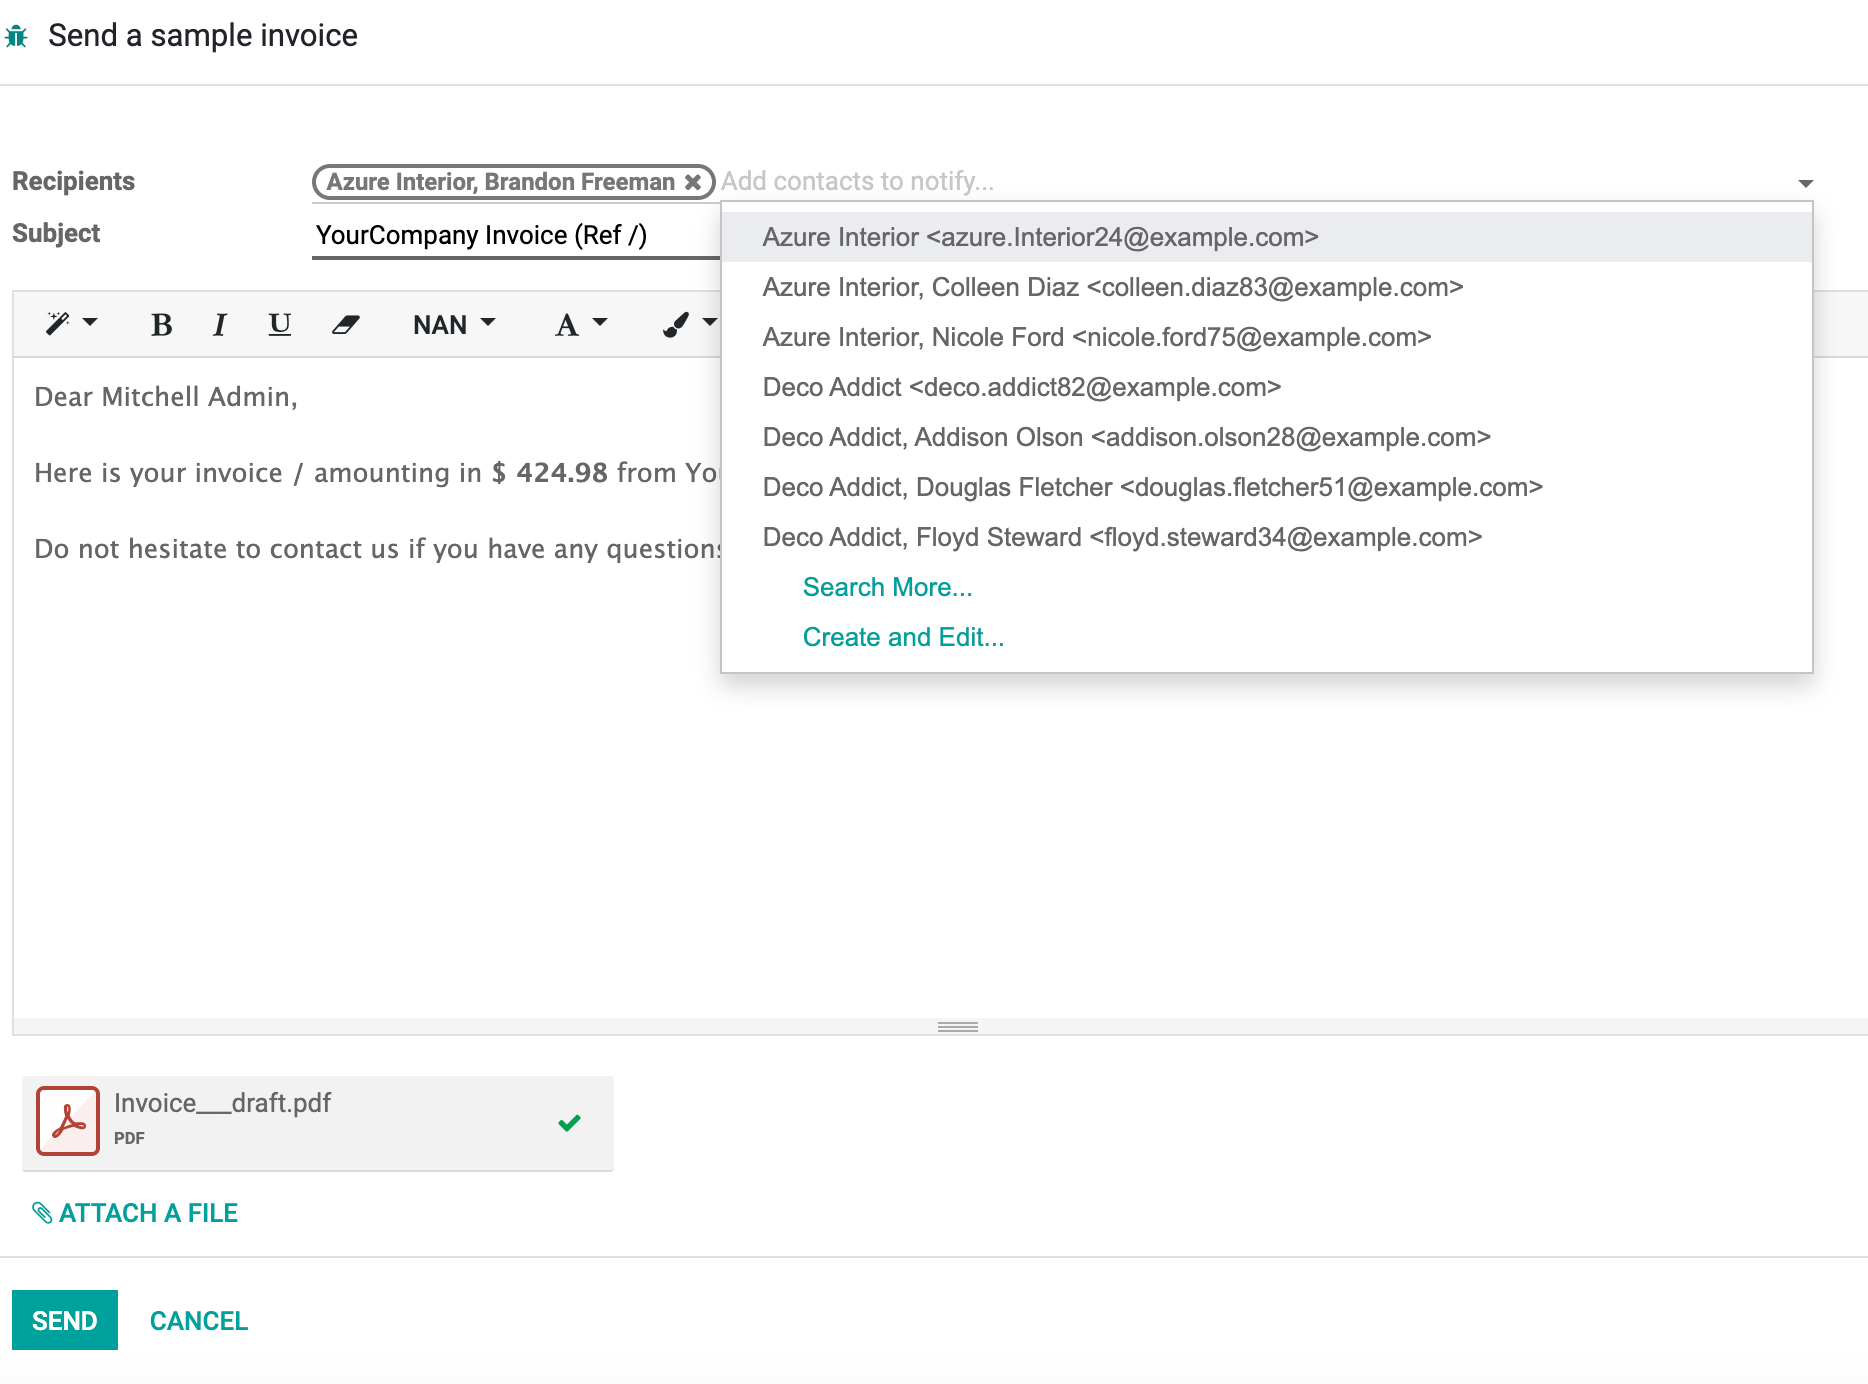
Step 5: Click on Send
Validate Payment check out how to validate the payment.
Bank Statements and Reconciliation
This process will help in synchronizing your Bank Account with your Odoo Database. This process will help you in balancing your account. You will know which payments were due and which supplier you need to pay.
Keep in mind, your entries reconciliation needs to be updated on a daily basis. It allows you to stay connected with the status of each payment you will receive or need to make.
Note: When you see "Beta" next to a bank name, it means you might be able to connect with these banks, however, you might receive some Error Codes, or the connection might not always be successful.
How to create Reconcile a Payment
How to Reconcile a Payment manually: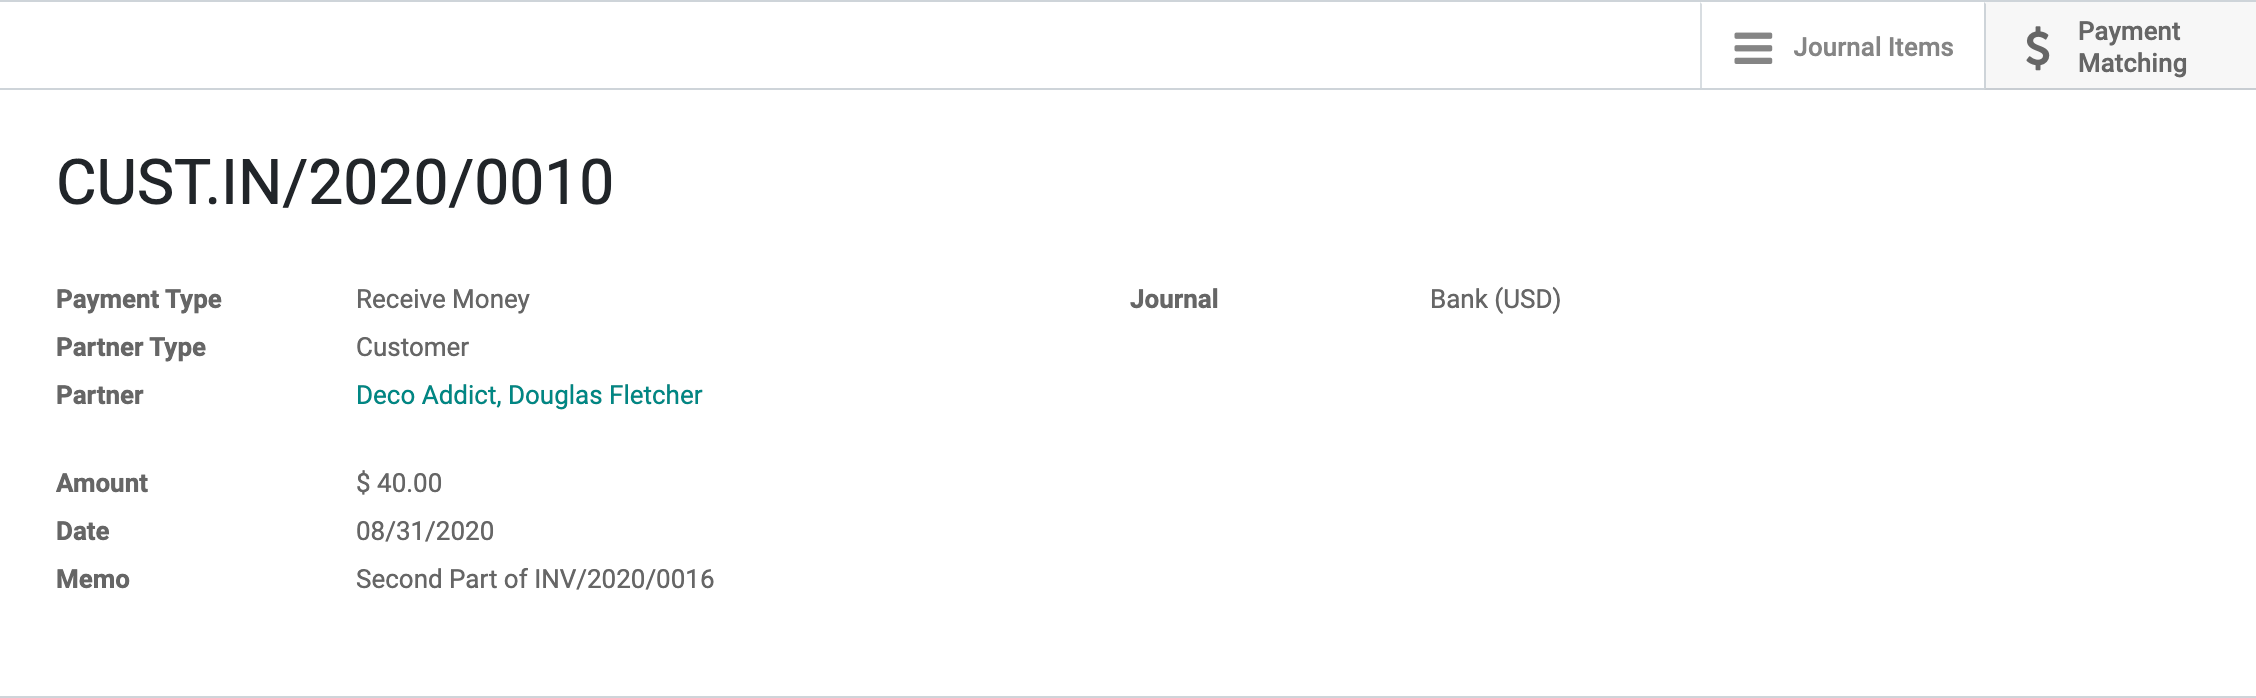
Go to Customers, Payments.
Click on "Create",
Click on Payment Matching,
Select the Invoices you want to reconcile
Click on, Account Receivable,
Reconcile
In order to create a Bank Statement Manually: Click on "create", in the Bank box. 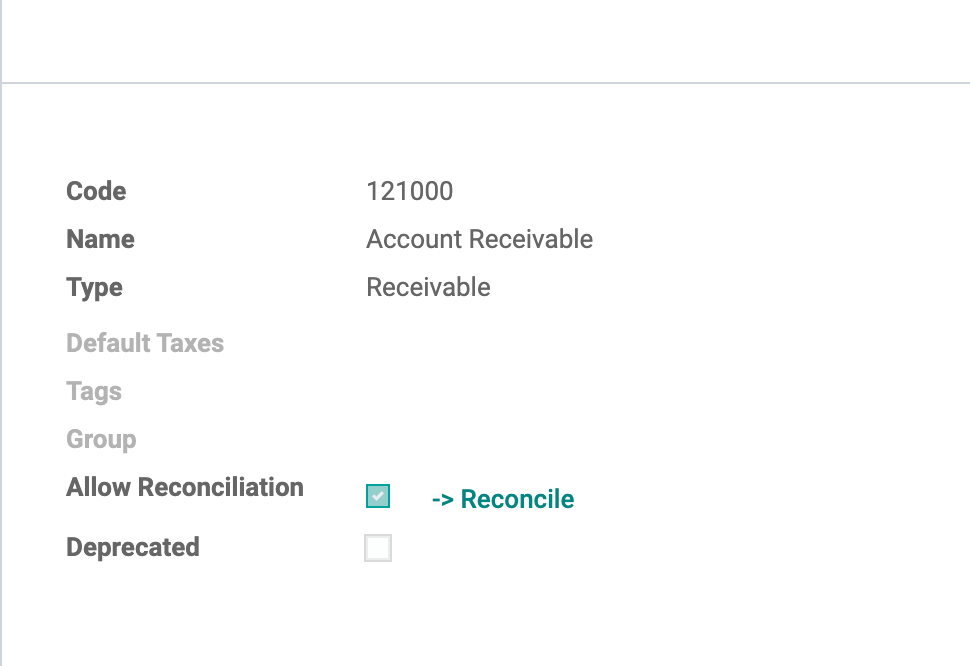
Then Add the required information, when you are done you can Reconcile the payments, by clicking on the Payment method and then Account Receivable.
To reconcile the difference, between the invoices, check out, reconcile the difference, for a step by step video on how to add the information
Click on "Reconcile", 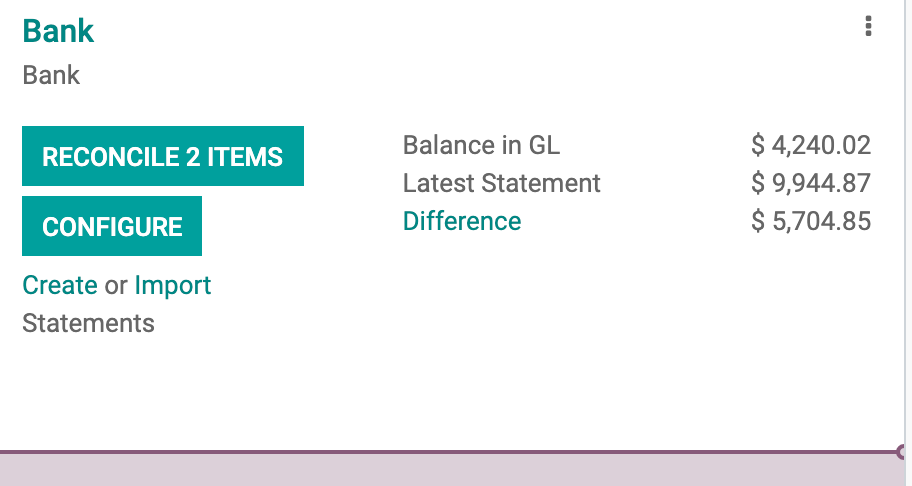
Select the one you want to Reconcile, click on them

Once you click on Validate, so you can Reconcile the data. A well done will appear to confirm that the bank data is now balanced.
Visit our Youtube Channel, ERP Cloud, we have videos on how to perform each of the mentioned steps.
ERP Cloud, provide a business solution for struggling companies. We provide ERP, CRM, Inventory management, Supply Chain, Localized Payroll, Cloud Solution, Big Data, Data Analytics, etc.
Schedule an appointment with us and you will receive a free Demo Database solution for your company.
50,000+ companies run Odoo to grow their businesses.
Join us and make your company a better place.

Odoo Accounting