Odoo Analytic Tags
An analytic account is a method that assists a consumer in analyzing and reviewing a single account. It will also allow the user to filter the account even if it is not published in the journal entry.
For such activities, Odoo 14 utilizes an empirical archive. IT can also assist with obtaining a specific pricing detail for a service or good. IT would also aid in the evaluation of a company's expenditures. We can also calculate the budget and analyze the properties with the assistance of these features.
The analytic account's highlight is that it does not generate a journal entry when we make an invoice. This would allow us to hold the main account untouched while still allowing us to see the real purchase charge.
The analytic tag also aids analytic distribution by dividing expenditures or income among various Odoo analytic accounts.
The Odoo Analytic tags add additional aspects to Analytic accounts. We use analytic tags in the same way as we use analytic accounts.
Analytic tag is a function that is useful for Odoo Accounting module users. This feature assists you in making report generation and related operations easier.
It is a component of the analytic distribution method, which assists you in dividing expenditures or profits. Expenses and revenue may be allocated to various analytic accounts. For example, if an IT company needs to split its profits into three departments in different percentages, it can do so using analytic distribution.

Odoo Accounting generates the Analytic name. We can finish the process by going to Accounting > Configuration. Build a new tag by clicking on Analytic tags.
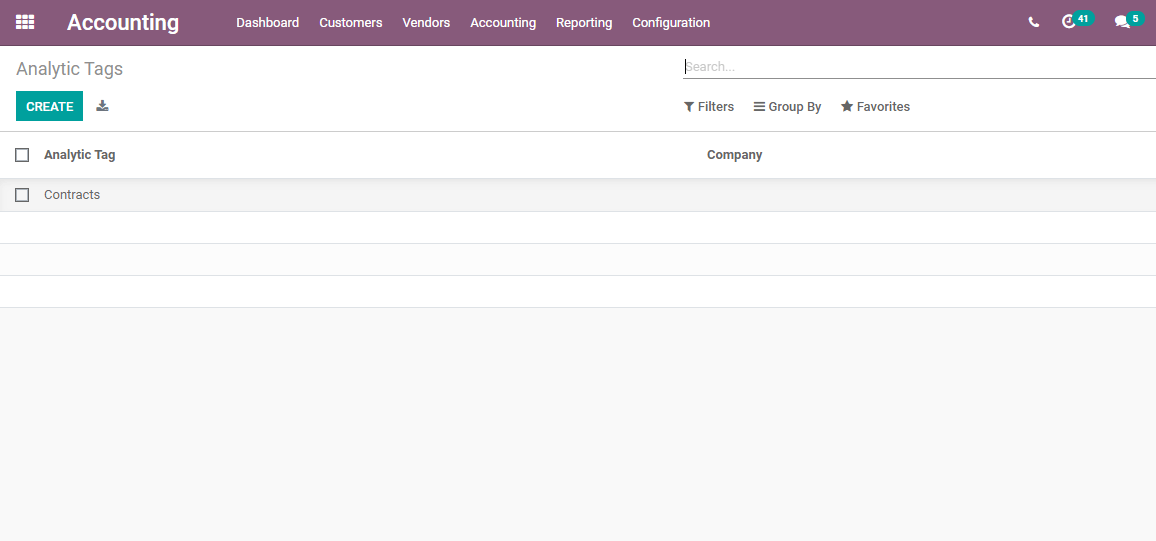
The above screenshot is what we get when we use the Analytic tag option. 'Contacts' is a pre-existing Analytic Tag. We'll now use the Create Button to make a new tag.
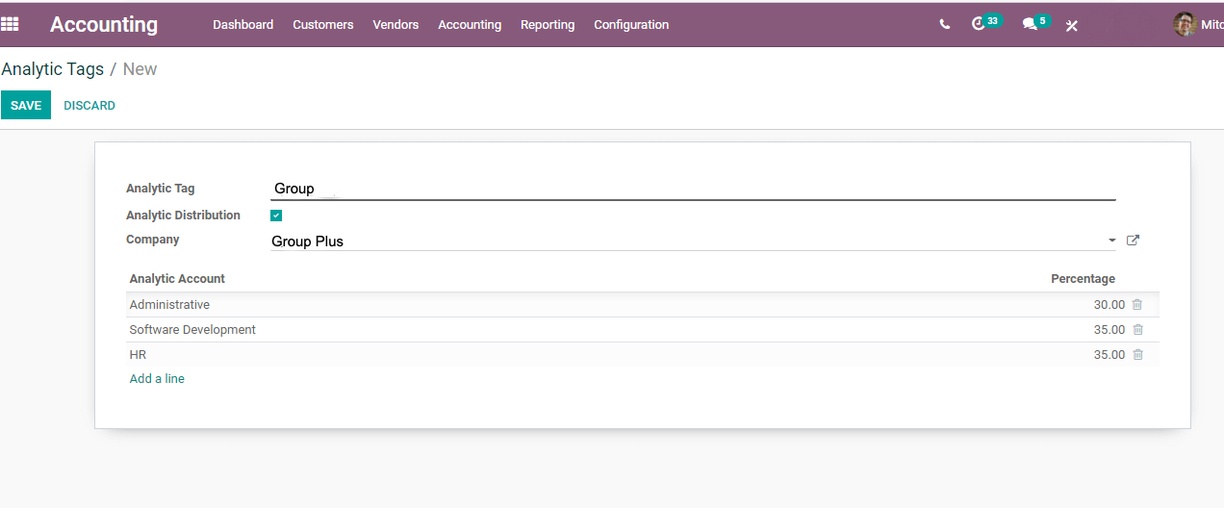
The window allows you to add a new tag and activate Analytic Distribution. The user can also enter the company's information here.
We will get a new line if we allow Analytic Distribution. Using this Analytic Account line, we can add the Analytic Account information as well as the percentage of the sum or balance.
Assume your organization needs to divide the money among three divisions. The organization can then choose the three departments and label the percentage of the total number.
If we want to build a new analytical account, we can do so from here as well. To do so, we simply enter the analytical account's information and construct the analytic account. We can now save this operation. We may assume that we have three analytic accounts under one analytic tag since we generated three analytic accounts.
It's time to go to the dashboard. Customers, Vendors, Accounting, Reporting, and Configuration can all be found there.
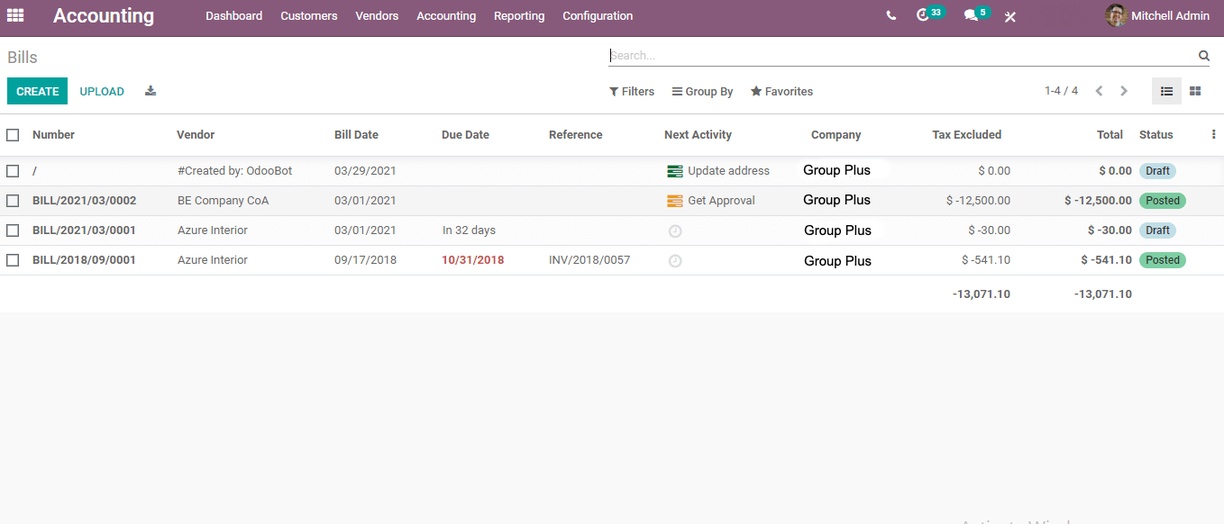
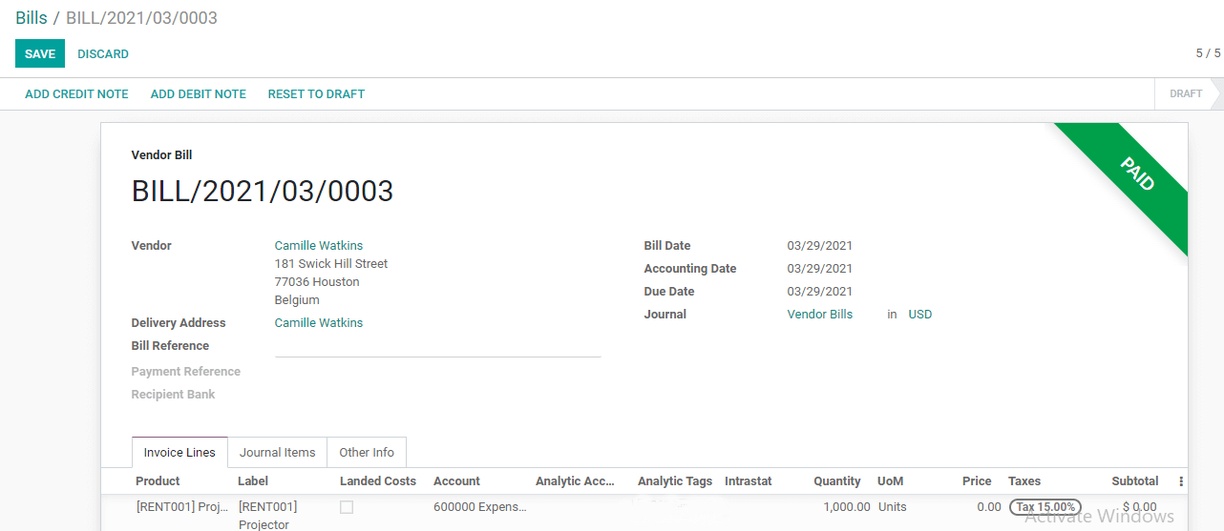
We may select Vendors from this list. We'll get a menu if we click on vendors. Bills may be selected from this menu. To test the functionality of our analytic tags, we must first build a bill.
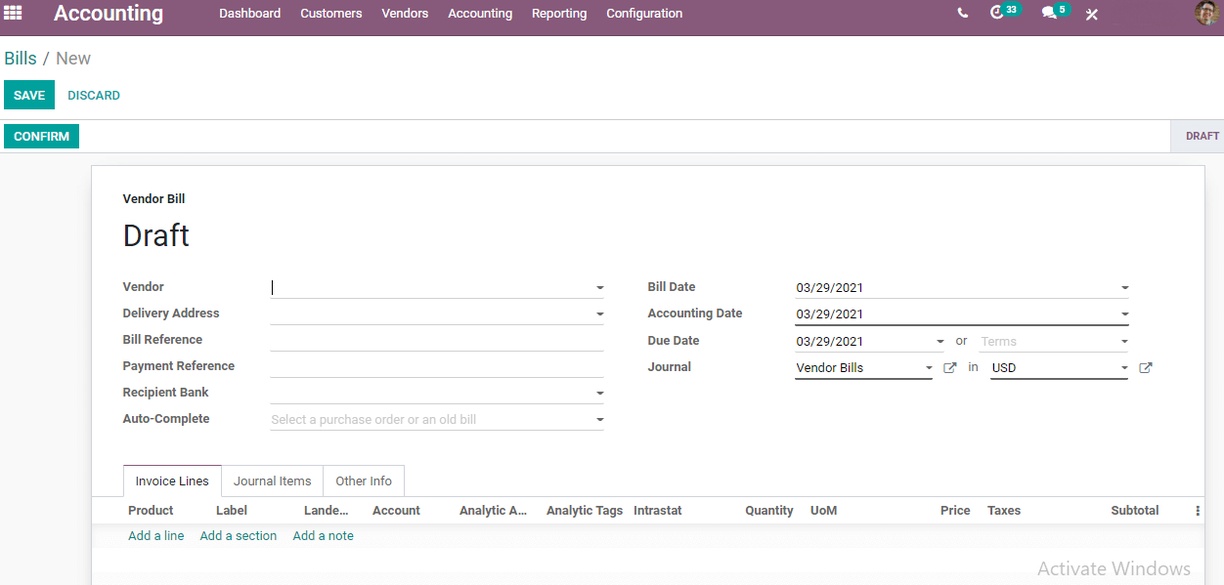
In the create form, we must enter information such as the vendor's name. Other necessary information includes a summary and an analytical tag.
We will add an analytic account instead of an analytic tag when creating an analytic account. In this case, we're going to select the analytic tag.

We've also included the product's price. After you've finished the invoice line, you can easily confirm the method. Previously, we used a validate button, which has now been replaced by a verifying button.
We will switch to configuration and search for analytic things once we have completed the bills and all processes associated with bill formation. When we use the mouse to pick the analytic account, the window shown below appears.
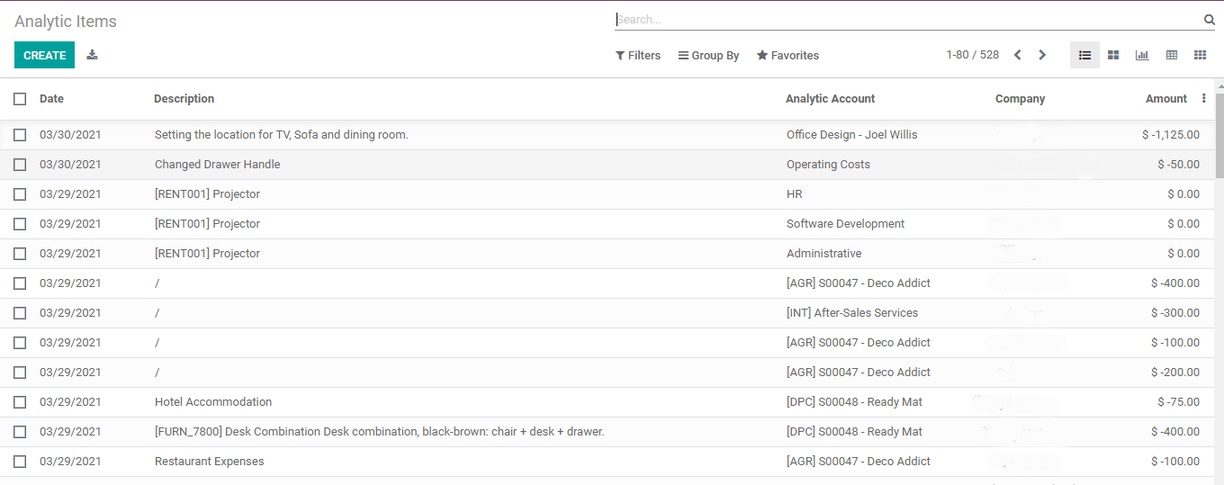
We can see that there are three items for a projector with three different analytic accounts. One item is for HR, the second one for software development, and the third one for Administrative. In the next phase, we have to create a new project. For this, we have to go to Project Application.
We can see that there are three separate analytic accounts for a projector. One item is for human resources, another for software creation, and a third for administration. In the following process, we must develop a new project. We must go to Project Application for this.
We can see that there are three separate analytic accounts for a projector. One item is for human resources, another for software creation, and a third for administration. In the following process, we must develop a new project. We must go to Project Application for this.
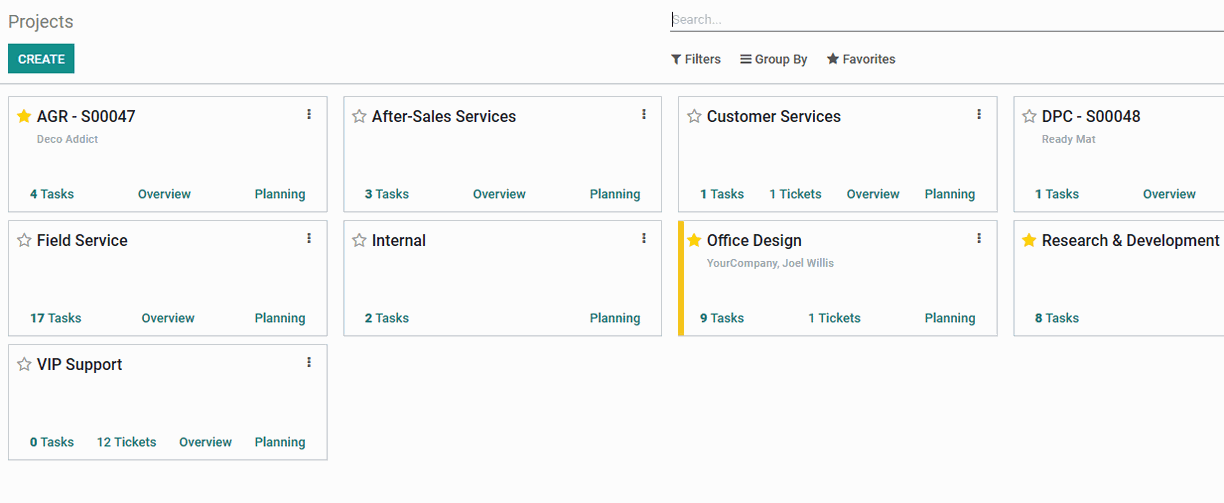
Install the project module and launch the application. With the aid of this module, we must build a new project. The Create button on the top left can be used in the same way as every other Odoo module.
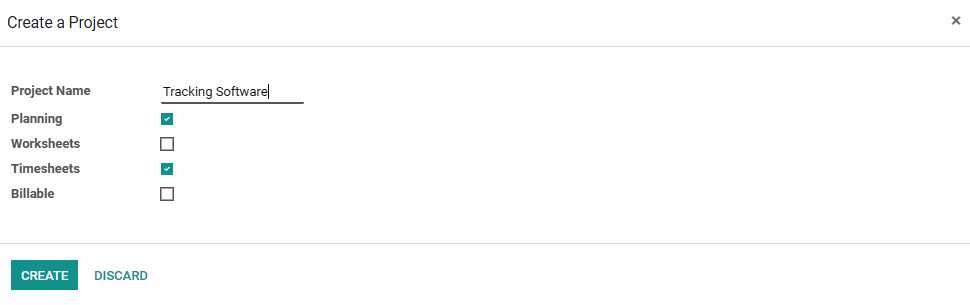
In this case, I've developed a project called Tracking Software. By clicking the Create button, you will be able to create a new column.
In this case, I've developed a project called Tracking Software. By clicking the Create button, you will be able to create a new column. The user will be presented with a few columns in which to enter information.
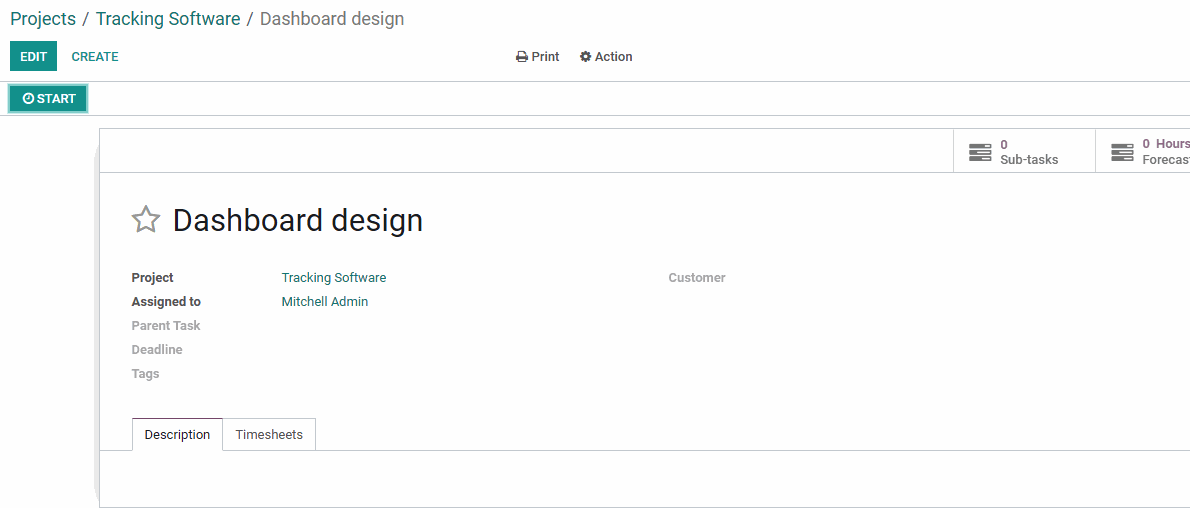
The user will be presented with a few columns in which to enter information. I've added two new columns: Design and Growth. We've assigned two tasks under construction, both of which are titled dashboard design.
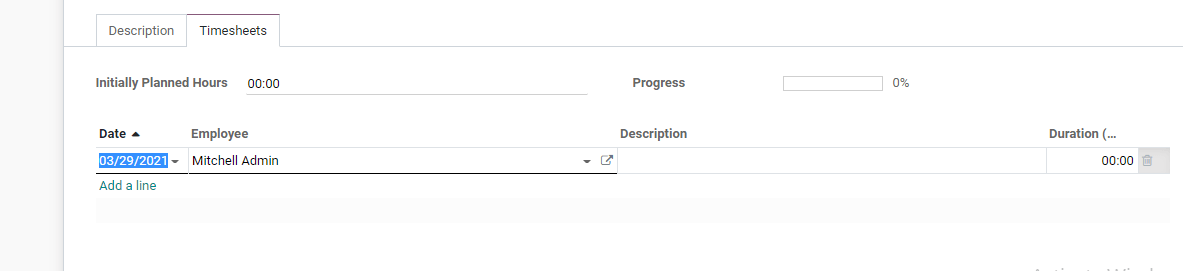
Create a user interface. When we click on the tasks, we will be taken to a page where we can edit the task. The Edit button at the top will allow you to make adjustments to the page. There are two tabs on this page. The timesheet is located on the second tab. We can set the time required to complete the task using this tab.
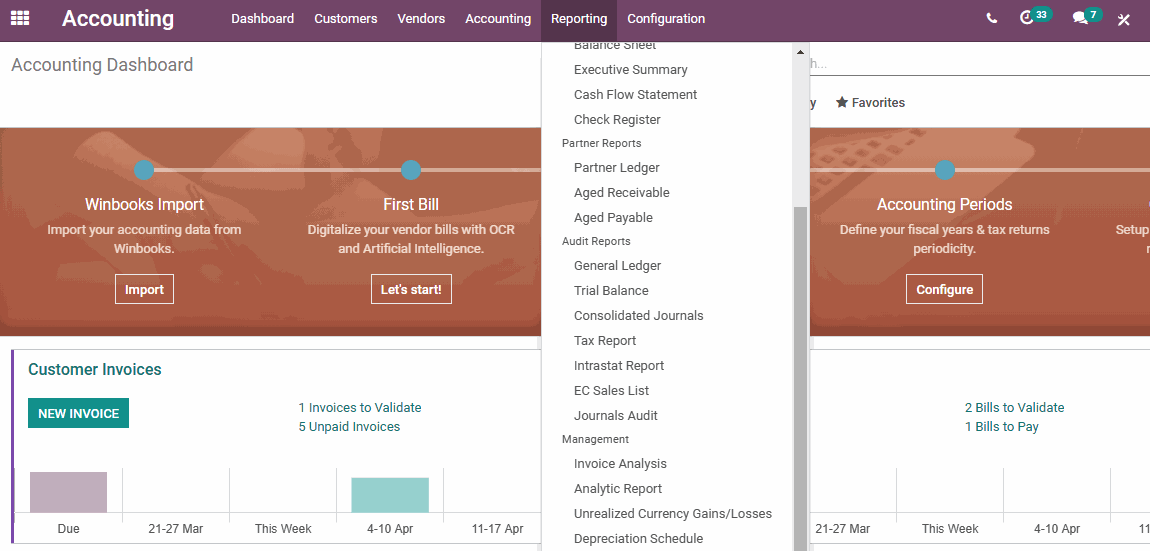
We must return to the Accounting Module after labeling the adjustments. We must check the Reporting option in the accounting module. There is an Analytic Report there that might benefit from an analytic tag. We have separate analytic accounts as well as accounts without a category here. We can now search the Account without a party.

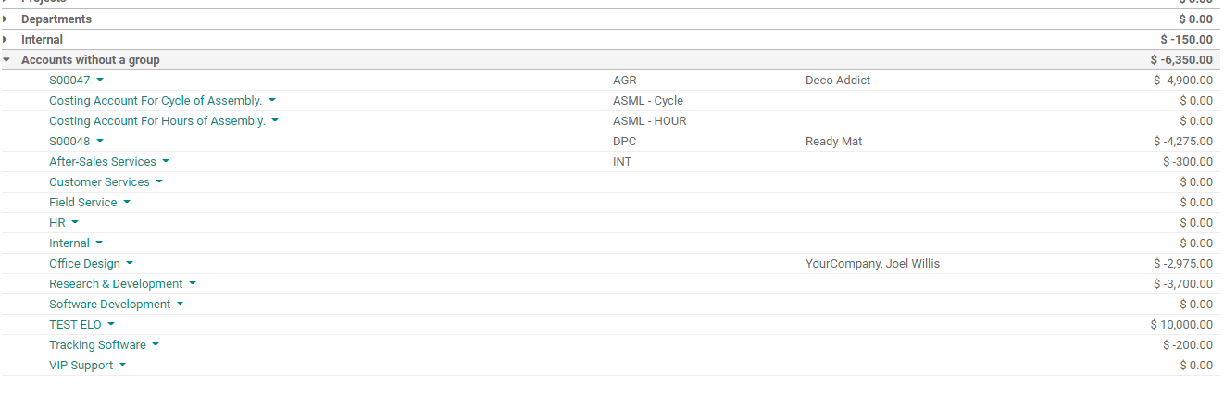
Here is a compilation of our Tracking software projects. On the right, we can see the balance level.
That is, the hours of work are measured based on the workers' hours of work, and the sum is determined based on the cost per hour.
This is how the Odoo 14 Analytic tag will assist you. Since Odoo v10, this functionality has been included in the Accounting module. Though Odoo has made minor changes, the analytic account has remained a popular tool for many.
The main advantage of the Odoo Analytic tag is that Odoo automatically generates an analytic report, eliminating the need for the user to manually work on it.
50,000+ companies run Odoo to grow their businesses.
Join us and make your company a better place.

Odoo Analytic Tags