Invoice Management in Odoo 15 Accounting Module

Invoice Management in Odoo 15 Accounting Module

The operations connected to the company's financial management can be complicated, but the strain can be alleviated with appropriate records and a methodical approach to management. Odoo 15 is an accounting management system that is trustworthy and effective.

The Odoo 15 Accounting Module: is a comprehensive package that allows you to manage all accounting-related tasks. The Accounting module's stability and real-time operations are two of its most important features. The Odoo Accounting module lets you handle your customers efficiently, from managing them to making invoices and sending them.

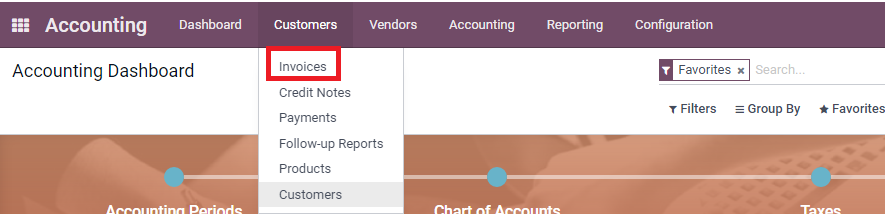
Create an invoice: To begin, create an invoice design that is specific to the theme and nature of your business. Accessing invoices is simple using Odoo. Odoo's rich invoice design and customization features allow you to rapidly create your invoices in a range of formats and designs.

Go to the Accounting module's Invoicing tab under the Accounting module's Dashboard and adjust the Company data to include in the invoice to design and build a completely customized invoice that is unique to your organization. After you've completed the preparations, you can move on to the Designing a New Invoice phase, which is depicted in the screenshot below.


Odoo makes it simple to create invoice layouts. It is an important part of invoice management since the layout typically reflects the professionalism of a corporation or a business when it comes to invoice management.

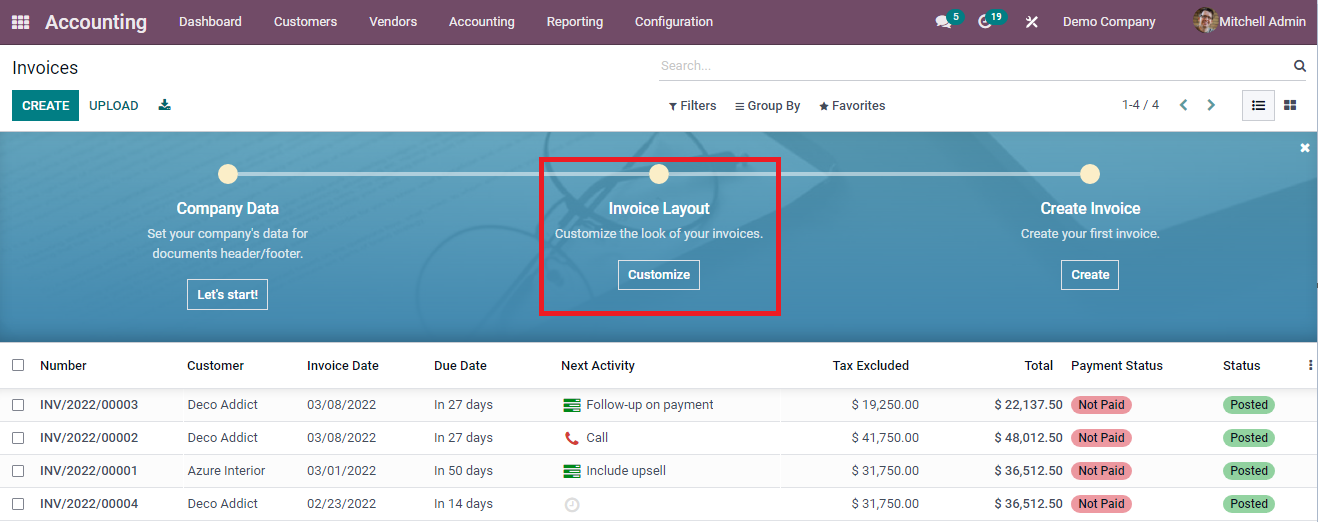
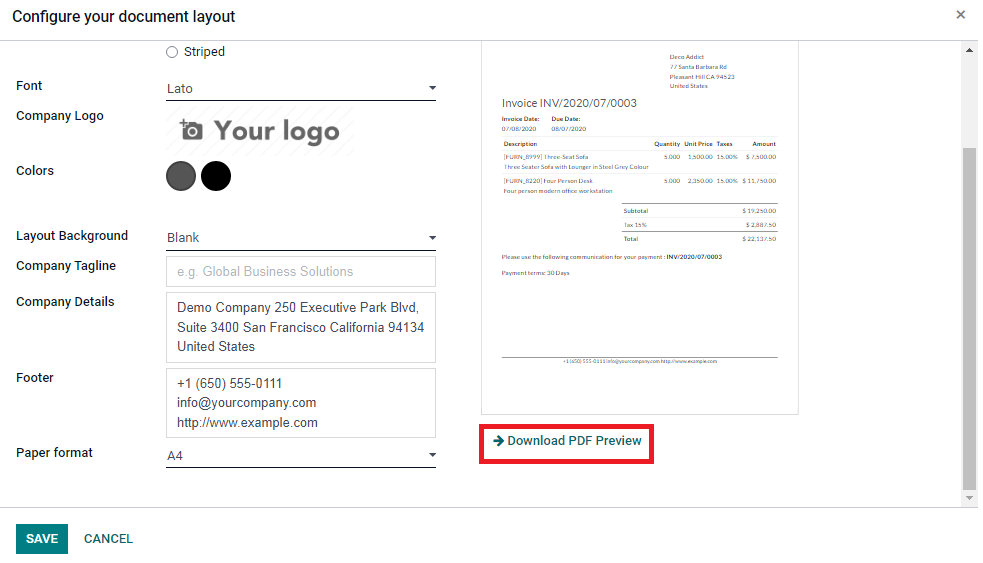
With the variety of invoice layout options available, Odoo will help you to make professional-level invoices in an easygoing manner, as shown in the screenshot below.

This is the section where you can change the invoice's layout to suit your needs. A lot of advanced pre-installed functions are available on the setup page. To begin, you have a number of options for how you want to put up the plan. Some of the options include light, boxed, bold, and striped.

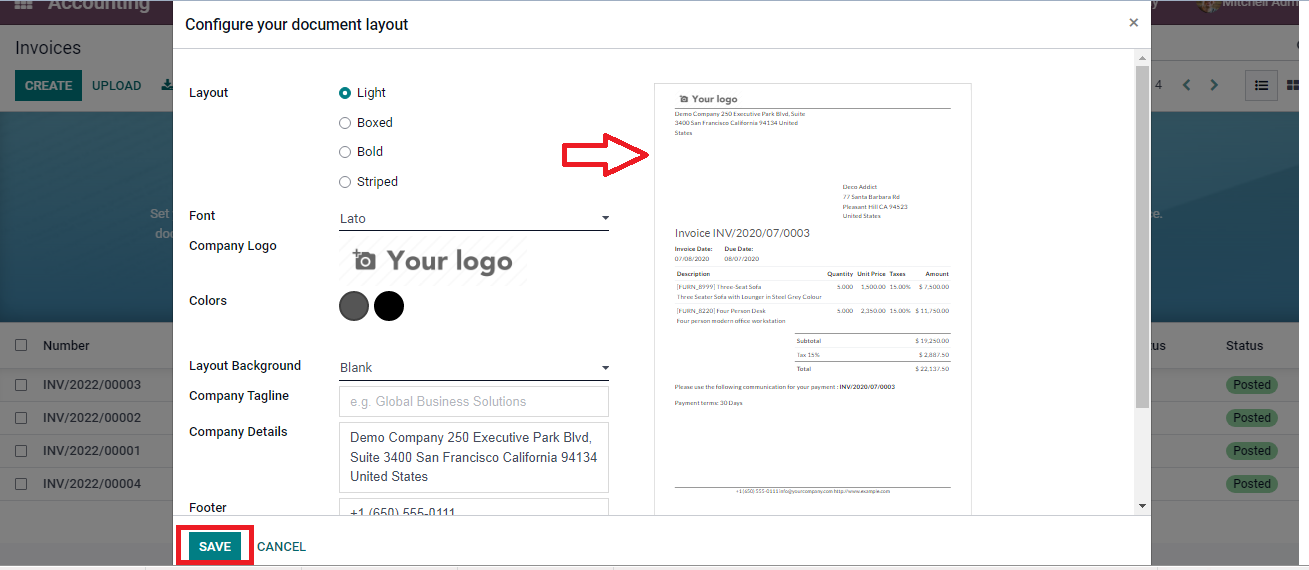
With this application, you may customize the look of your papers by choosing a layout template, paper format, color scheme, font, and logo.

You can watch the Invoice change in real time from the right side of the screen, as shown below.

Choose between the layouts and keep an eye on the real-time adjustments to create the perfect invoice layout for your company.

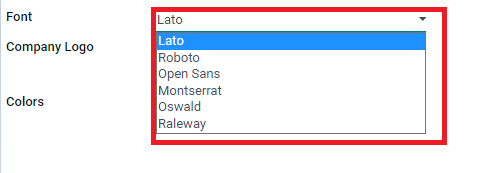
Font: After you've chosen a layout style, you'll need to choose a font for the invoice. You can choose from a number of typefaces in the font area to construct your invoice layout. You can select your preferred font from a drop-down menu.

Company Logo : After you've decided on a font, go to the company section and select and upload your company's logo, which will appear on the invoice. When you click the camera icon, you'll be sent to your system's downloaded photos, where you may choose the logo.

Colors: Select a color from the color area, and that color will be used to display the content. The invoice number, as well as other information, will be shown in your preferred color. As you can see in the screenshot below, you have hundreds of color options to choose from.

The color you want to use can be found in the color section.

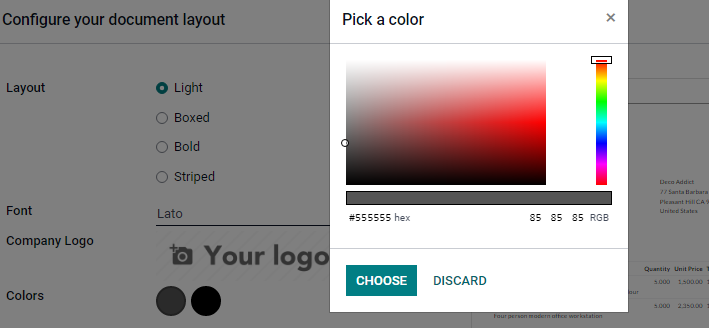
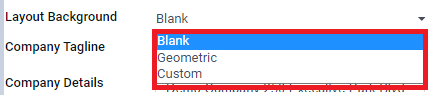
Layout Background: From the drop-down menu, select a layout background. Click the layout background button to alter the background of your invoice's layout, as shown in the screenshot below.

After you've chosen the layout background, fill in the company tagline. As a result, your company's slogan will show on the invoice. You can see an example of this in the screenshot below.

Company Details: In the company details option, you must now fill in the company information.

Footer: You can then add a footer to the invoice, which will appear as a footer.

Paper Format: In this section of the invoice layout, you can select a paper format. The paper format can be selected from the drop-down menu. You can see an example of this in the screenshot below.

After you've finished configuring the invoice, click the Download PDF preview button to see a sample. Because Odoo generates the invoice automatically, you should double-check the data you entered in the settings area.

Invoices: The customer receives an invoice. The invoices are located in the customer tab's Accounting module. From the customer tab's drop-down menu, you may choose the invoice. A list of invoices will appear when you click on the invoice.


The invoices' number, customer name, invoice date, due date, tax number, next activity scheduled, tax excluded amount, total amount, total in currency, payment status, and invoice status are all listed here. At the bottom, the total of the Tax Excluded and Total amounts is shown. You can view specific invoices by using filters such as My Invoices, Draft, Posted, Cancelled, To Check, SDD Mandate, Unpaid, Paid, Overdue, Invoice Date, and Due Date. You can also sort invoices by different criteria, such as Salesperson, Status, and Sales Team. State of electronic invoicing, preferred payment method, invoice date, and due date are all factors to consider. By pressing the UPLOAD option, you can upload invoices directly from the system.
To give yourself the most freedom in reviewing invoices while also decreasing clutter, use the Filters and Grouping options.

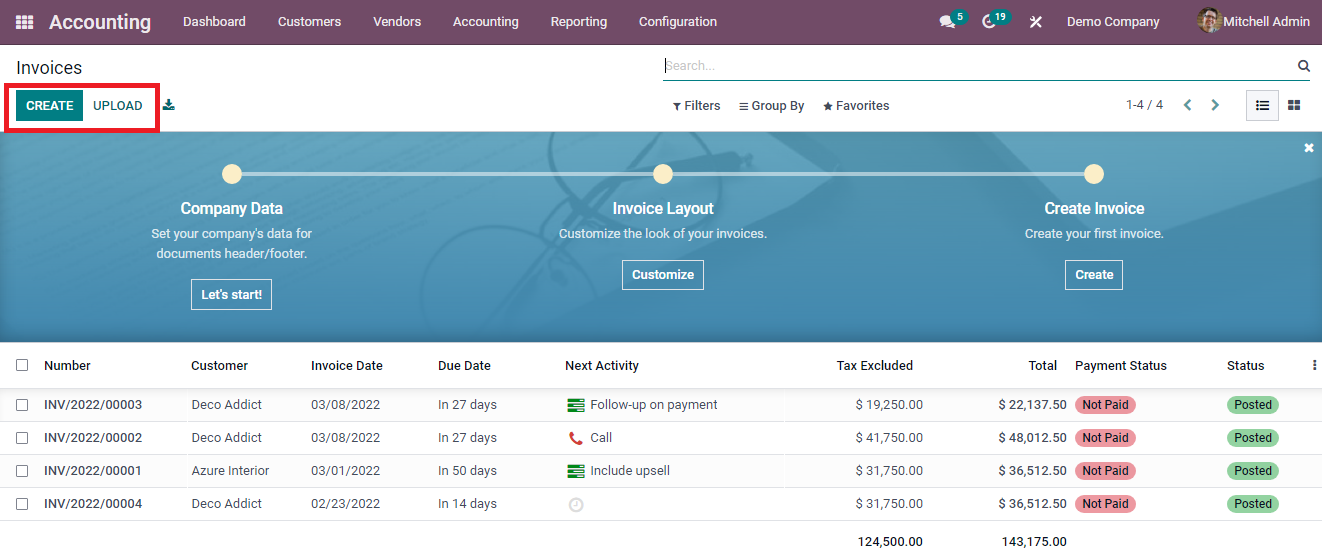
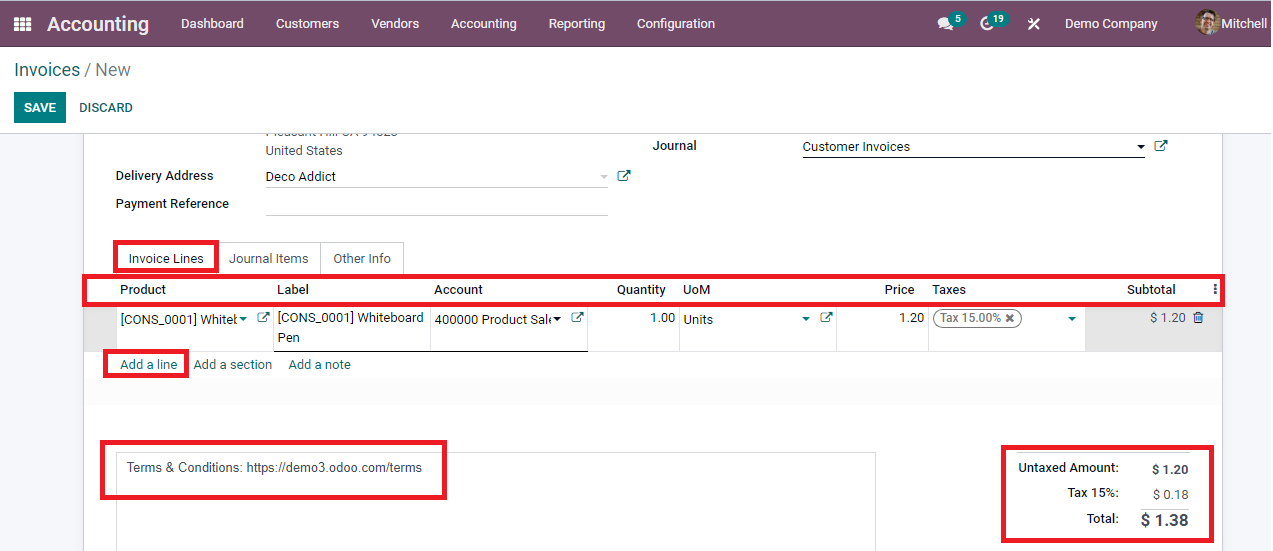
If you wish to create a new invoice, click the "Create button," which will open a new window. The screenshot below serves as an example.

Customer: In this field, type the name of the customer to whom the invoice will be issued.

If you wish to search for additional customers, click on the search more option, and a list of customers will appear, as seen in the screenshot below.

You can choose from the list, and if the client is new, click the CREATE button to start the customer creation process. After you've entered the customer, you may add the Invoicing Date, as seen below.

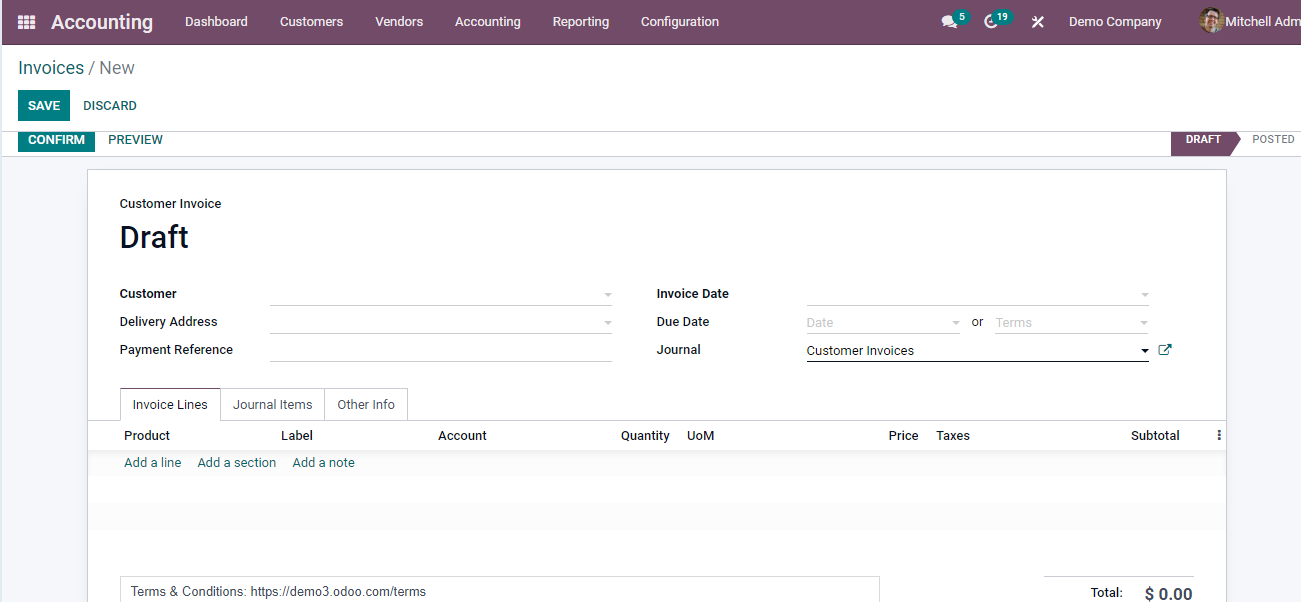
Delivery Address: This is where you can enter the current invoice's delivery address.

Payment Reference: You can use this field to add a payment reference for the journal items.

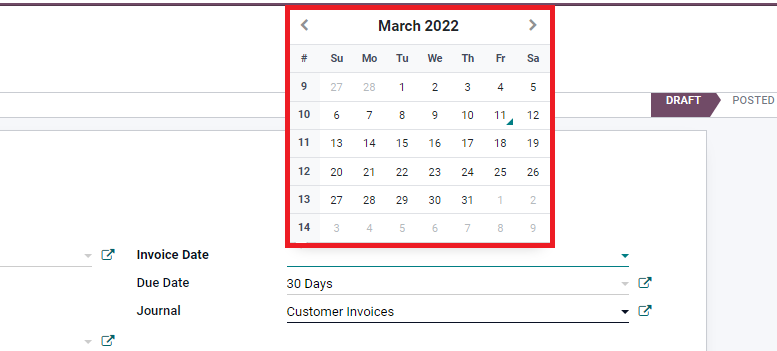
Invoice Date: In this area, enter the invoice date. The billing date can be selected here. The invoicing date has a significant impact on invoice administration. Odoo estimates invoice-to-customer interactions based on invoice dates.

Due Date: Indicate the date by which the invoice must be paid, or the Terms under which it must be paid. You can also request immediate payment by selecting it from the Terms menu. Due Dates allows you to collect revenue efficiently and on time, and you can utilize Odoo's advanced follow-up features to automatically follow up on invoice due dates.

Journal : Enter the journal entry label under which the invoice will be entered in the space available in the journal. Enter the currency that will be used for the transaction along with the journal.
Invoice Lines: In the Invoice Lines menu, input the product's name, label, account, analytic account, intrastat, quantity, unit of measure, price, tax imposed on the product, product country, and subtotal amount. Using the Add a Line option, you can add several products. At the bottom, you'll see the entire untaxed amount, the tax amount, and the total amount including the tax. The company's terms and conditions can be added in the space provided. The screenshot below serves as an example.

Journal Items: You can add details about the invoice's journal entry to the Journal Items menu. Account name, Label, Debit amount, Credit amount, and Tax Grids are among the information provided. According to the product data added to the Invoice Lines menu, the fields will be automatically filled. By just clicking on them, you may configure and change the entry. Click the Add a Line option to make a new entry. The total debit and credit amount can be seen at the bottom.

Further Info: You can add other invoices and accounting details to the Other Info menu. Customer Reference, name of the Sales Person, name of the Sales team, bank account number to which the invoice will be paid at the Recipient Bank field, Referrer, name of the Company, Incoterm in case of international transaction, Fiscal Position, name of the arrival country at the Intrastat Country field, whether the entry should be automatically posted at its due date, and whether the details should be double-checked are all included in this information.
After you've completed all of the fields, click the confirm button. You can now proceed to the next level of the invoicing process, as shown in the screenshot below.

You can click the "Register Payment" button after you've confirmed the invoice. A new window will open when you click the Register payment button. The screenshot below serves as an example.

You may now select "Create Payment" from the drop-down menu.

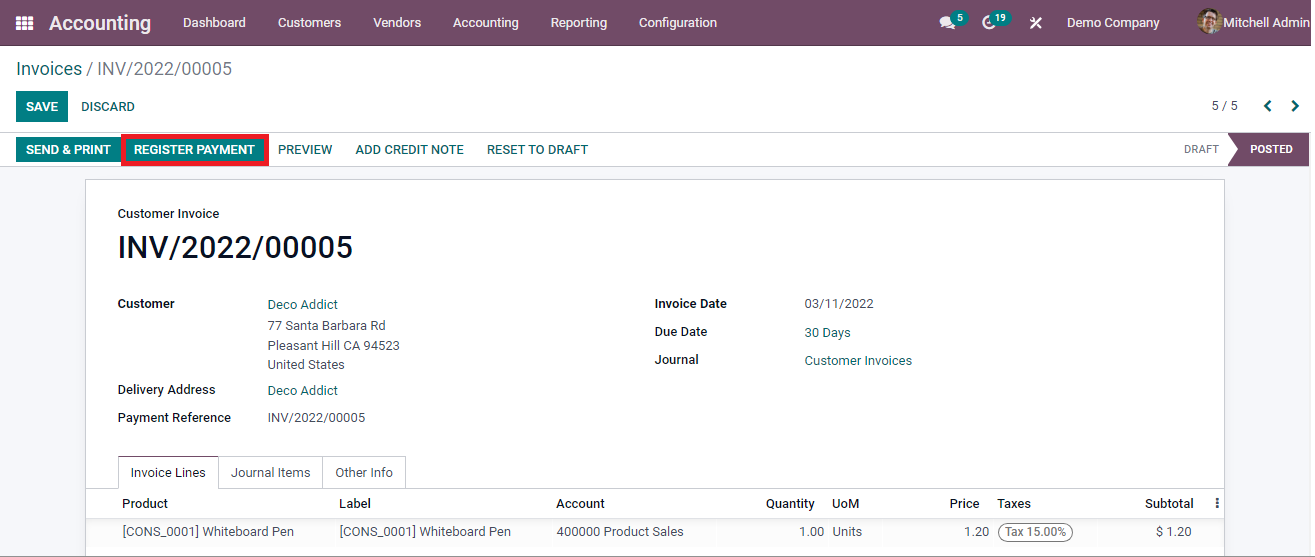
Odoo allows you to include payment terms with your invoices to ensure that you receive payments on time. Payment arrangements are straightforward to set up using Odoo.

Conclusion: Invoice Management in Odoo 15 Accounting Module

In the Odoo 15 Accounting Module, this is how you manage invoices. If you'd like to read more of our posts, keep visiting ERP Cloud.


ERP Cloud LLC, an Odoo Certified Partner, offers a variety of Odoo ERP services, including Odoo Implementation, Odoo Customization, and Odoo Integration, based on individual business requirements.


If you're interested in learning more about Odoo and implementing it in your business, please contact us at sales@erpxcloud.com. Our specialized team of Odoo professionals is ready to create and implement the best solutions for your businesses to achieve maximum outcomes in terms of leads, sales, and money.  

Odoo, Moe Fawaz March 14, 2022
Share this post
Our blogs
Sign in to leave a comment
Odoo 15 Lunch Module
Odoo 15 Lunch Module Overview and Basic Configuration Menus
  /