
Odoo 14 Project Management
Odoo 14 Project Module is ideal for managing all of a company's project-related responsibilities. This open source application will make project management simpler and more agile.
This tool might be quite useful if you want to organize your project and tasks and get a good picture of what is going on. It will also assist the firm in scheduling various events and tasks, as well as setting deadlines for the activities. We can easily track activities because it works in conjunction with the calendar module. This module will help you organize your projects more efficiently, plan tasks, and analyze task progress.
Create a Project
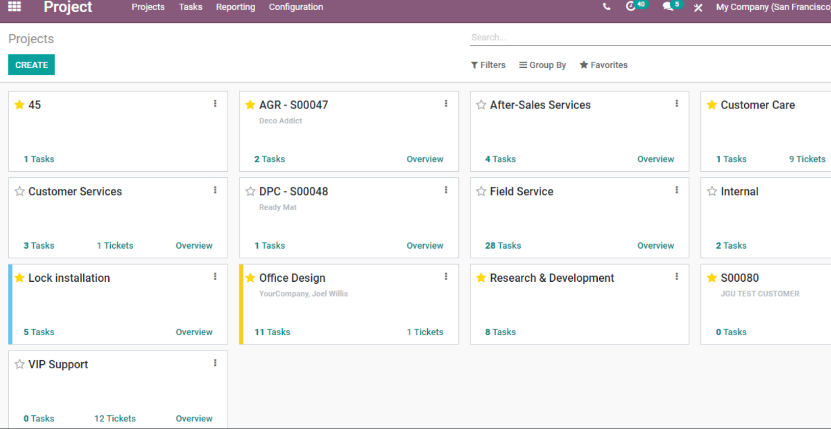
The first step in managing a project is to install the Project module from the Odoo App store. Then we have our project menu, which also serves as the application's home page. This page really assists us in managing our project. Let us first construct a project before we discuss project management. We can create projects by utilizing either the Configuration or the Projects menus.
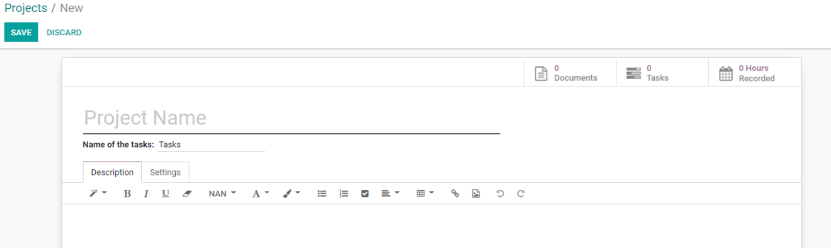
We offer a variety of previously configured projects here, as well as the ability to Create a new project. To finish the project creation, click the create button. When we click the Create button, we are taken to this page, where we may enter information such as the project name and description. Odoo 14 Project Management.
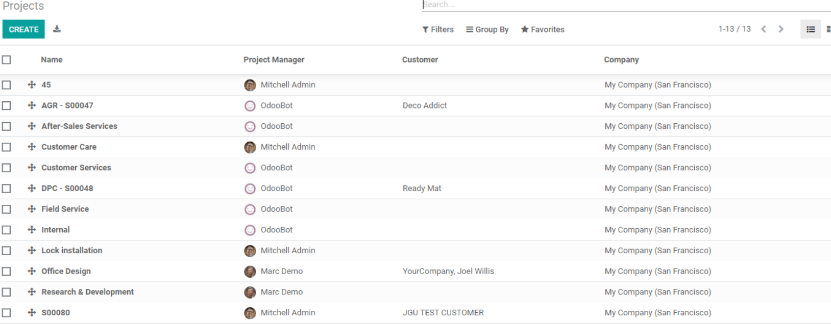
 The second approach is to start a new project from the Projects menu.
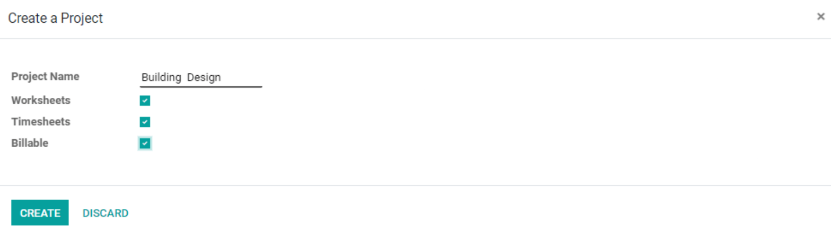
We can enter the project name here and enable other options such as Worksheets, Timesheets, and so on. We can use the Create button once we've made the appropriate changes.
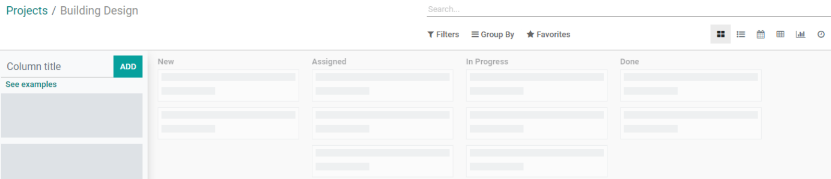
When we create the project, we receive this page. With this step, we can define the project's stages.
We already have a few columns. We've made phases. In this step, we will have our new project.
Allocated: If the project has been assigned to someone, we can advance it to this stage.
In Progress: The stage at which we begin the project.
Done: We reach this level after we finish the project.
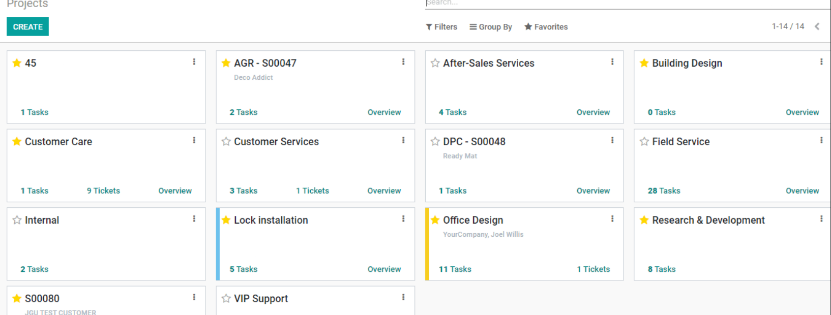
This is how we created the project, and it displays on the initial page. It can be seen on the far right.

The new project Building Design can be found with other projects. Let us now take this project out and manage it.
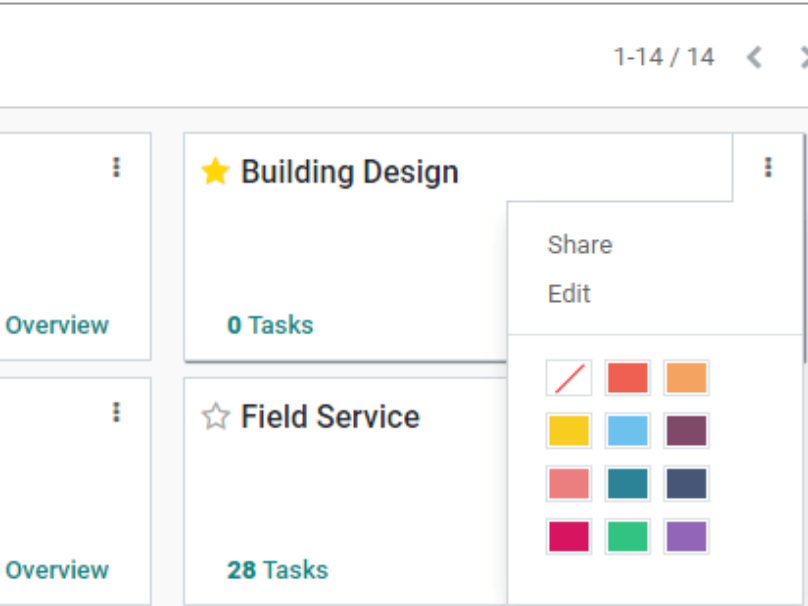
We have three dots on the side of the project title. These dots assist us in editing or sharing the project.
First, we'll figure out how to edit the project.
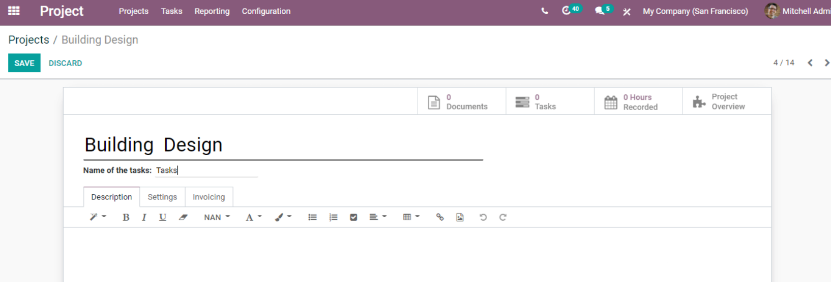
This screen appears when we select the Edit option. This is the same page that we get when we use the Configuration option to configure a project.
We can change the project's name here. We can also rename the task if necessary. Then we have the option to include a project description.
Add a description like "The building design, planning, interior design, landscaping, construction planning, and estimation."
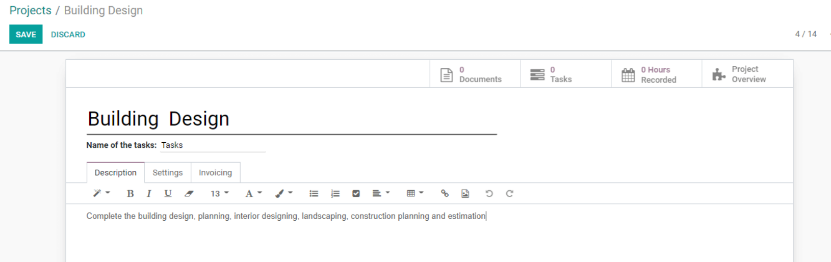
"Settings"
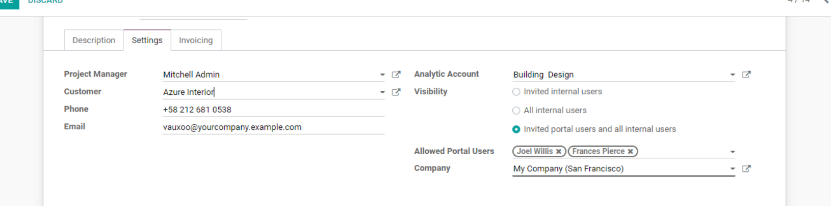
The options tab allows us to specify the project manager, customer, and other parameters. We have a variety of fields here:
Project Manager: The project manager can be chosen from the list.
Customer: The customer's information can also be included.
Analytic Account: Because each project will have its own analytic account, we can add the details here.
Visibility: This determines who has access to the project's details.
We have three alternatives here:
-Internal Users Have Been Invited
-Every Internal User
-Users who have been invited to the portal as well as all internal users
In this case, we've enabled the third option. Portal Users Who Are Allowed: In this area, we can specify which portal users have visibility.
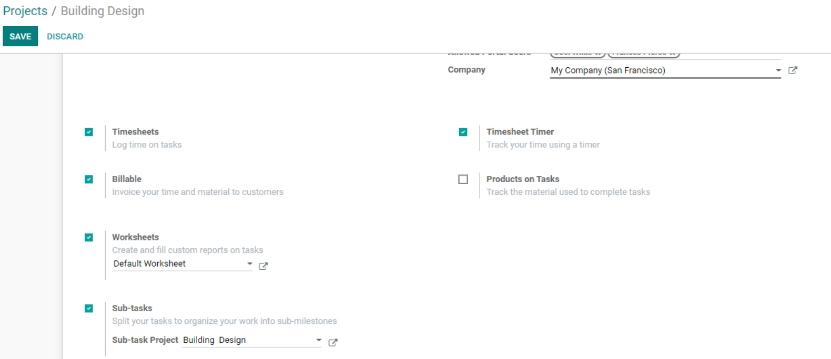
More information is available on the same page. Depending on our needs, we can enable a variety of choices here.
Timesheets: We can enable timesheets so that we can track how much time we spend on tasks.This functionality will allow us to easily track the progress of the tasks.
Billable: When we select the Billable option, we can bill the time we spent on the project or tasks in addition to the materials.
This will assist us in creating a professional invoice for our consumers.
Worksheet: We may select the preset worksheets, which will allow us to generate new custom reports and fill in the report details based on the task.
Subtasks: Enabling this option allows us to divide our duties.
This will also assist us in systematizing our job by breaking it down into smaller tasks.
Timesheet Timer: This is a field that will assist us in tracking our time.
We'll need a timer to aid us do this.
Products on Tasks: We will be using different materials to perform each work, and after activating this option, we may add a list of the materials.
Project Tasks
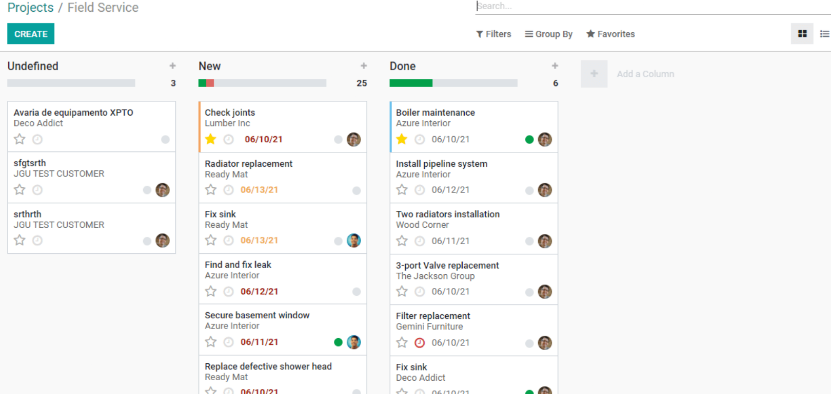
When we select the Tasks option, we are sent to the above-mentioned screen. We can create new tasks and manage existing ones here.
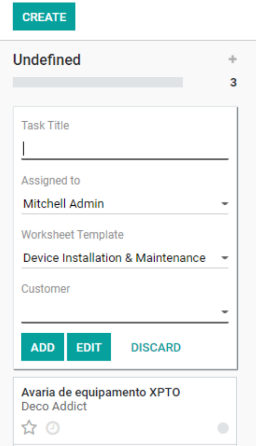
The Create button can be used to finish this process. We are presented with a box in which we may enter the assignment title and the individual who has been allocated the task. We may also add the task after selecting the worksheet template and the customer information.
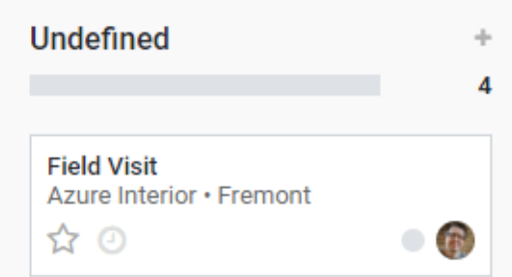
For the project Field Services, we have created the task Field Visit. The activities are readily manageable, and they progress automatically to other stages based on their progress. In the coming articles, we may go over how to handle tasks in greater depth.
Overview
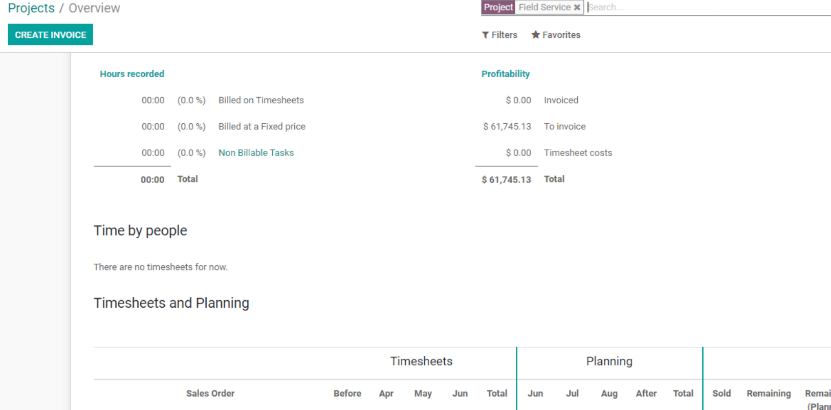
The next choice is to take a look at the overview. By clicking this, we are sent to a page that provides an overview of the project. Recorded Hours and Profitability, Time by People, Timesheets and Planning, and so on are all available here. On the Overview page, we can also create invoices.

Odoo 14 Project Management