
Odoo 15 Accounting Module Analytic Accounts
Analytic accounting is a function in the Odoo Accounting module that may be used to examine corporate costs, reinvoice time to a client, and analyze service or product performance. This functionality is simple to set up and utilize in the Odoo 15 accounting module. The first step in configuring the functionality is to enable it in the Odoo 15 Accounting module's Configuration Settings.
Odoo 15 Accounting Module Analytic Accounts
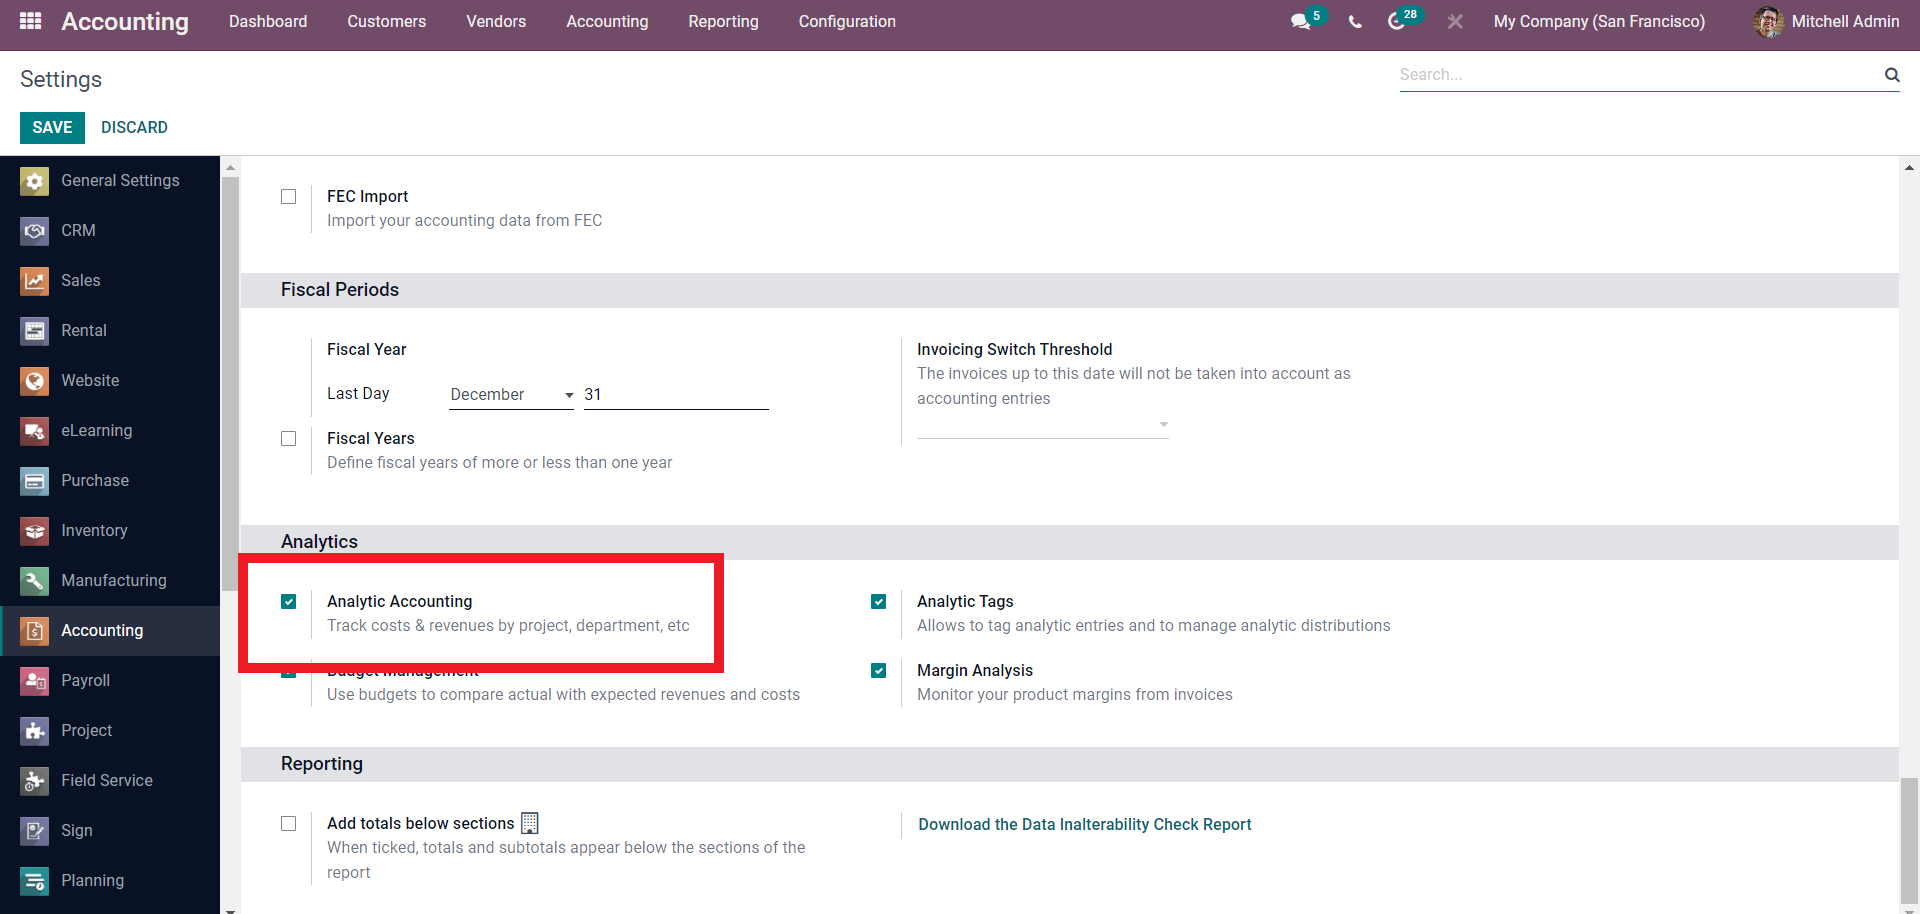
Scroll down to the Settings page and look for the Analytic Accounting area beneath the Analytic section. To activate it, click the Check box next to it. Following that, a new Analytic Accounting section will emerge under the Configuration tab, as seen below.
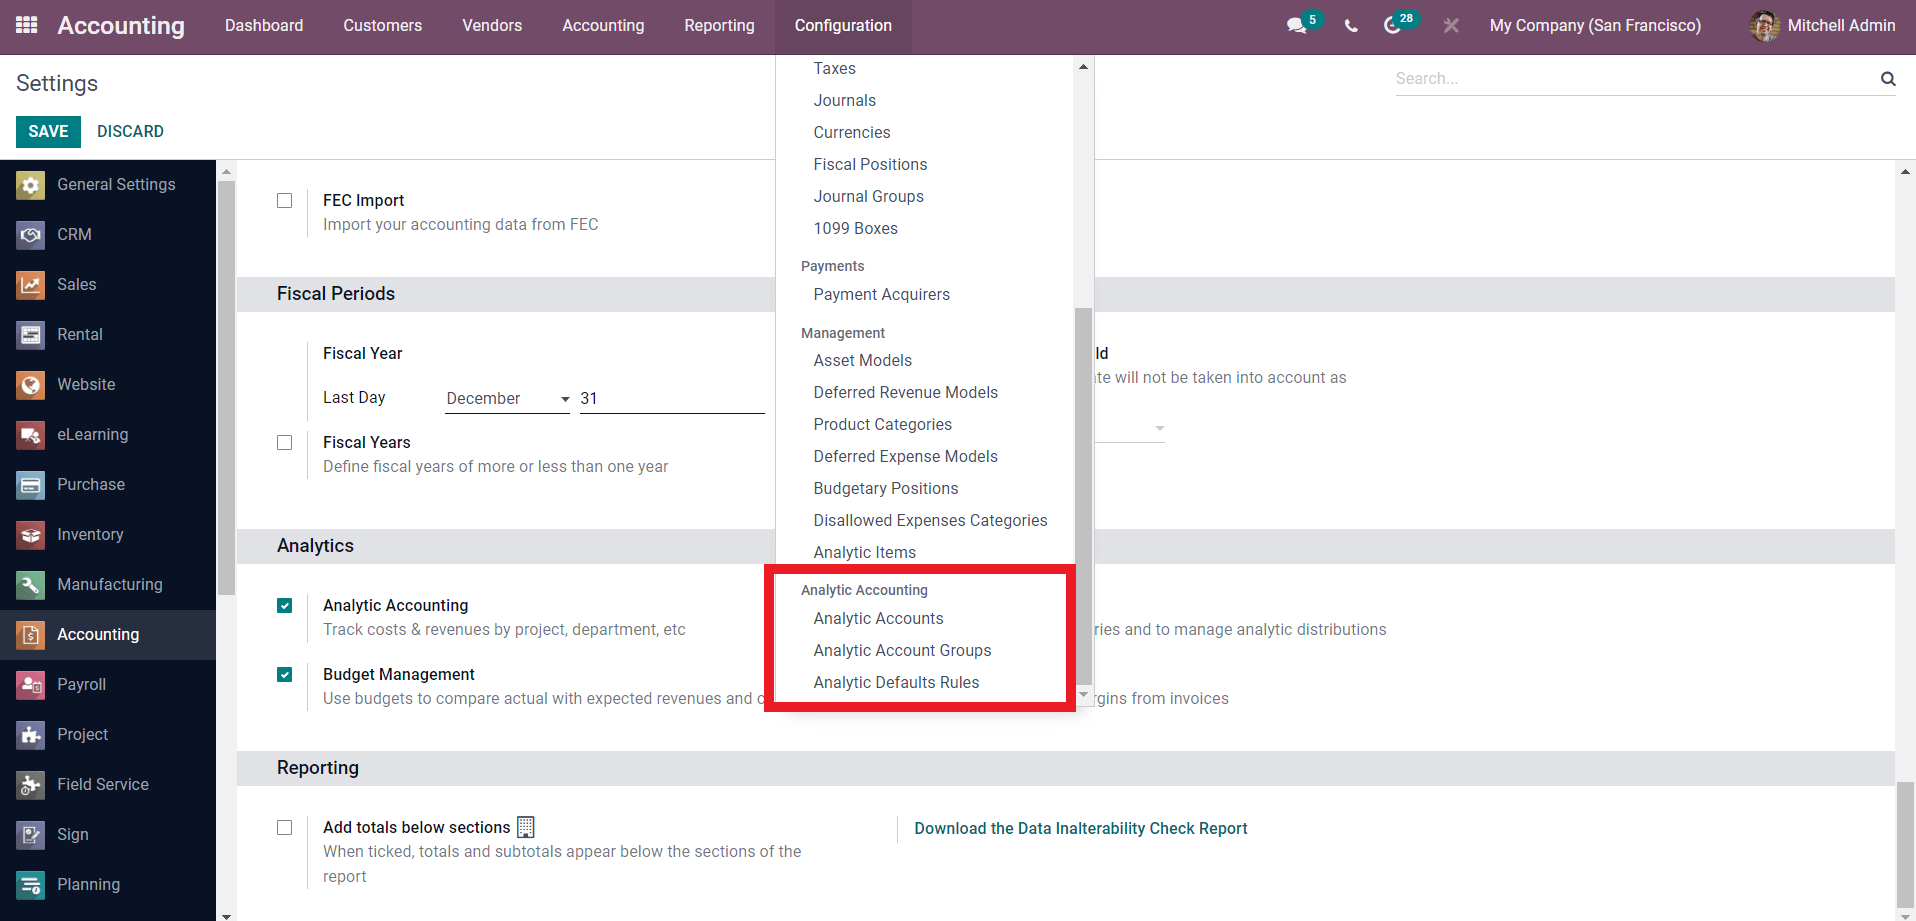
Select Analytic Accounts from the drop-down menu.
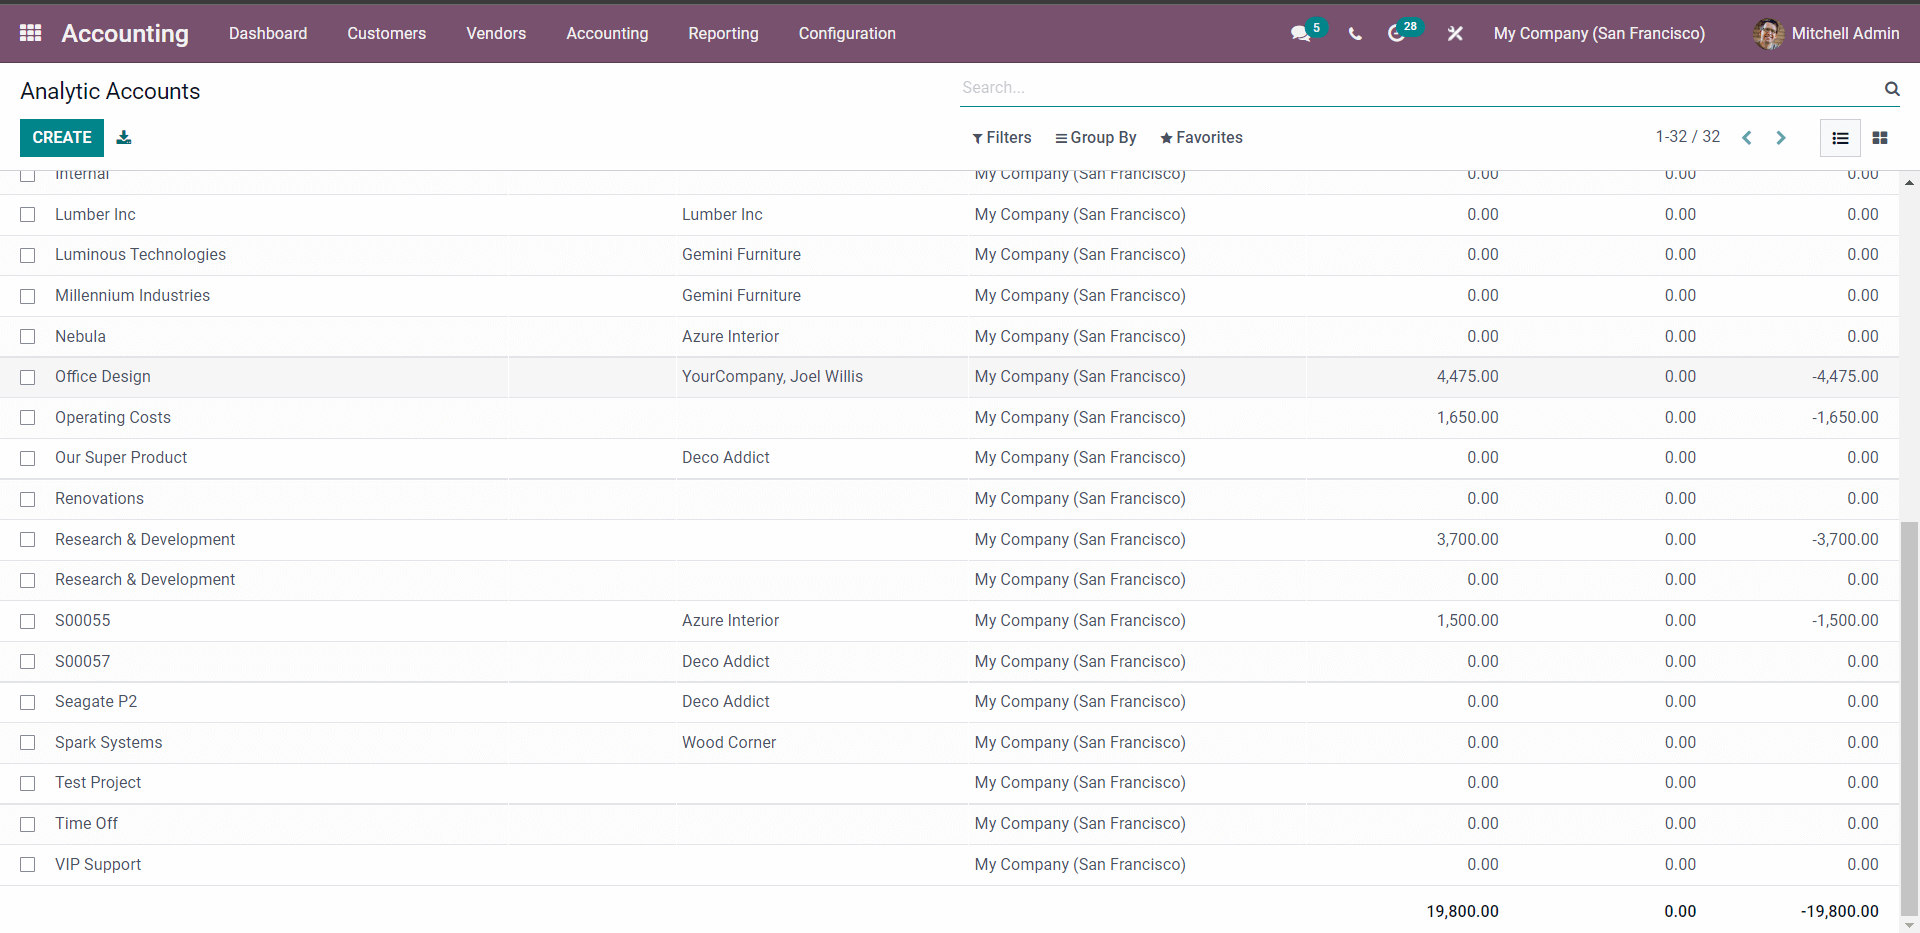
This page will display a list of all the Analytic Accounts that have been created. For your business purposes or requirements, you can build Analytic Accounts. If you want to create a new ANALYTIC ACCOUNT, click the CREATE button, and a window like the one below will appear.
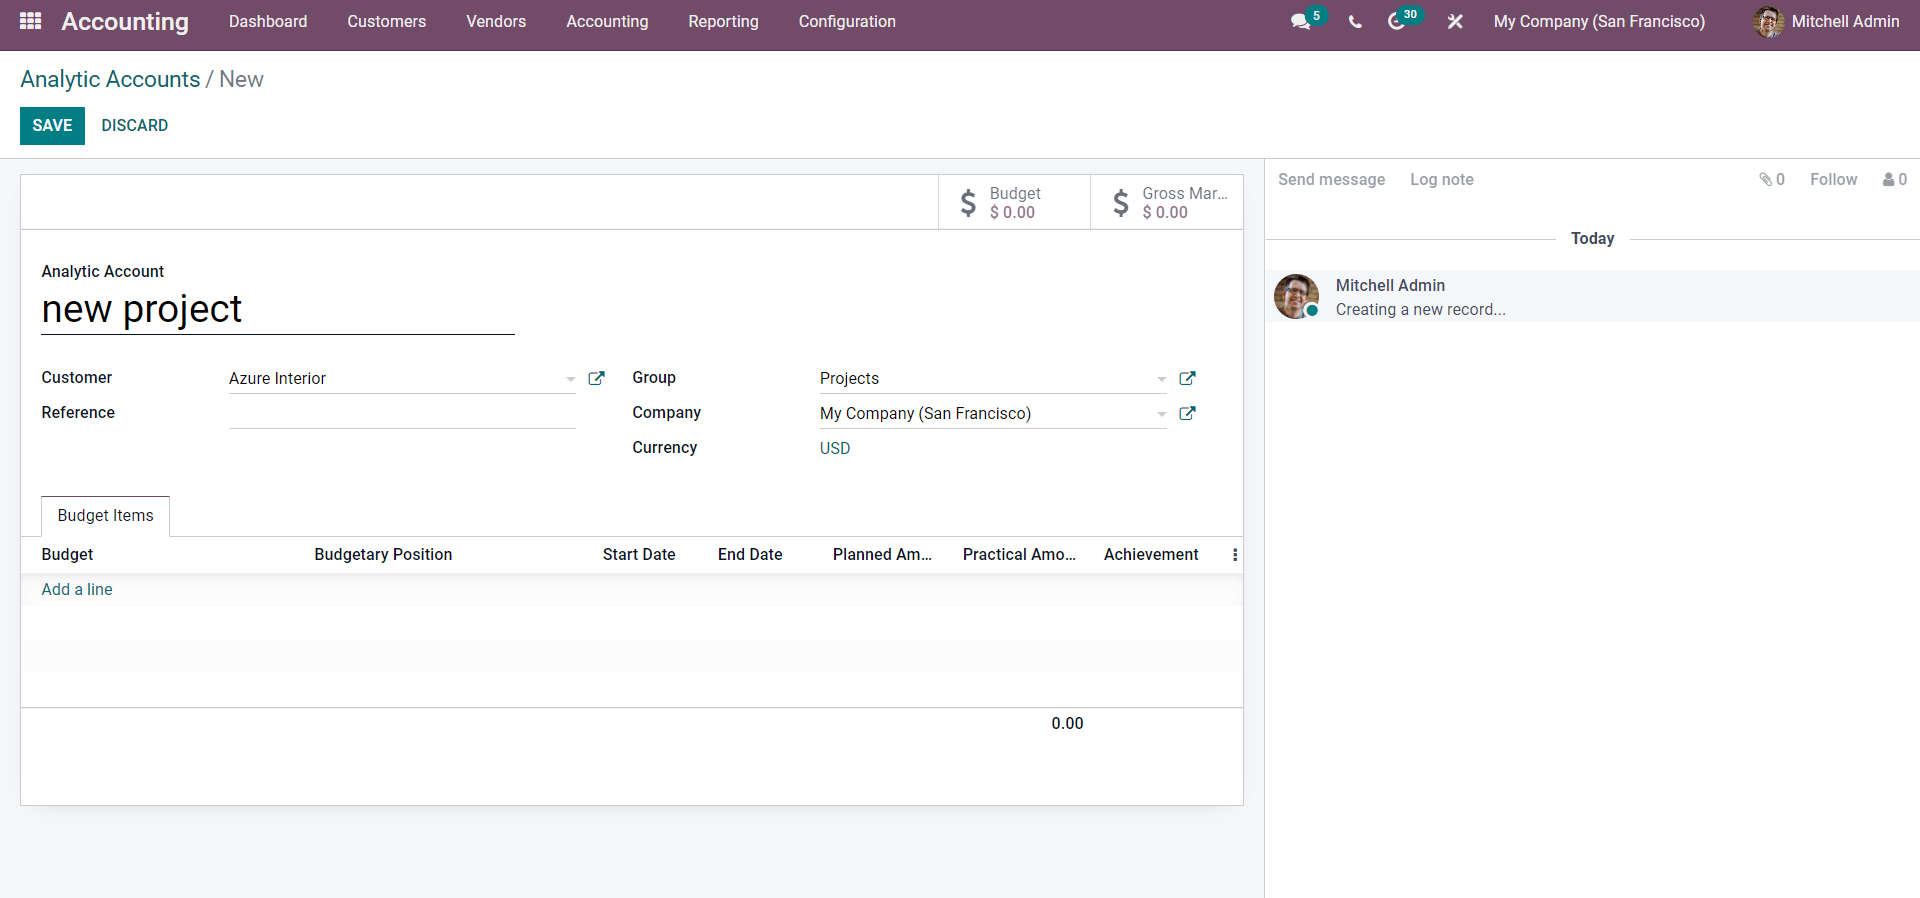
Add the name and choose the client from the Customer field, then Select the Group under the Analytic Account section. If you've previously created Groups for the Account, go to the Group box and select the group you wish to add from the drop-down selections, as shown below.
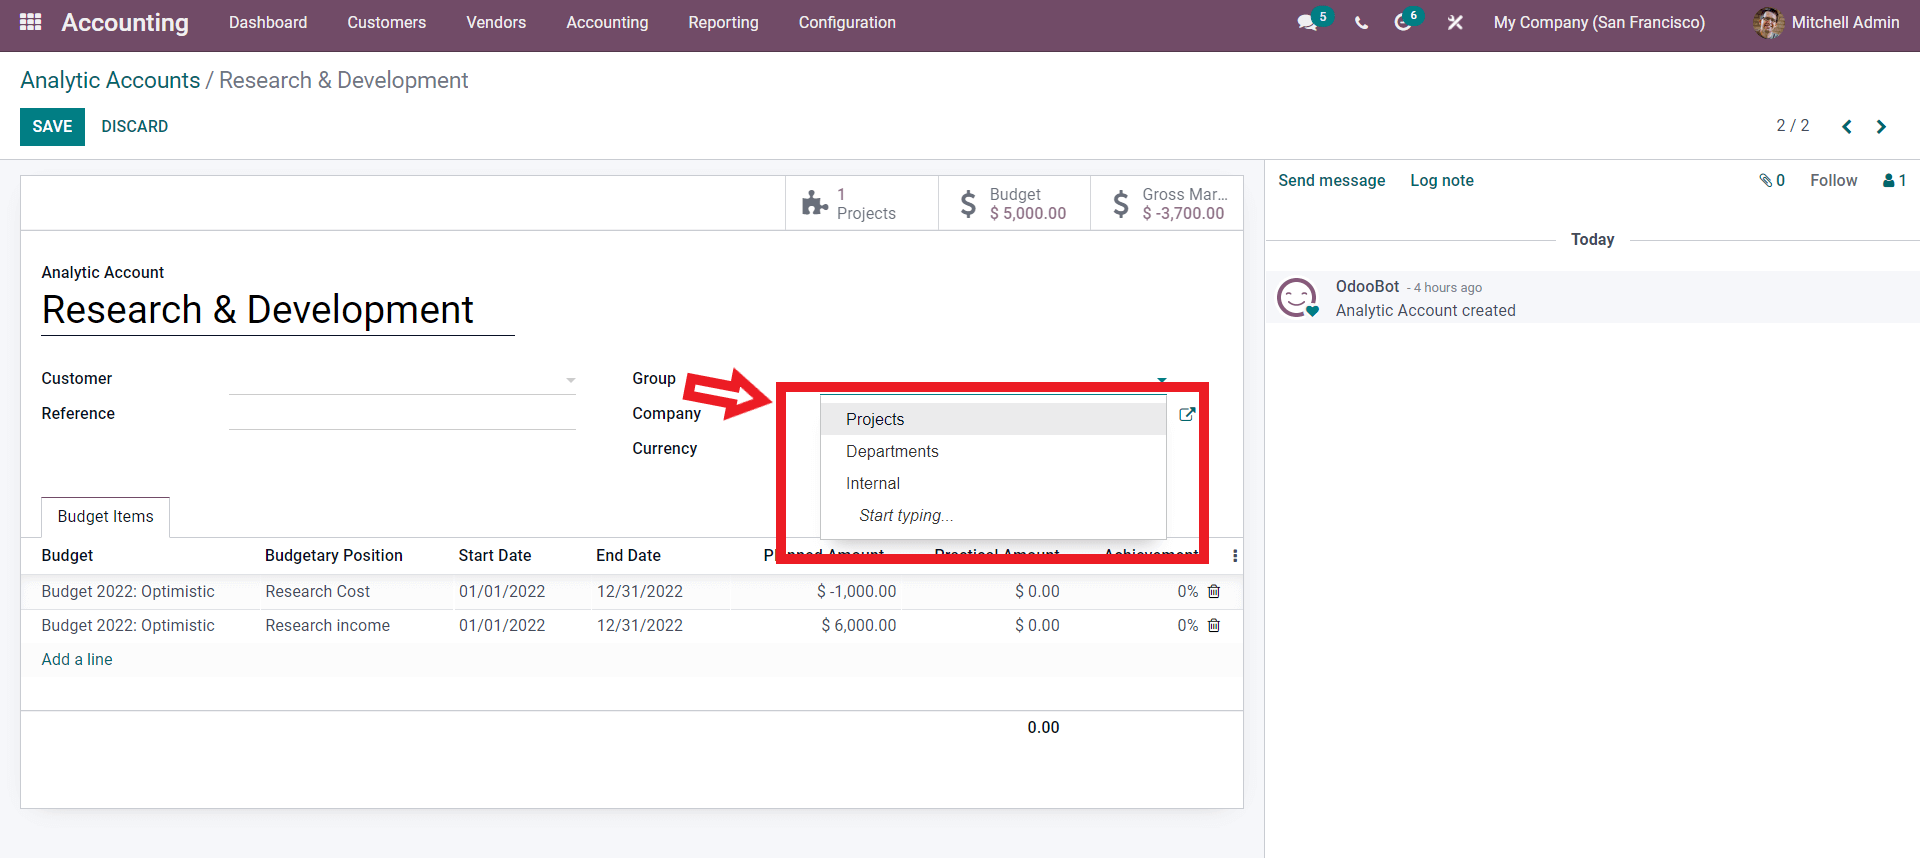
If you wish to create a new group, go to the Configuration tab and select Analytic Account Groups from the drop-down menu under the Analytic Accounting section. As seen below, a page with the previously created Groups will appear.

The Groups will be mentioned at the bottom of the page.
Press the CREATE button on the website, and the settings page for creating a new Group will appear, as seen below.
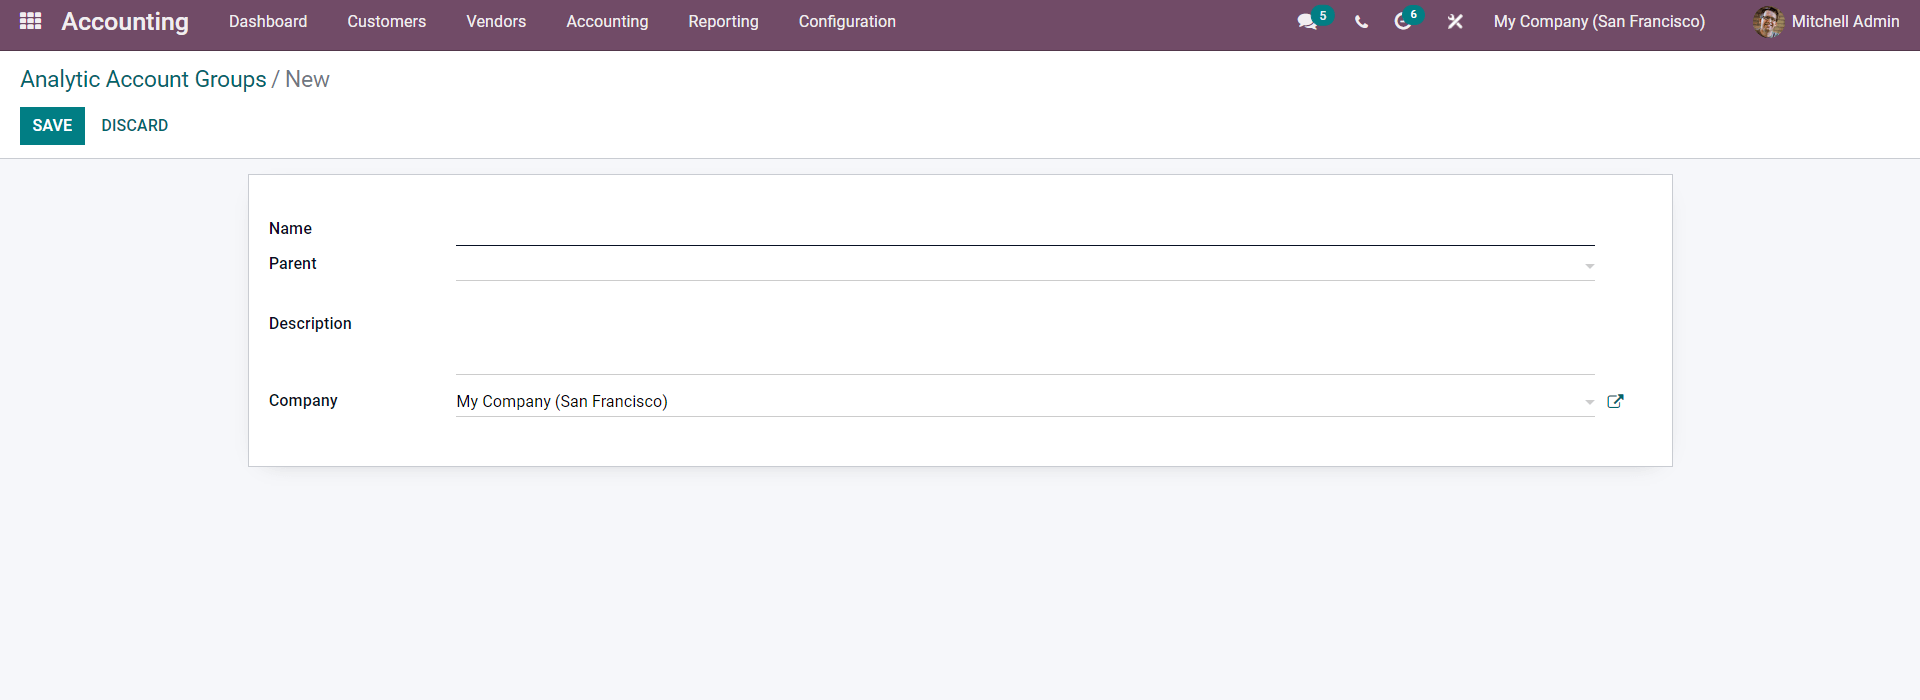
After you've finished configuring the Group, click the SAVE button. After that, you may add the group to the analytic account configuration section's Group field. You can update the company from its appropriate field and add the Reference.
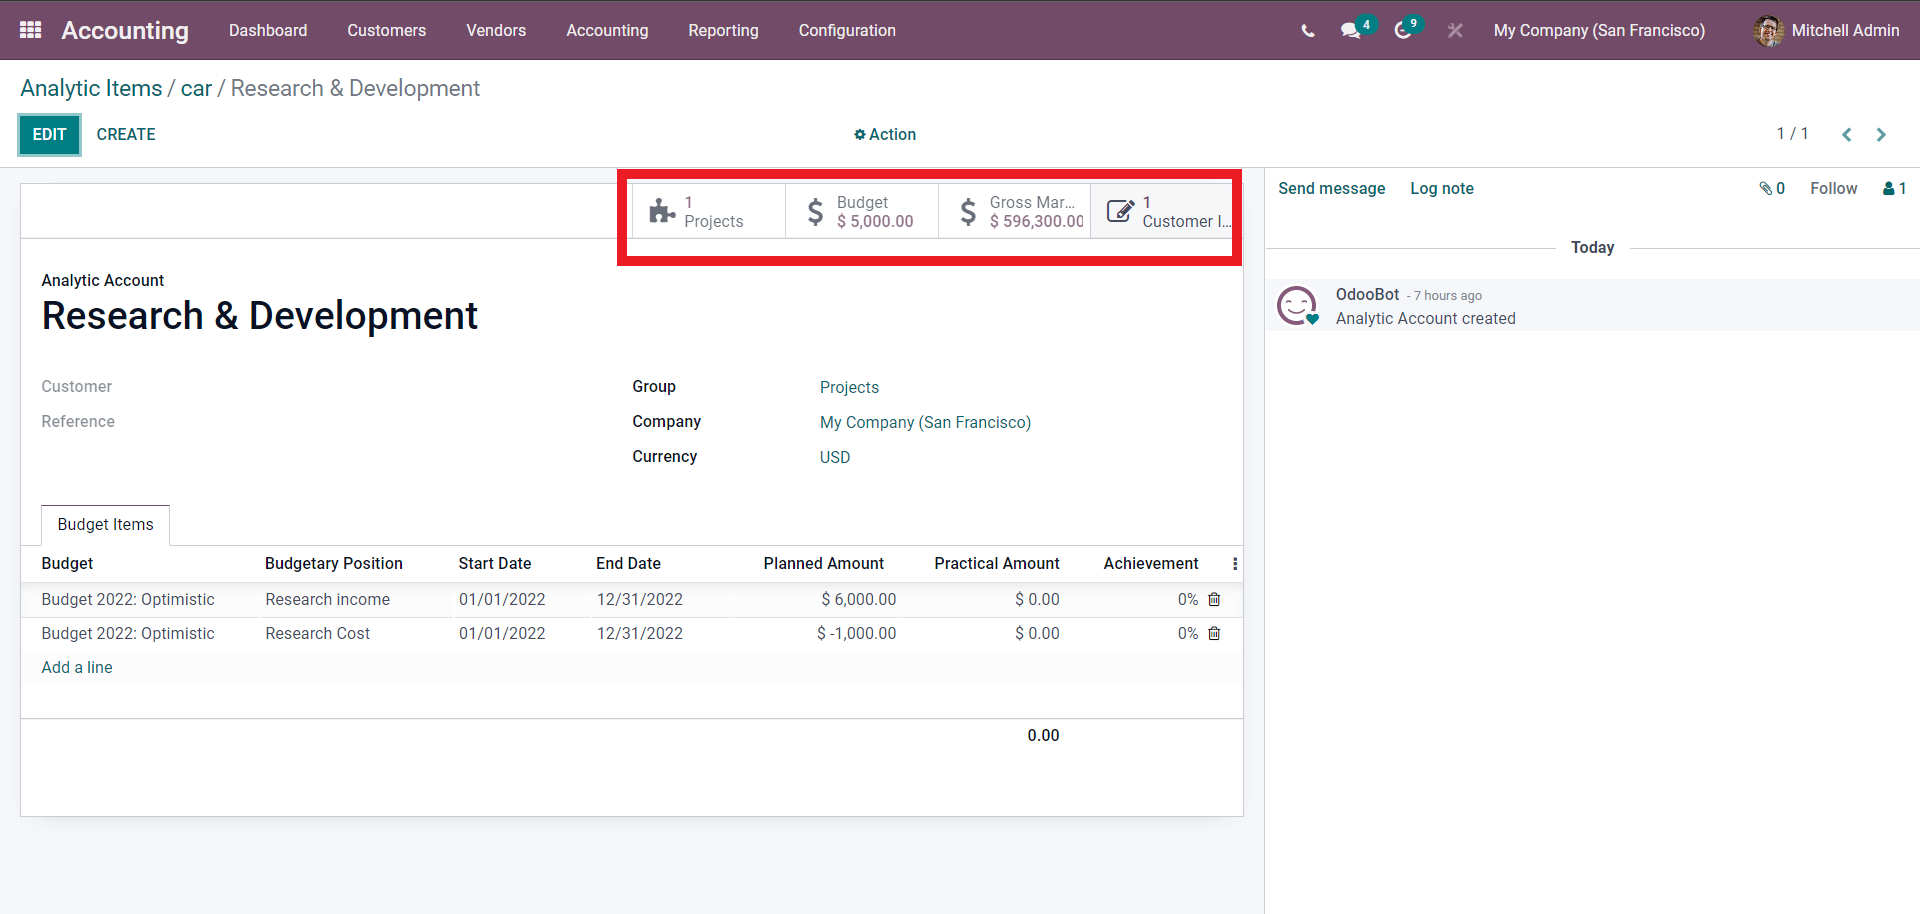
The data in the image below is from a previously created Analytic Account.
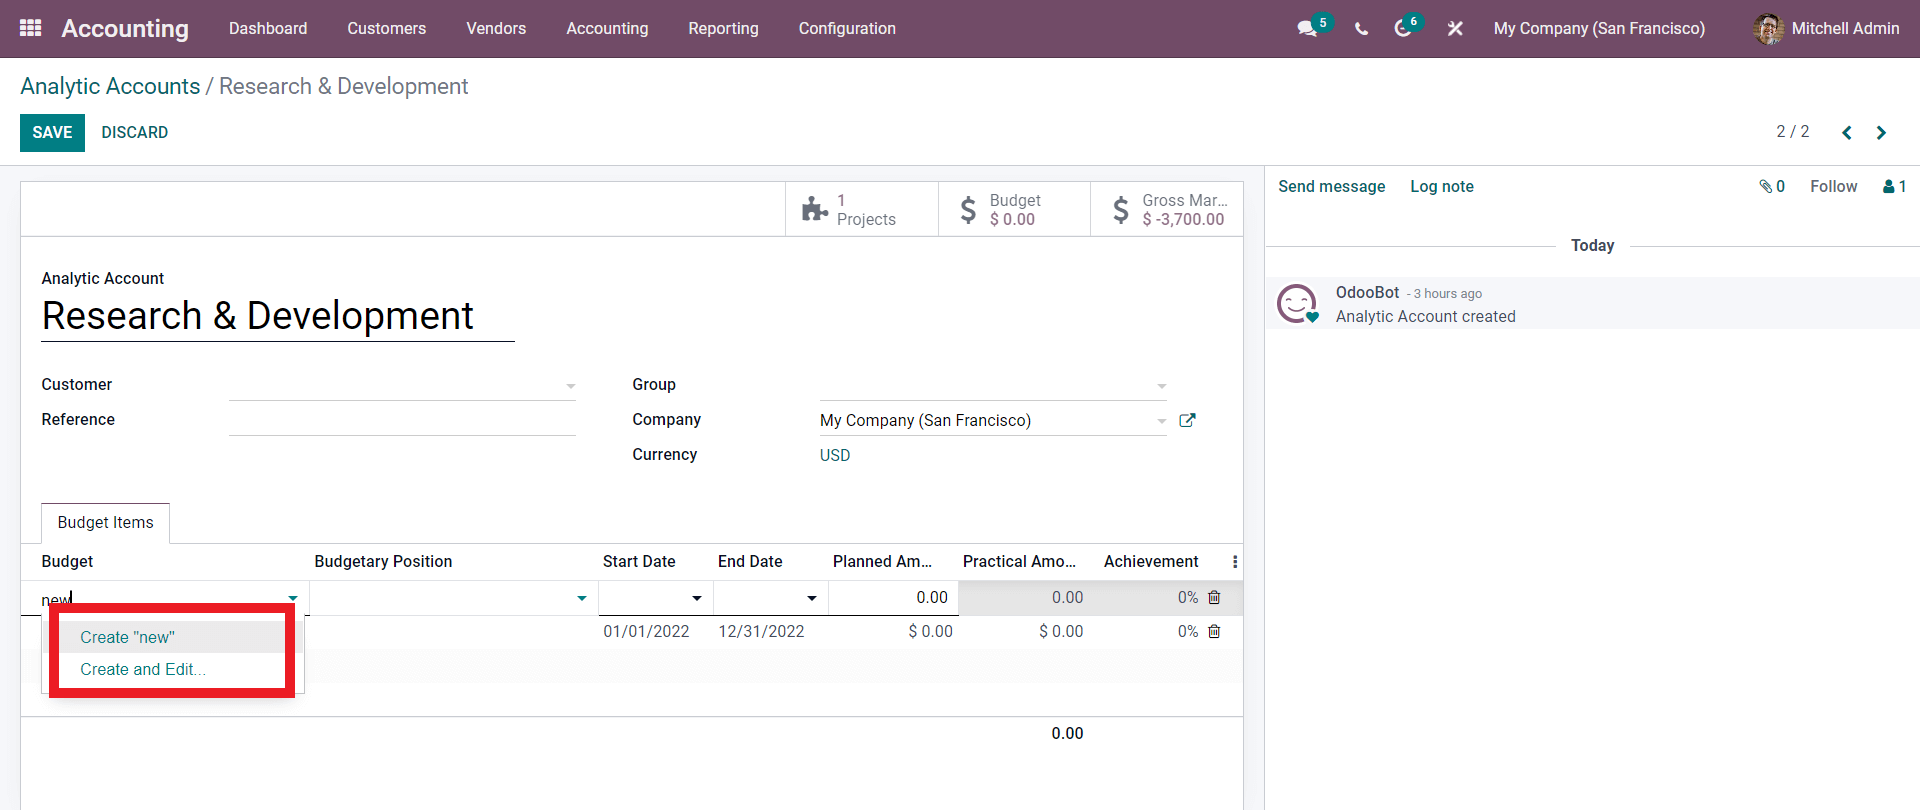
Research & Development is the name of the Analytic Account in this case. After you've completed the configurations in the upper part, go to the Budget lines section to add the Budget IS IT items. To add Budget lines, click the Add a line button and select a budget from the drop-down list by clicking on it.
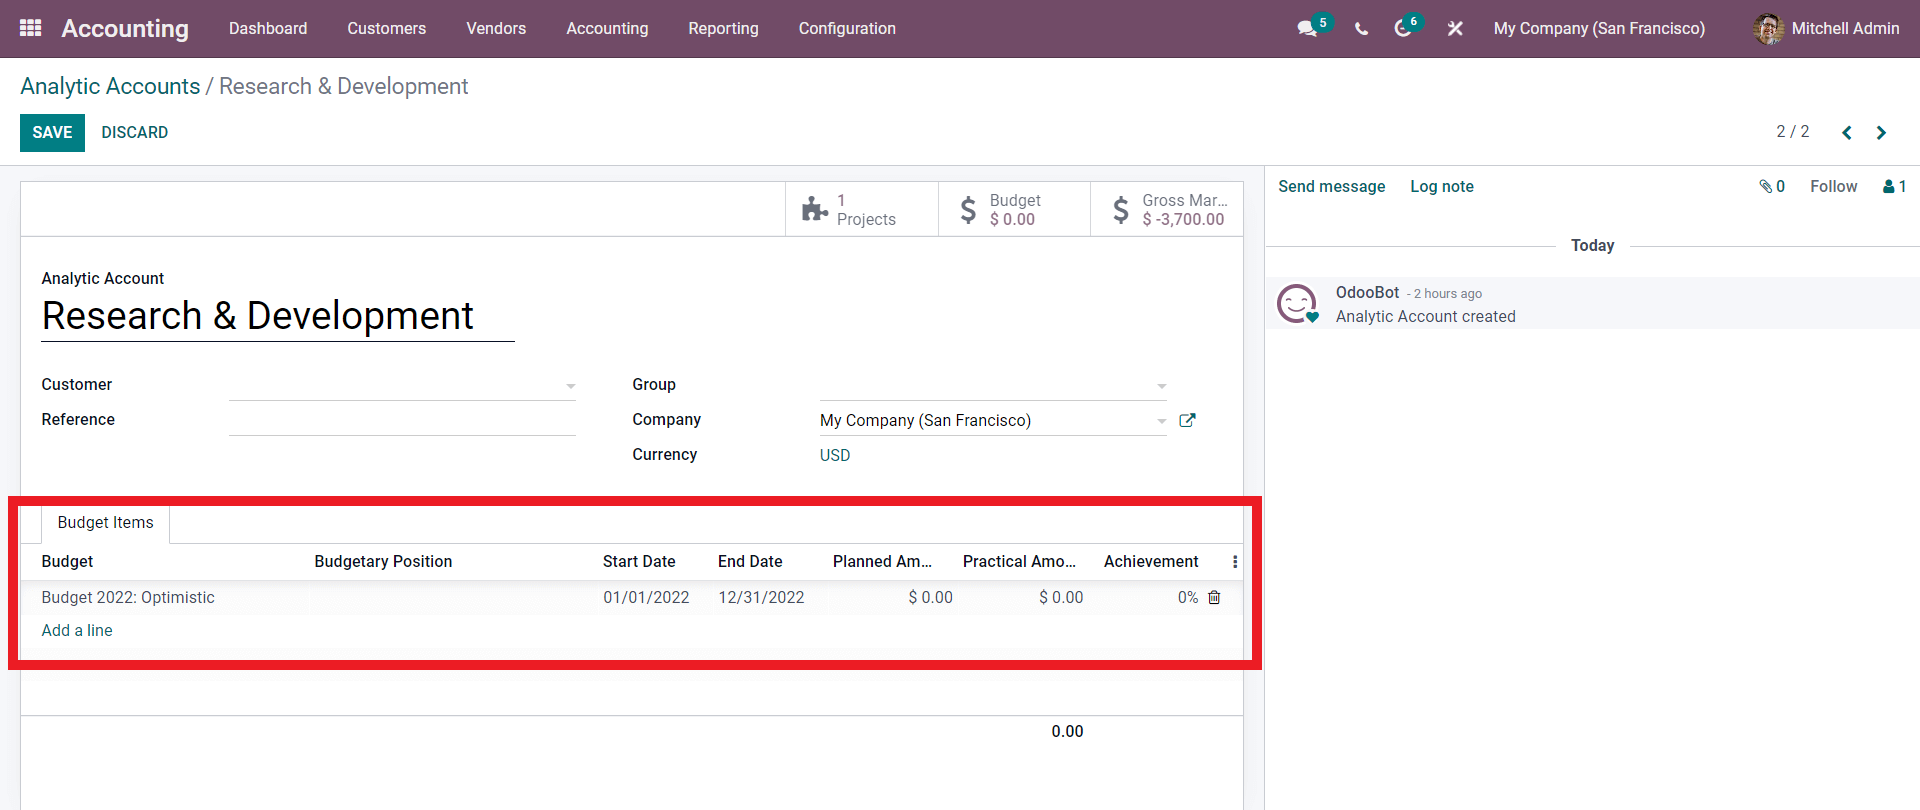
You must first build a budget before you can add it to the Analytic account. Click the Add a line button and enter in the name of the Budget to establish a new Budget from the Analytic Account. As illustrated below, press the Create and Edit button.
A setup tab will appear, as seen below, where you can configure the New budget.
After selecting a Budget, enter the Budgetary Position, and the date will be automatically configured in accordance with the Budget configurations, as shown below.
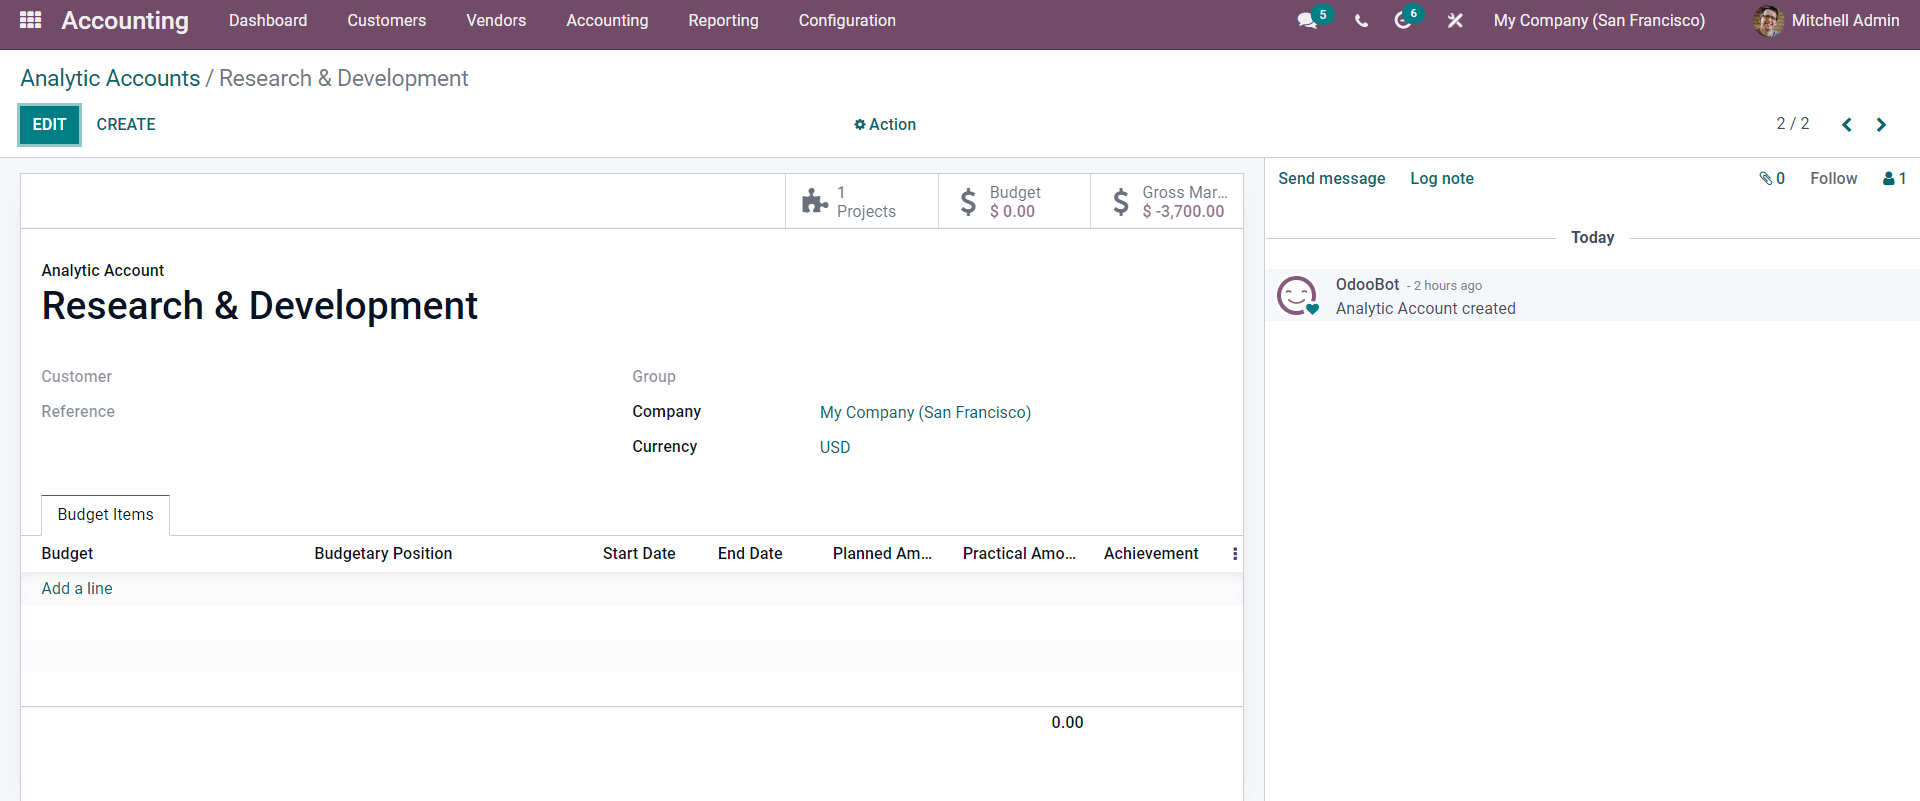
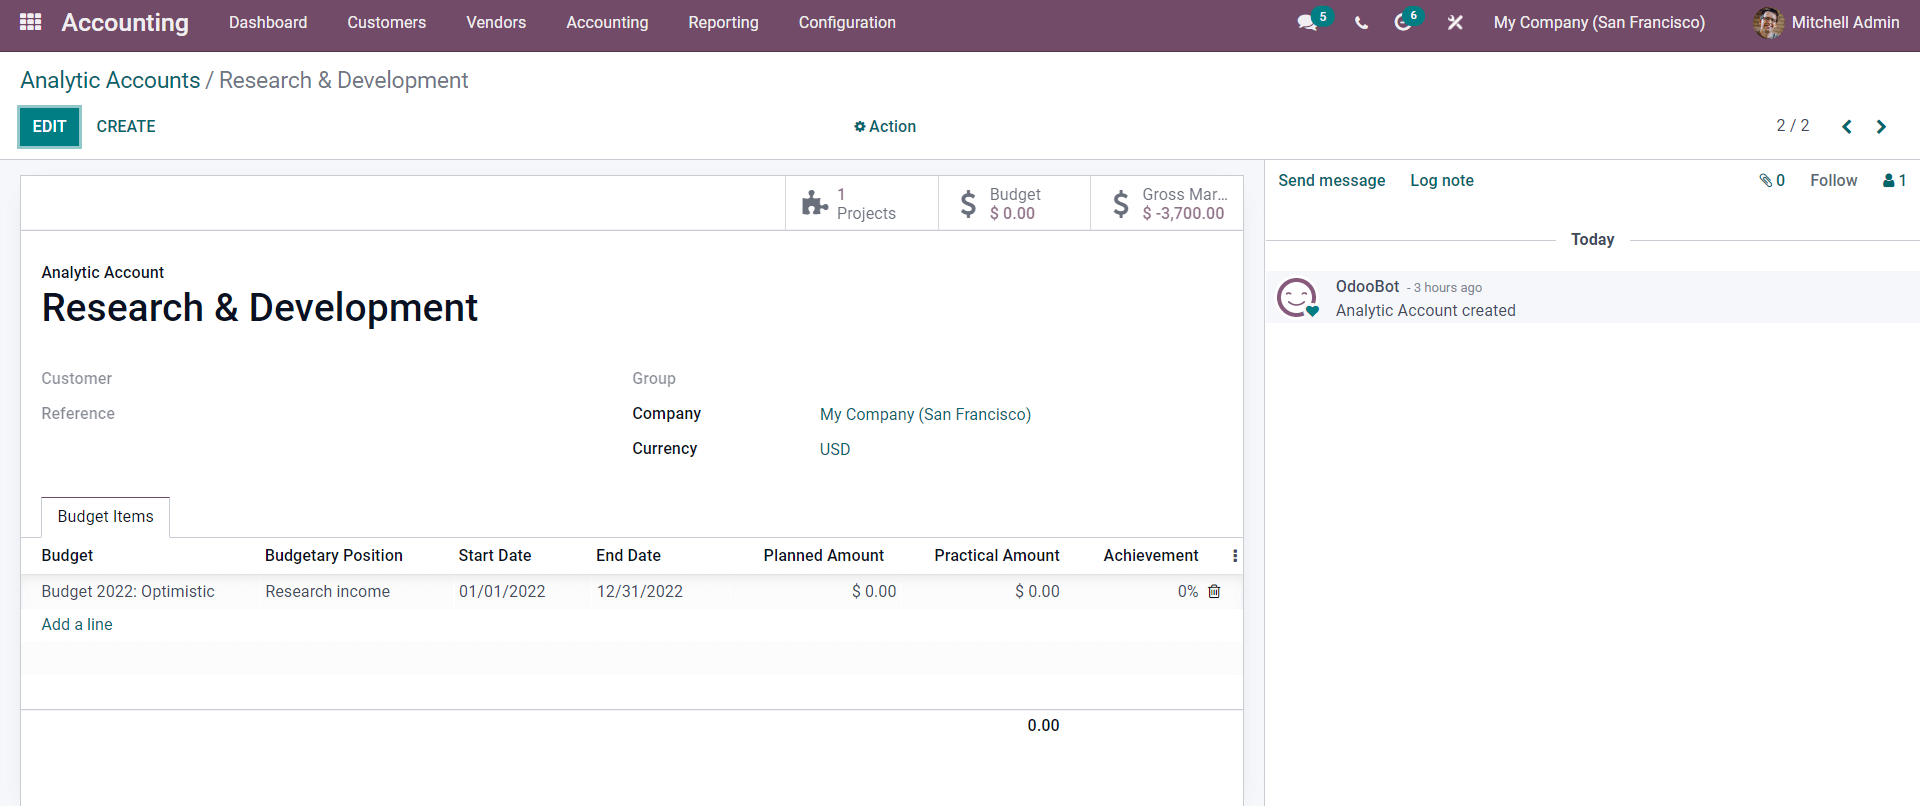
You can see the projects that are being worked on under your Analytic Account, the budget, and the Gross Margin all in one place.
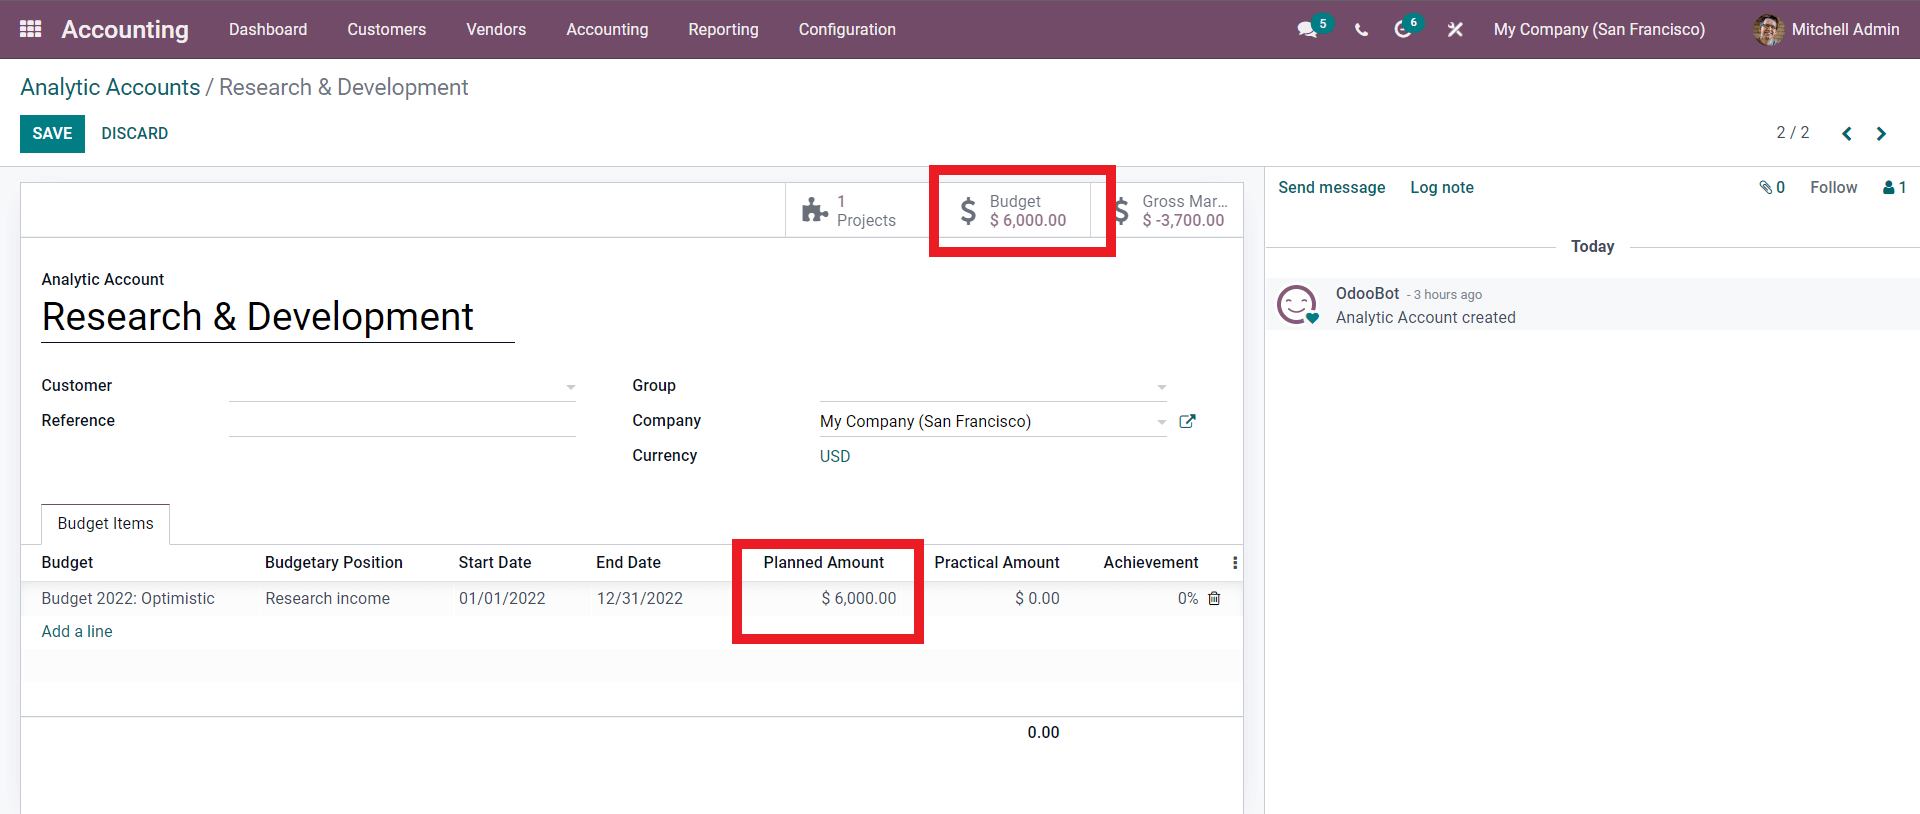
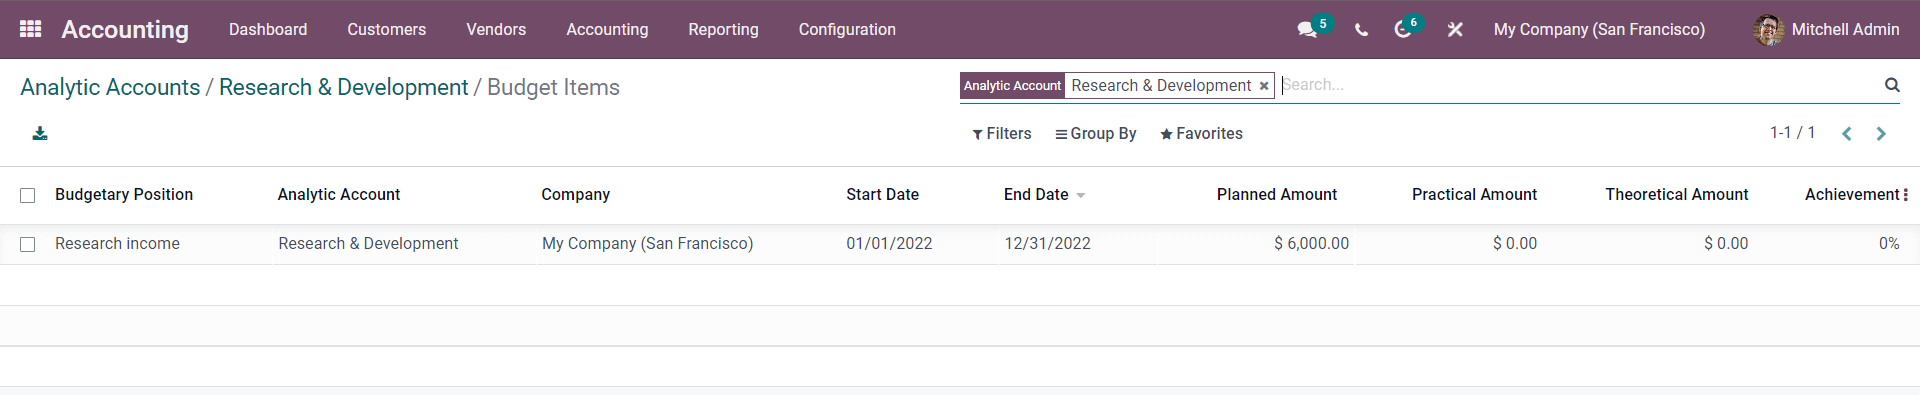
The Budget line's Start and End dates, as well as the Planned amount, can all be altered. If you modify the Planned amount, the Budget will be changed immediately, as seen below.
As seen below, you can add numerous Budgets to the same Analytic account.
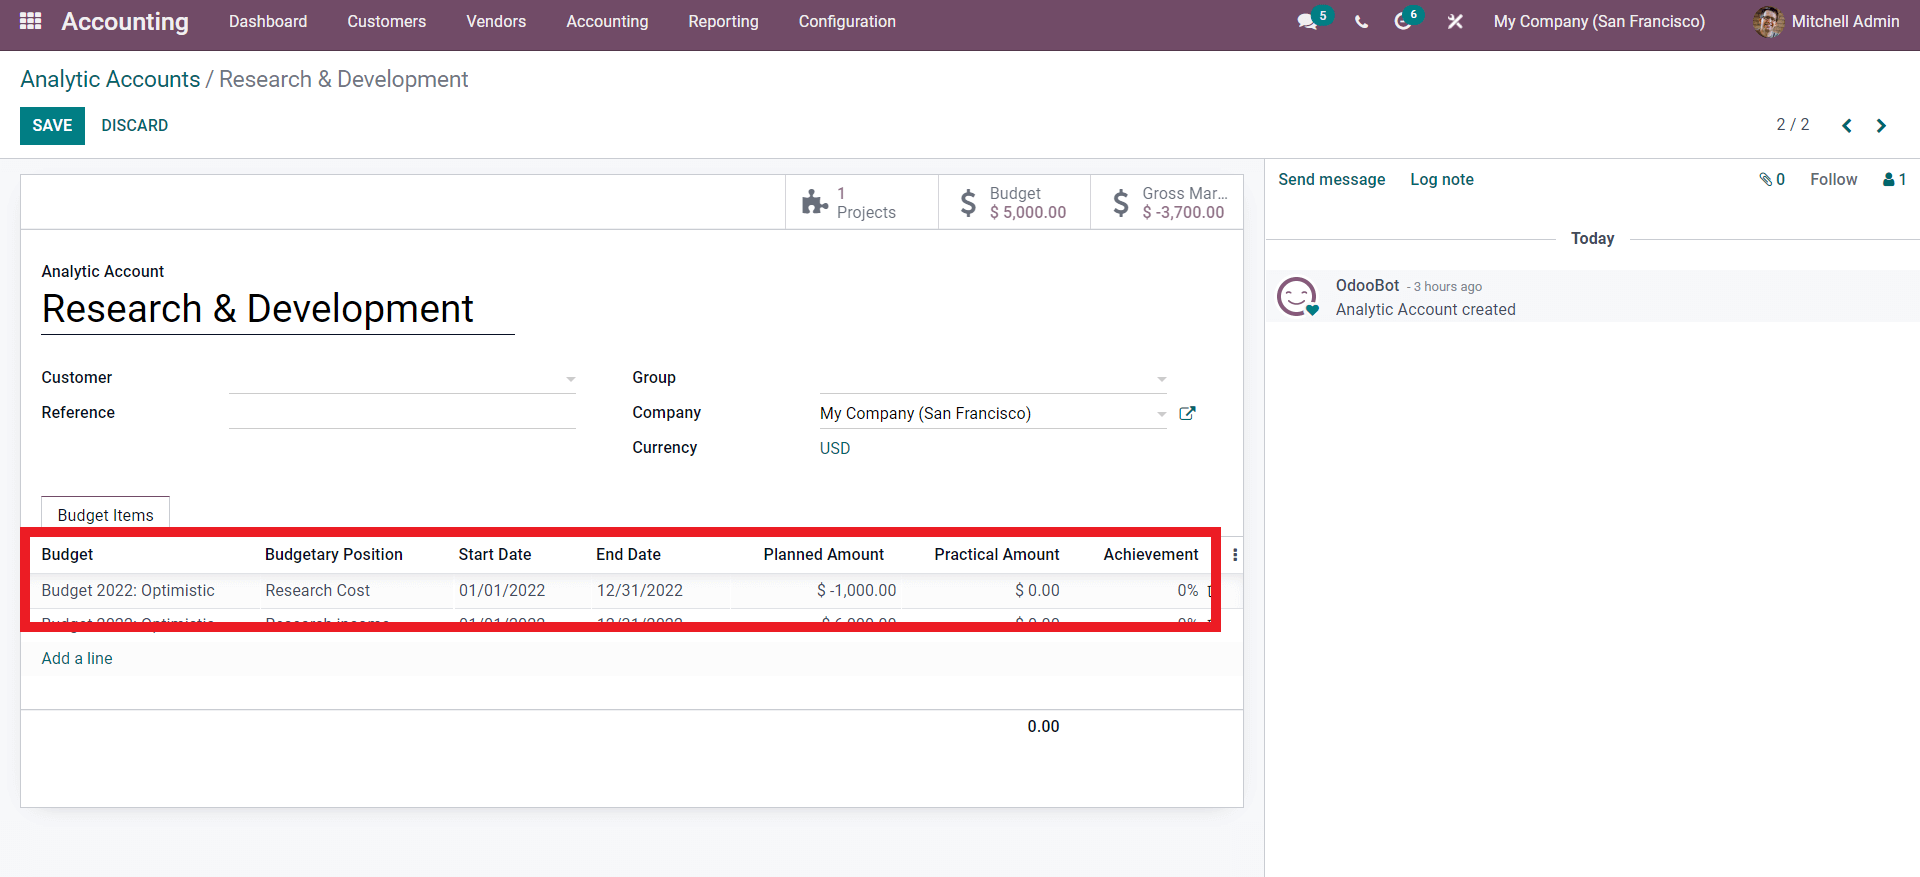
You can specify the Budget's Start and End dates. The name of the budgeting position in Research Cost is $ -1000, and the Planned amount is $ -1000. Similarly, depending on the nature of the Analytic account and the project it is managing within your organization, you can create an unlimited number of Budgetary jobs.
Let's start by creating a Sales order to demonstrate how the Analytic account works. Go to the Sales module to make one. Click the Orders tab on the modules dashboard, then Orders from the drop-down menu.
A page with a list of sales orders will appear; press the CREATE button to open a configuration page where you may configure the sales order.
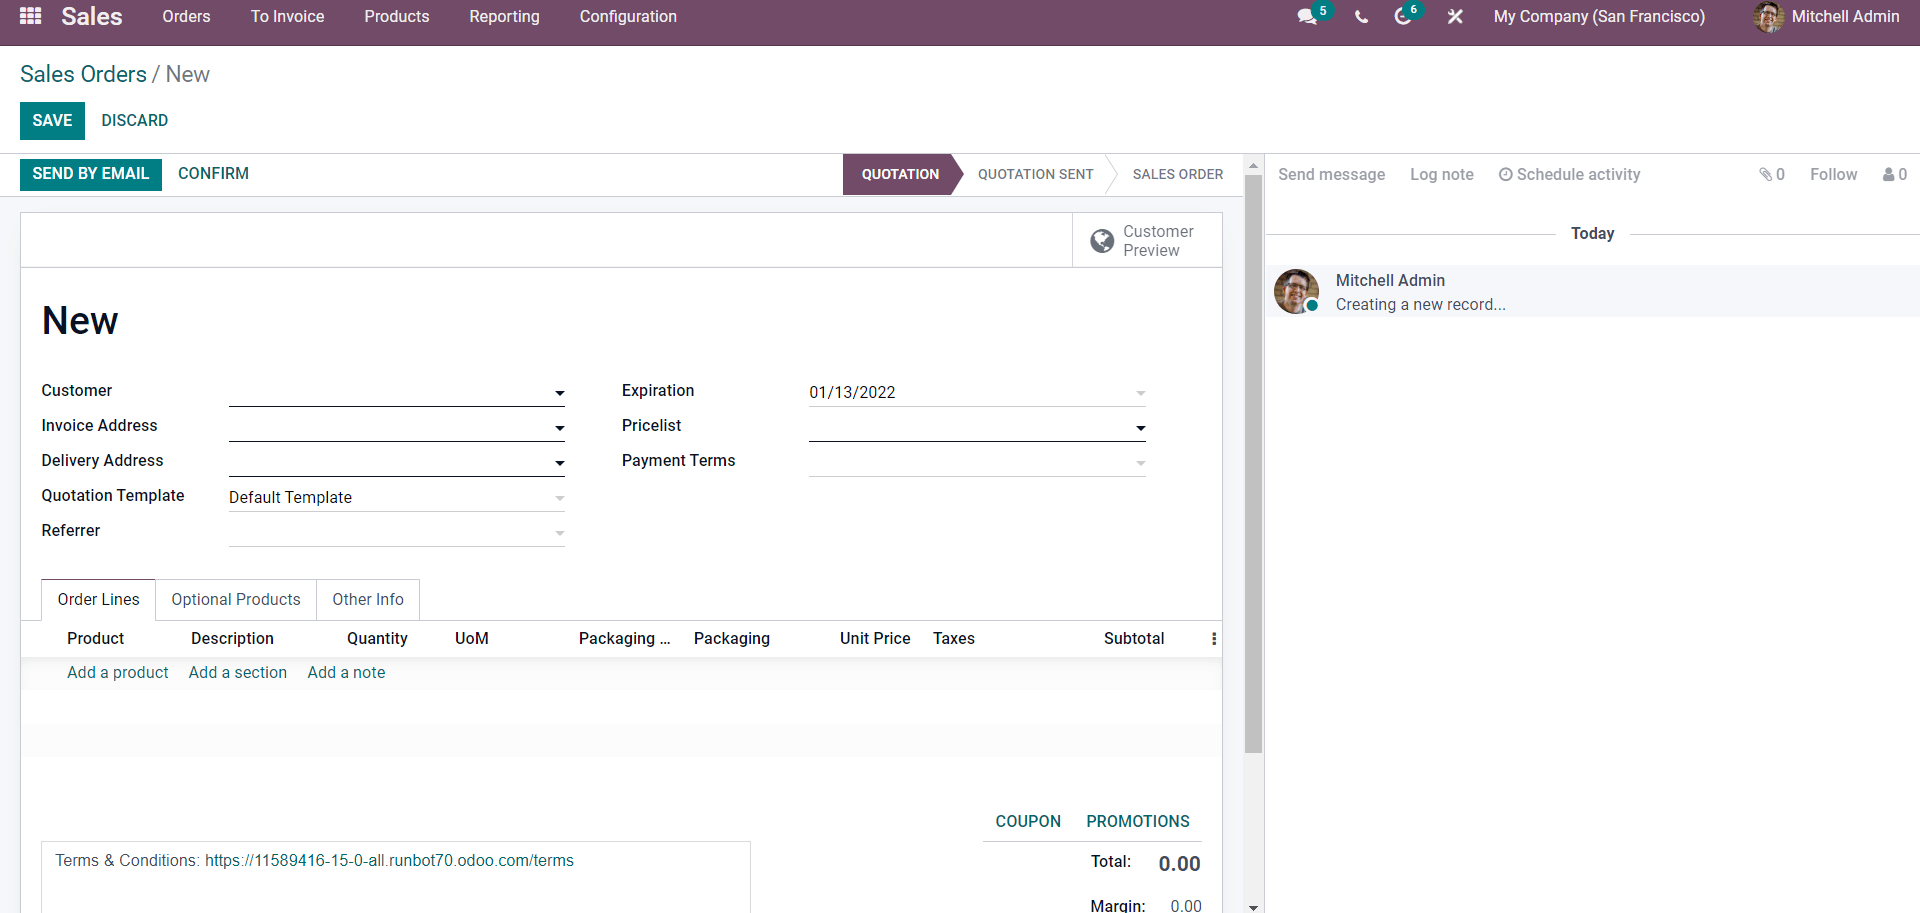
The above-mentioned page can be used to establish a sales order.
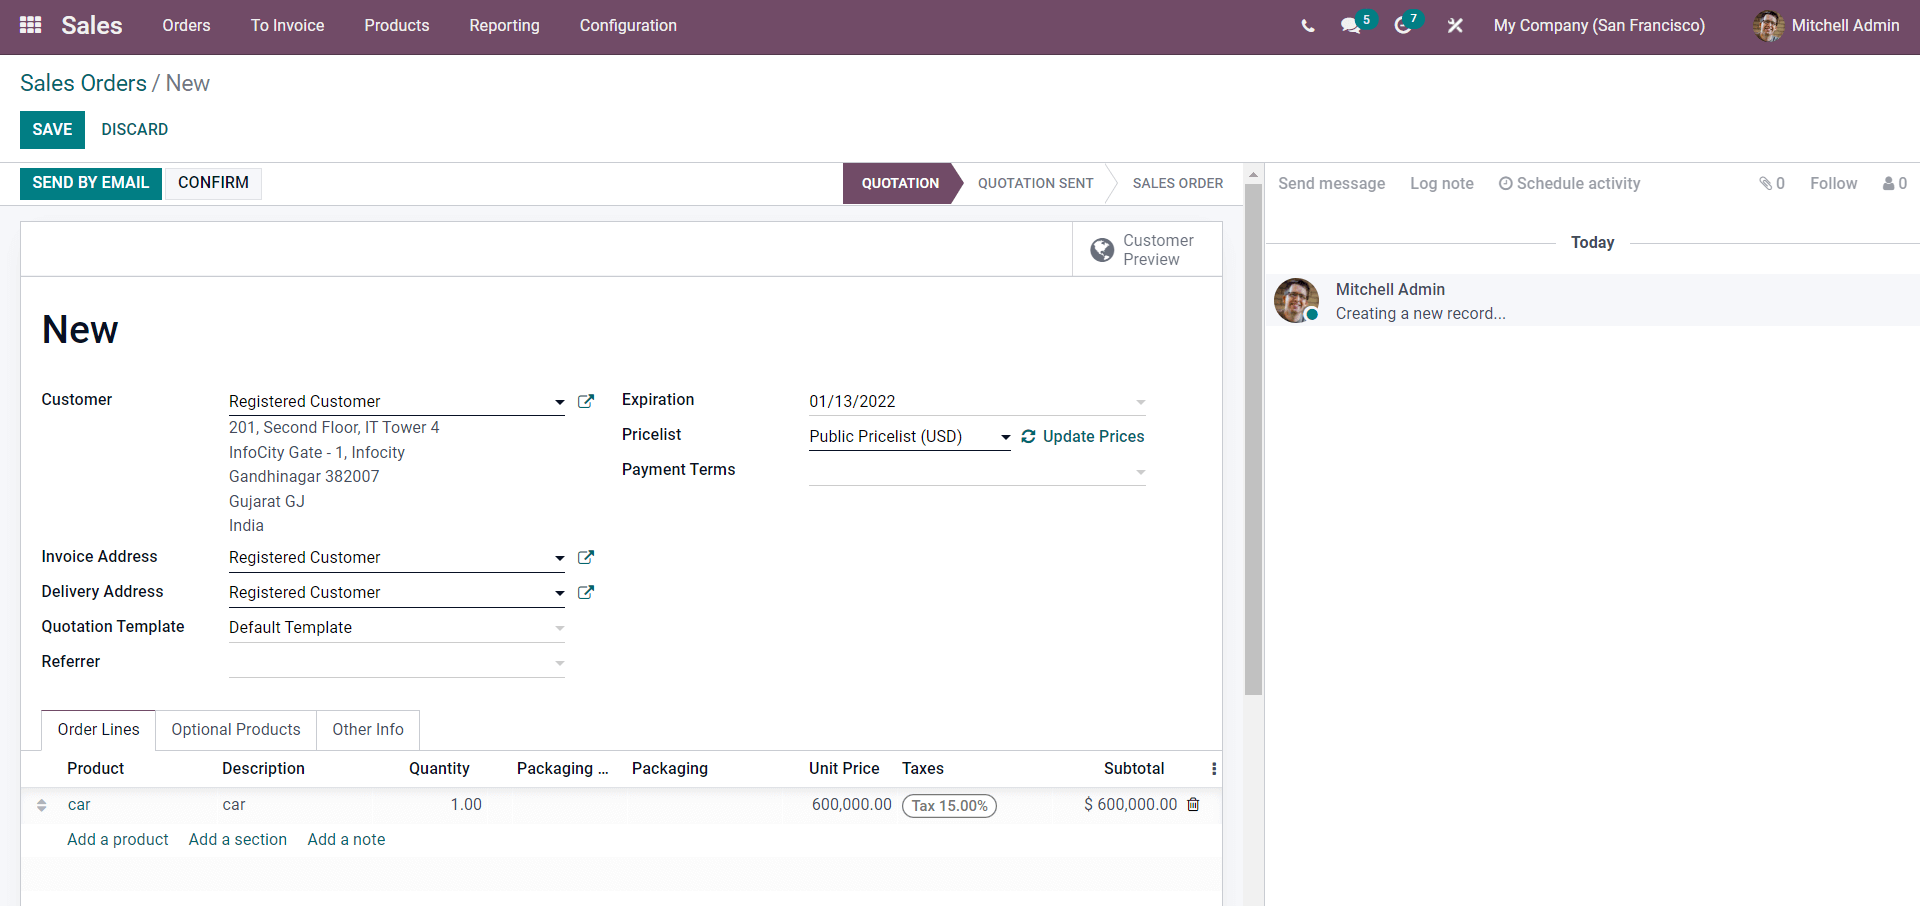
From the order lines section, add the Product. To add a product, click the Add a product button, which will bring up an empty area where you can type in the product's name. After you've completed the configurations, click CONFIRM to proceed to the next stage.
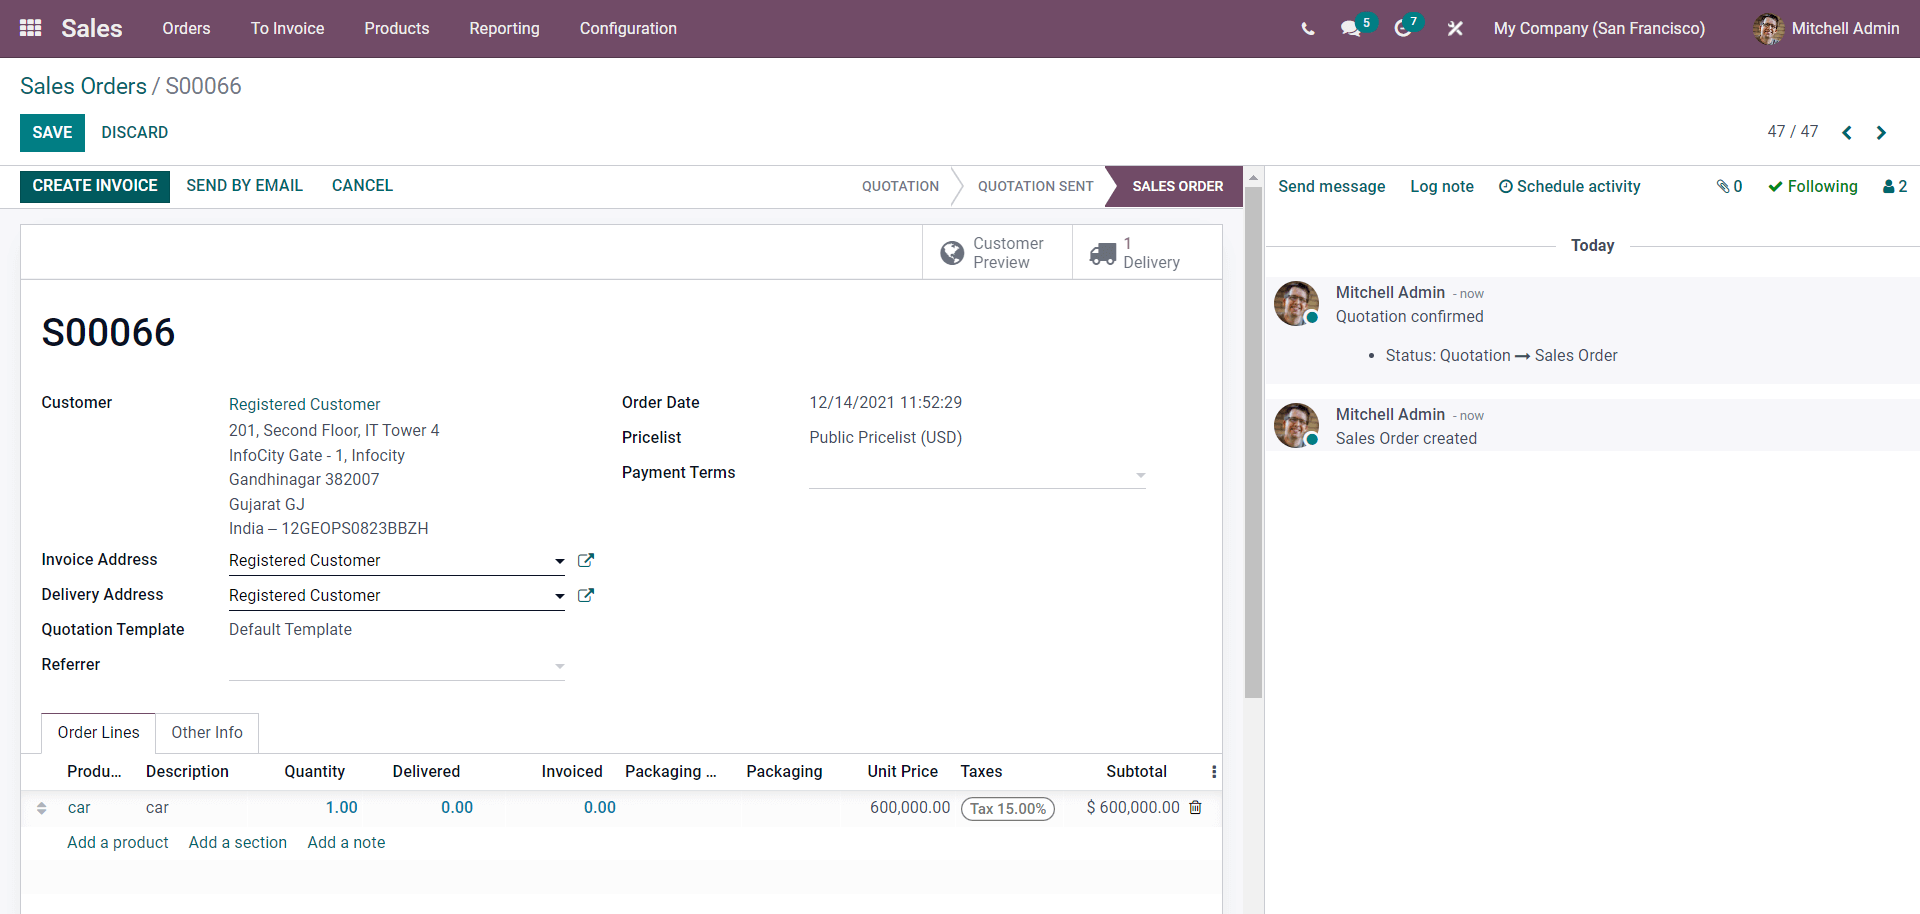
Review the settings and then click the CREATE INVOICE button to bring up a fast configuration tab.
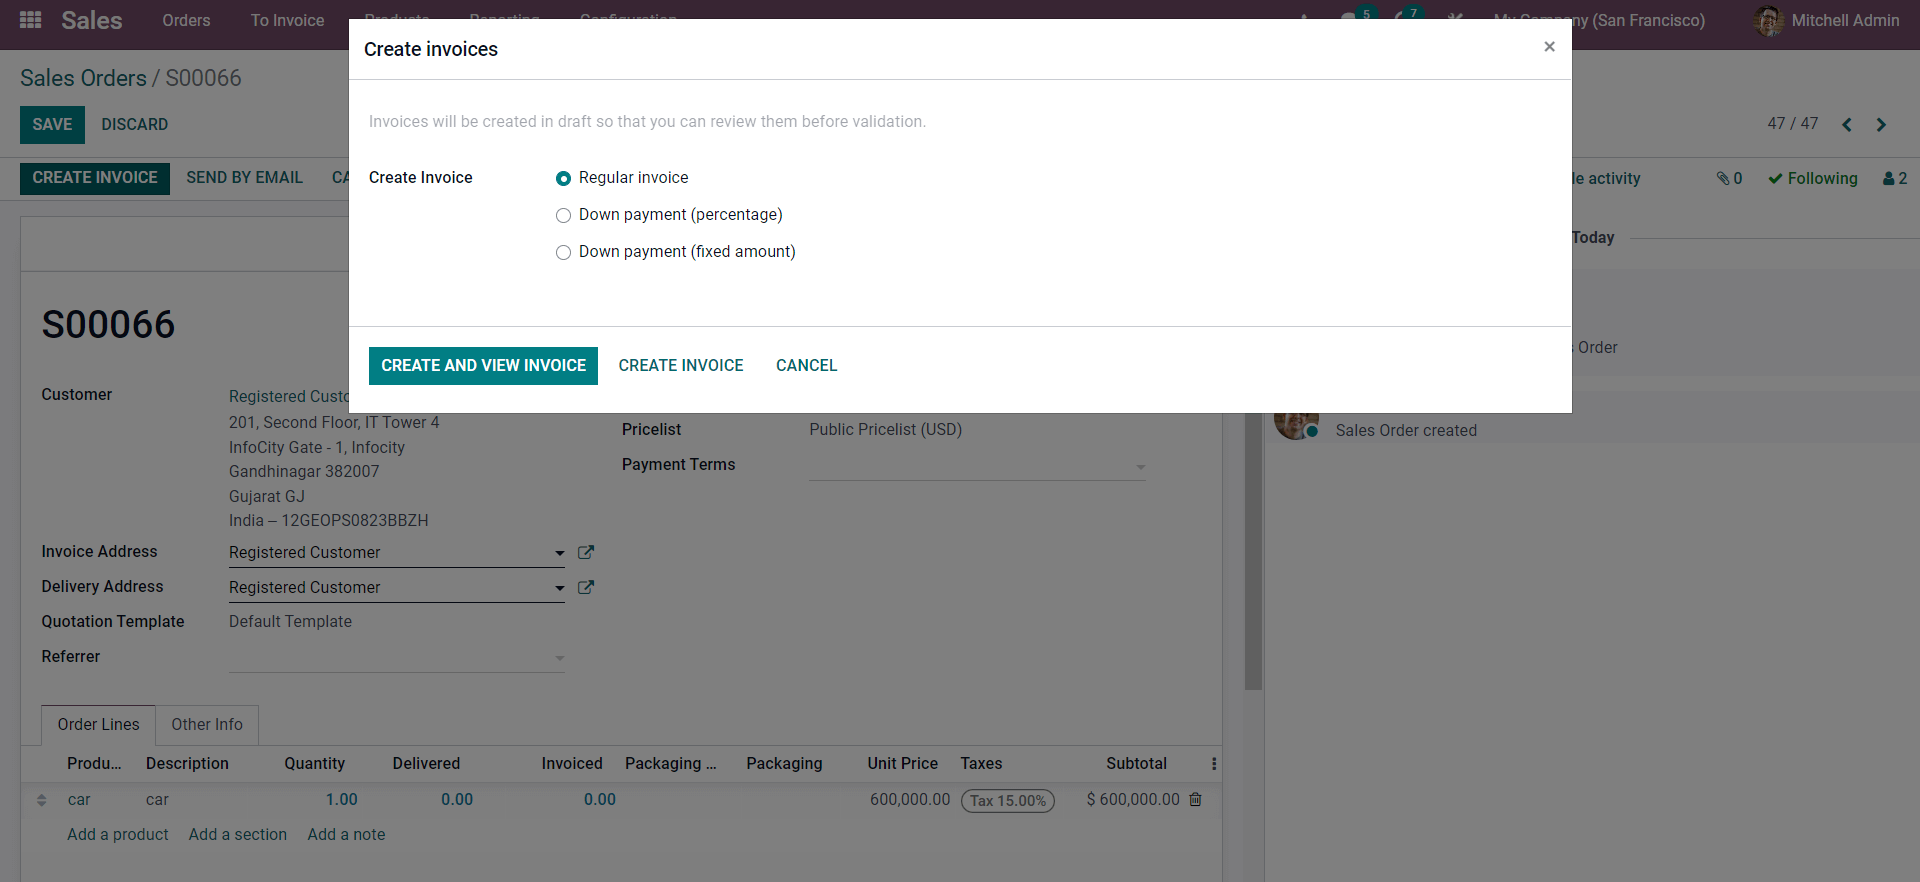
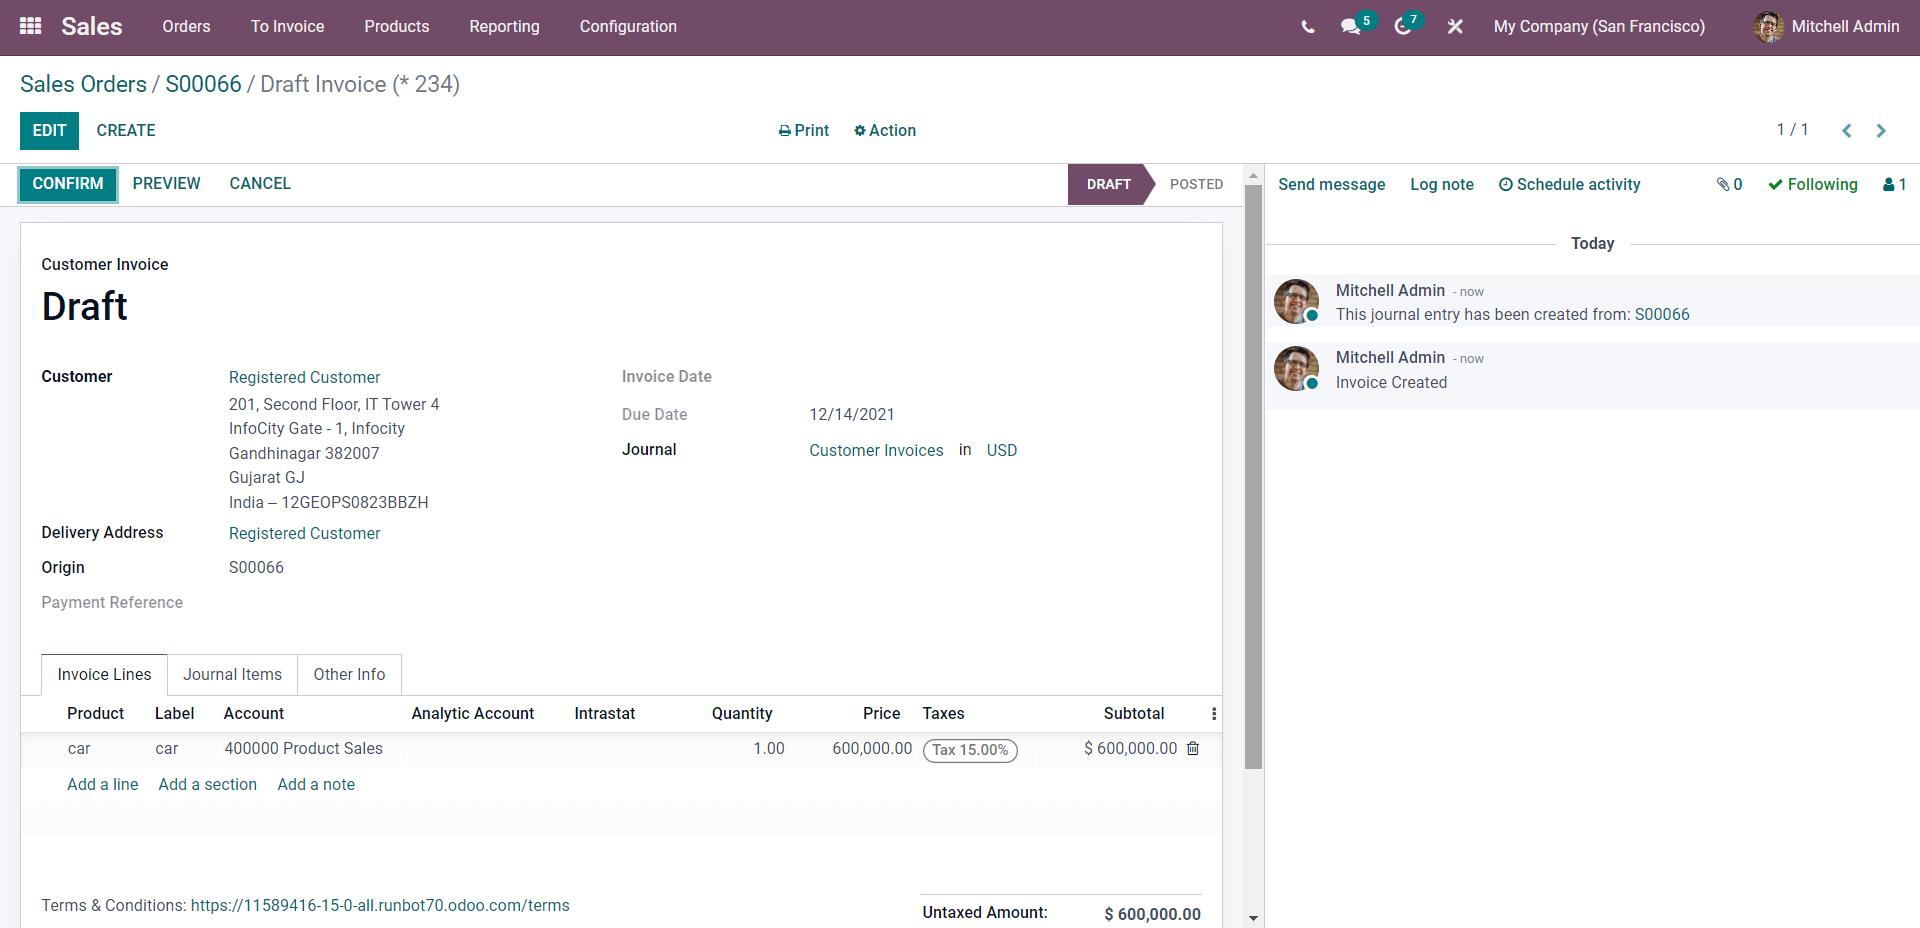
Select the invoice type and then click the CREATE AND VIEW INVOICE button to access a draft invoice page, as shown below.
Go to the section for invoicing lines. Here you'll find a field for an Analytic Account. To add the Analytic account, select the field under the Analytic Account. A drop-down menu of options to add the. Analytic account will appear, as shown below.
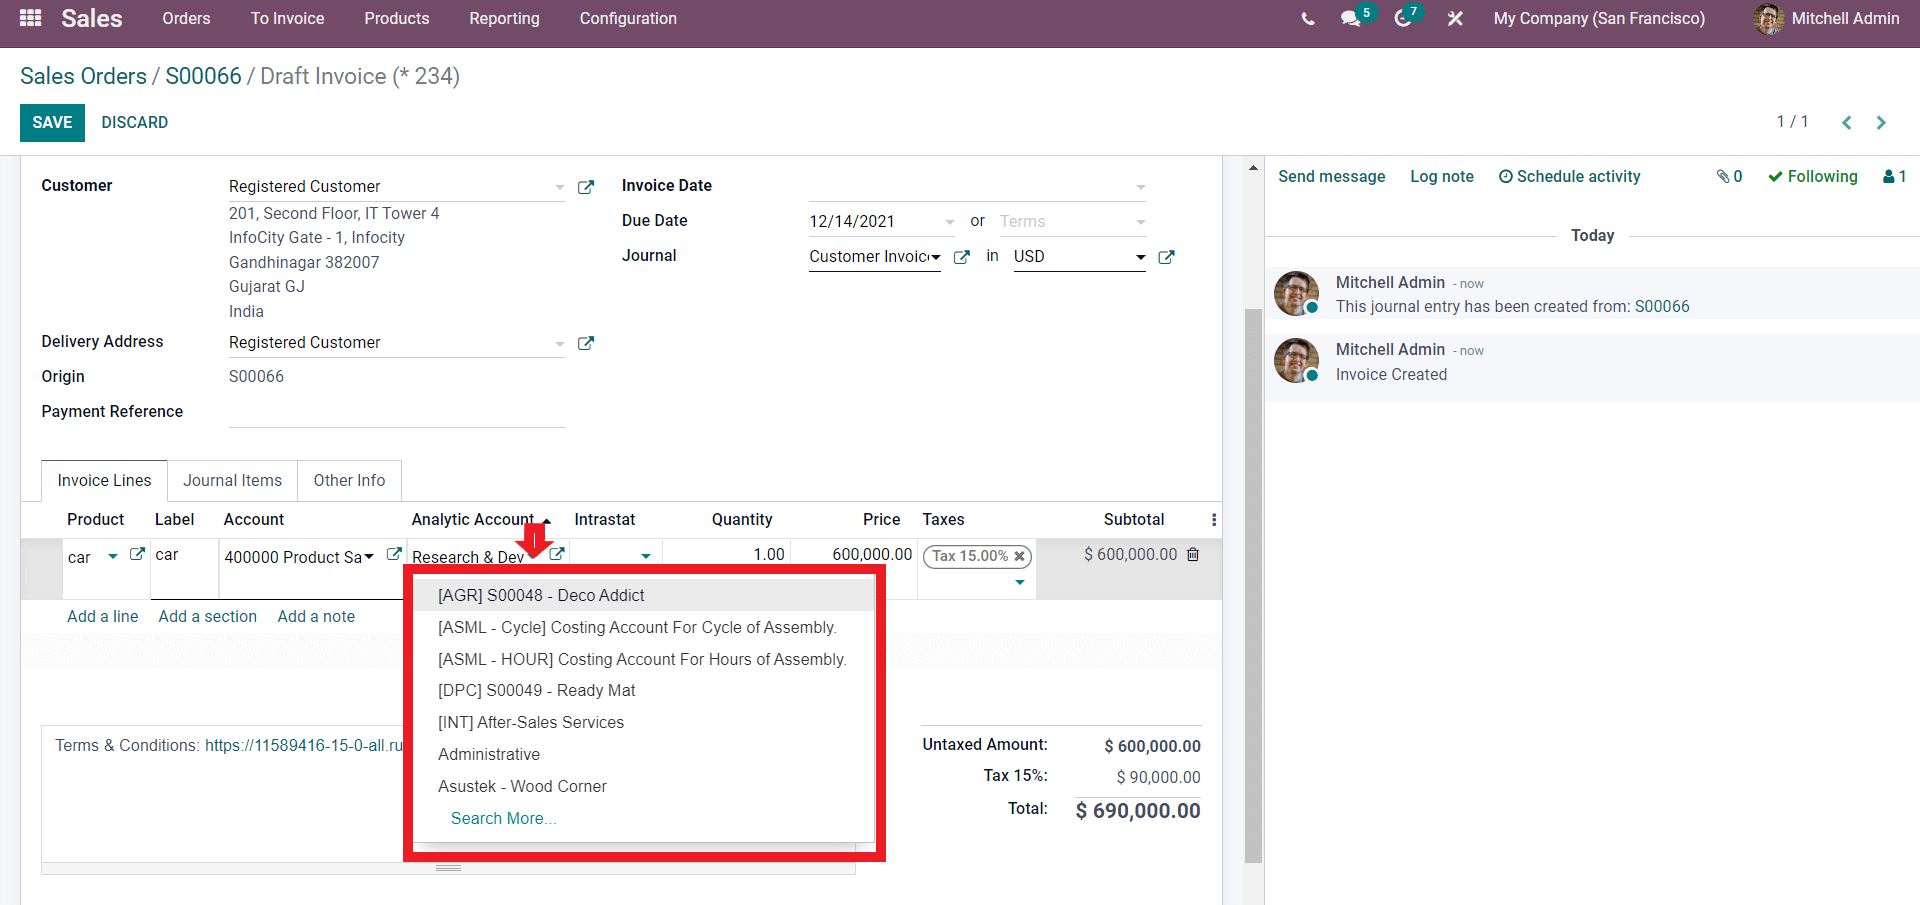
Select the Analytic Account you created earlier from the list and add it. After you've made your changes, scroll up to the top of the page and click the CONFIRM button to complete the process. After that, go to the Accounting module and select the Analytic items option from the Accounting dashboard's setup tab. Click on it and a page will appear as shown below.

This is the Accounting module's ANALAYTIC ITEMS page. To see a detailed view of the Analytic Item, click on it, as shown below.
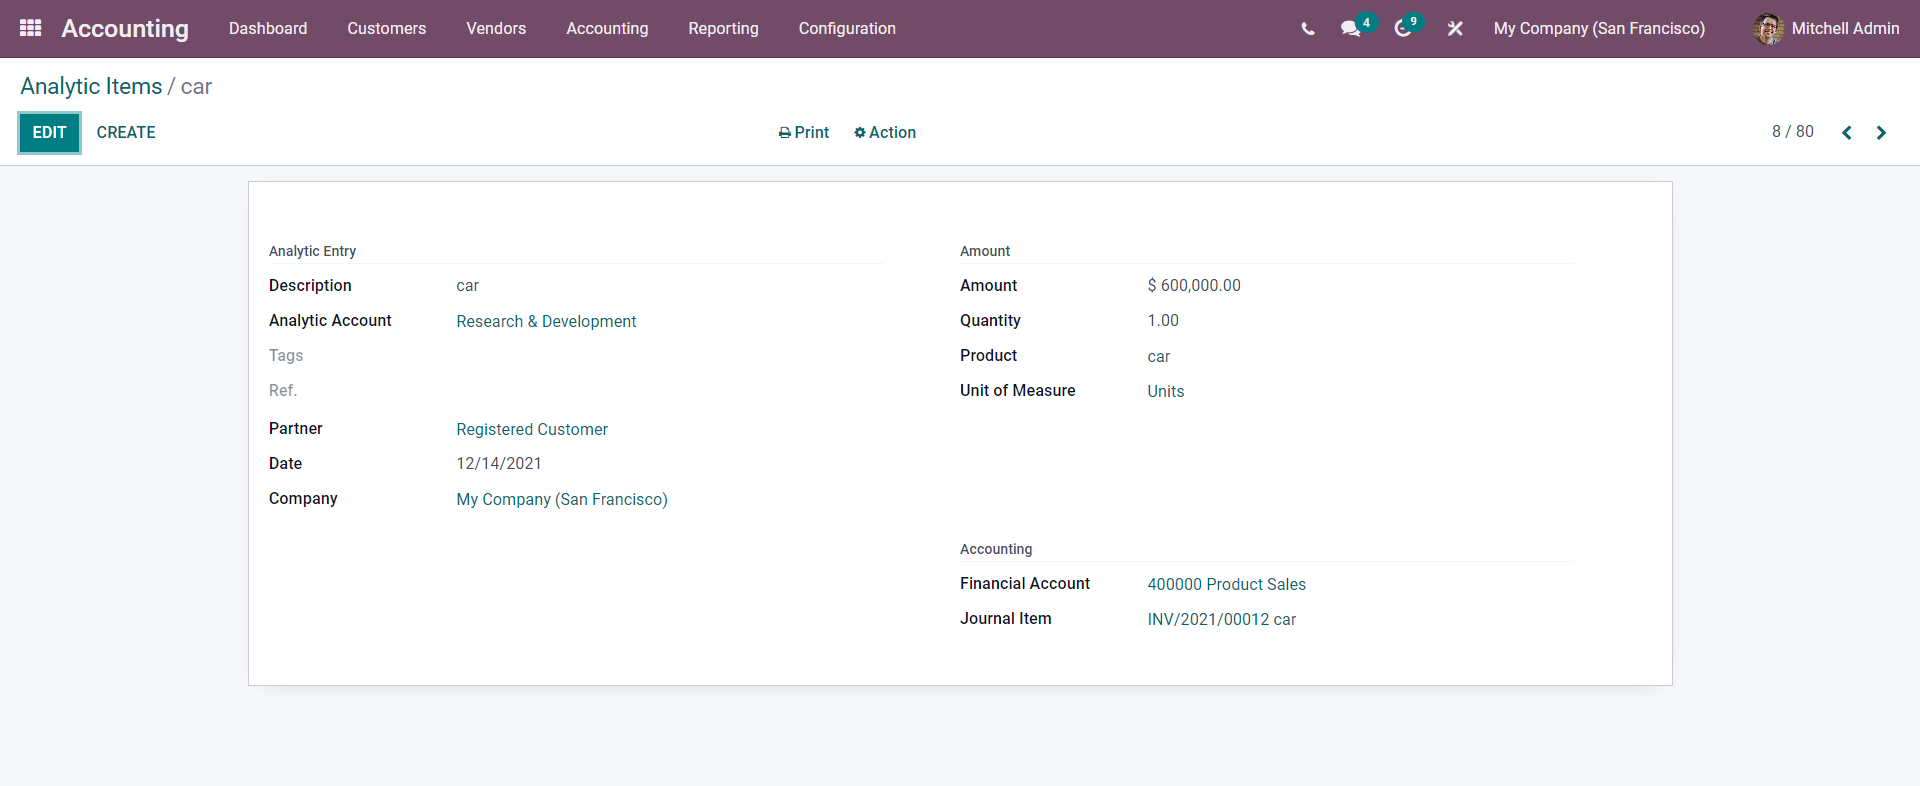
Next to the Analytic Account, the Account name will be displayed. The Analytic account for Research and Development may be found here. Click on it to go to the Analytic account configuration page, which is shown below.
You can see how the sales order affected the Analytic account in the diagram above.
Note that only entries involving Analytic accounts will be put in the Analytic account area, with the remainder appearing in the Journals entries. Analytical accounts have their own section in the analytic items section.
Odoo 15 Accounting Module Analytic Tags
Analytic tags, as the name implies, are a tool that allows you to tag analytic items in order to better manage analytic distributions. This feature must be activated before it can be used or applied. Scroll down or search for analytic tags in Settings under the Configuration tab.
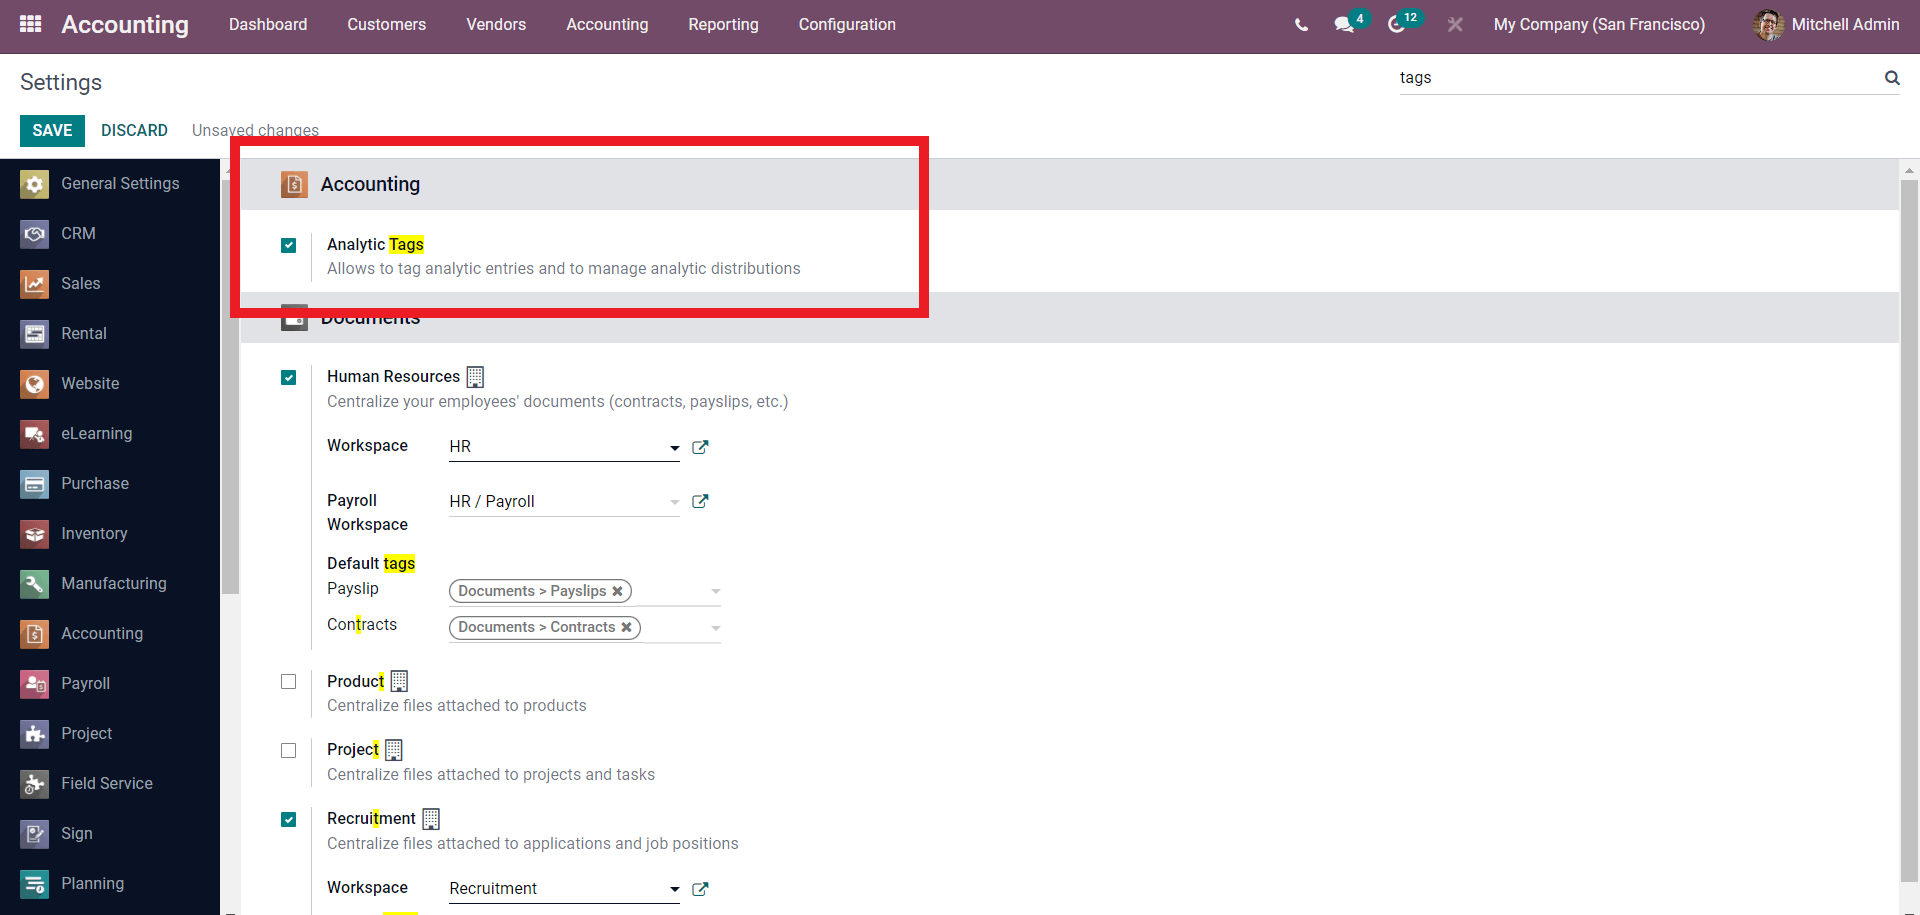
To enable the Analytic tags, check the box next to them, as shown above, and then click the SAVE button to save the configurations. Under the Configuration tab, you'll discover the Analytic tags. It will lead you to the Analytic tag page or section as indicated below if you click on it.
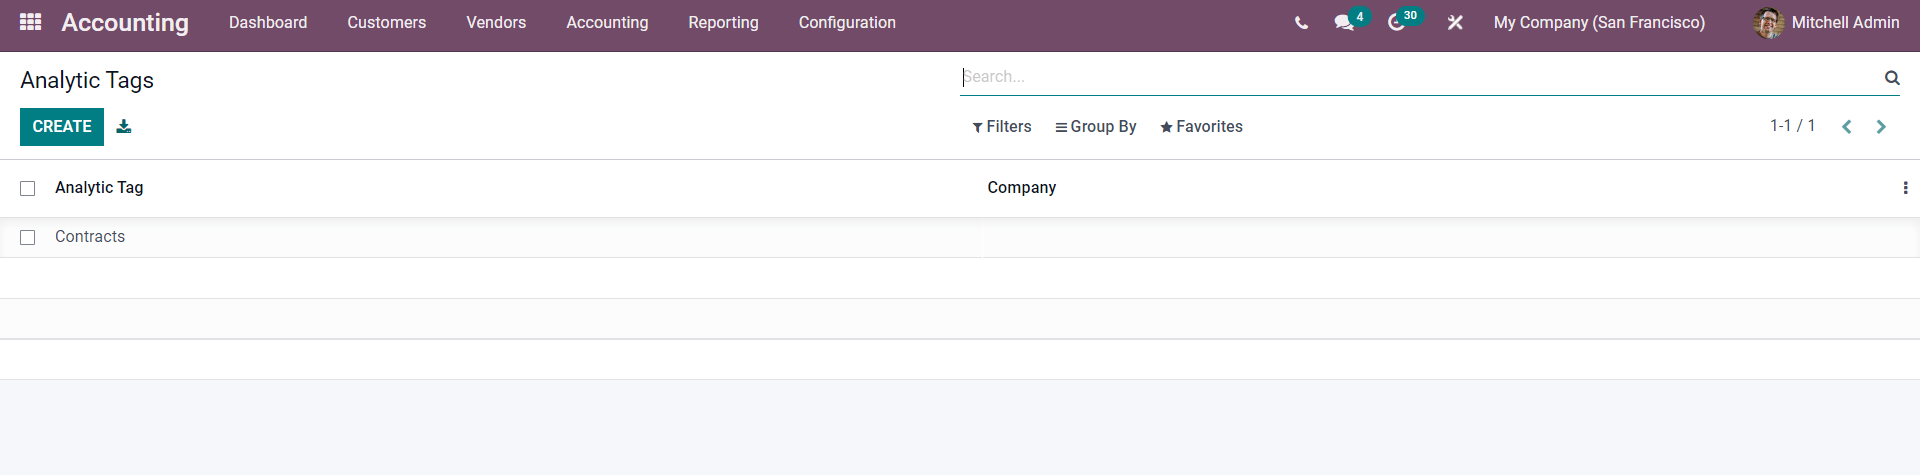
All of the Analytic tags that have been created will be listed here for simple administration. To create a new Analytic tag, click the CREATE button, which will open a page similar to the one below.
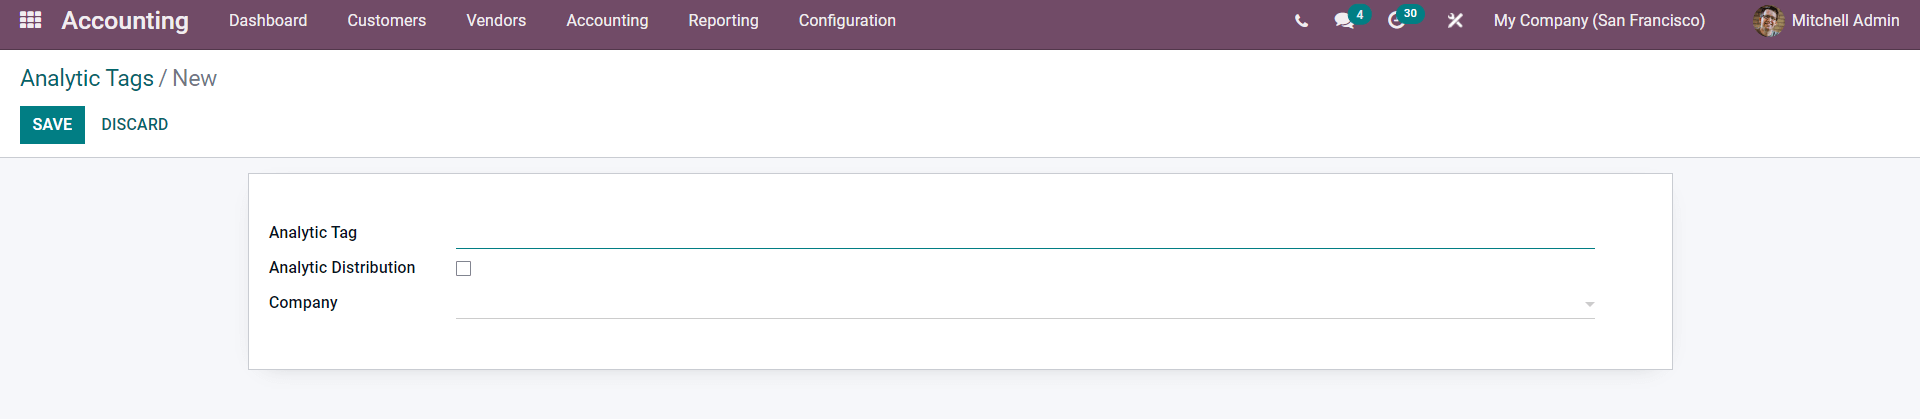
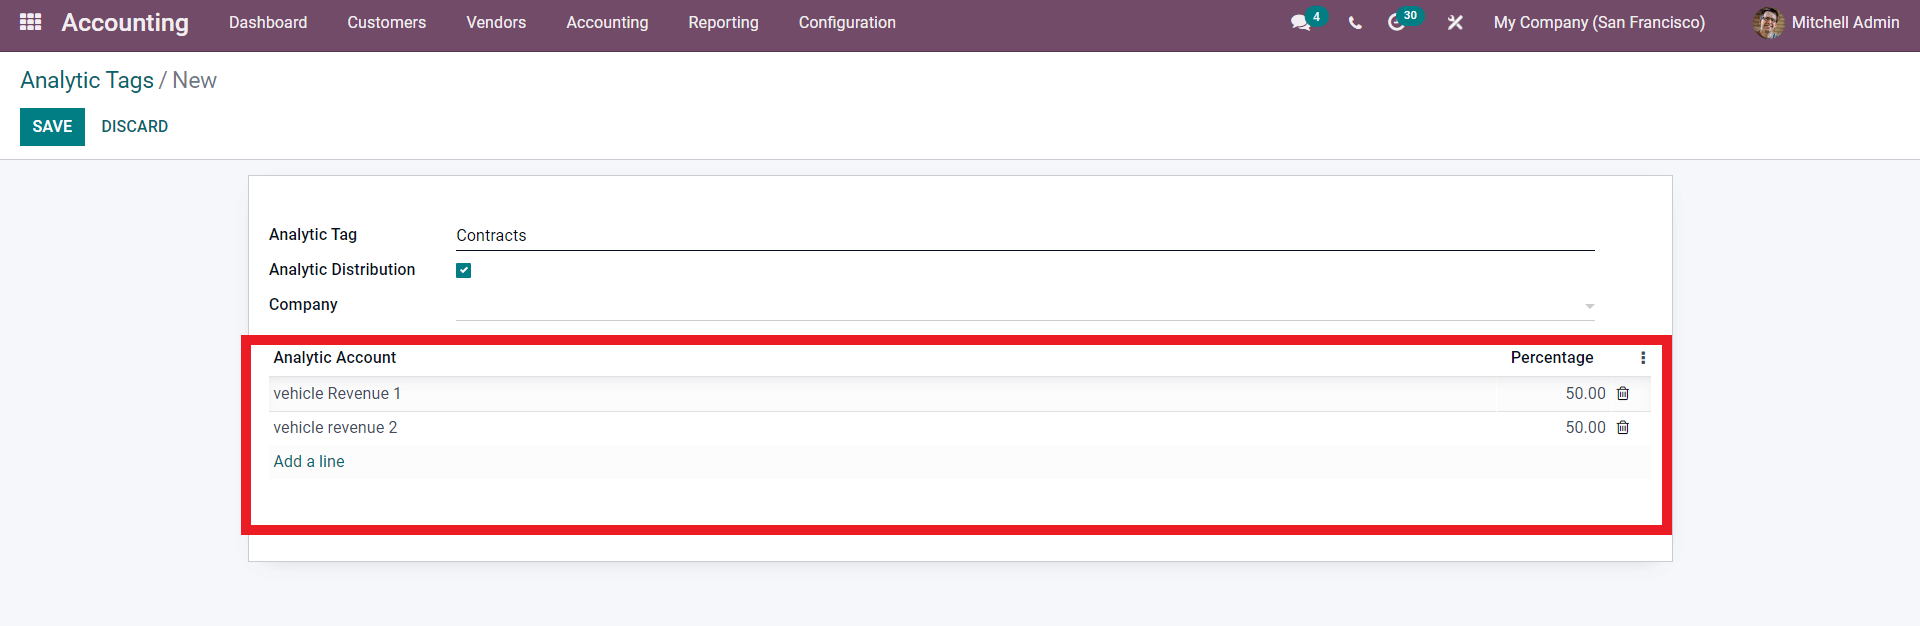
In the Analytic Tag section, type the name of the analytic Tag and check the box next to the option to enable Analytic Distribution. As soon as you click this, a new field will appear, as shown below.
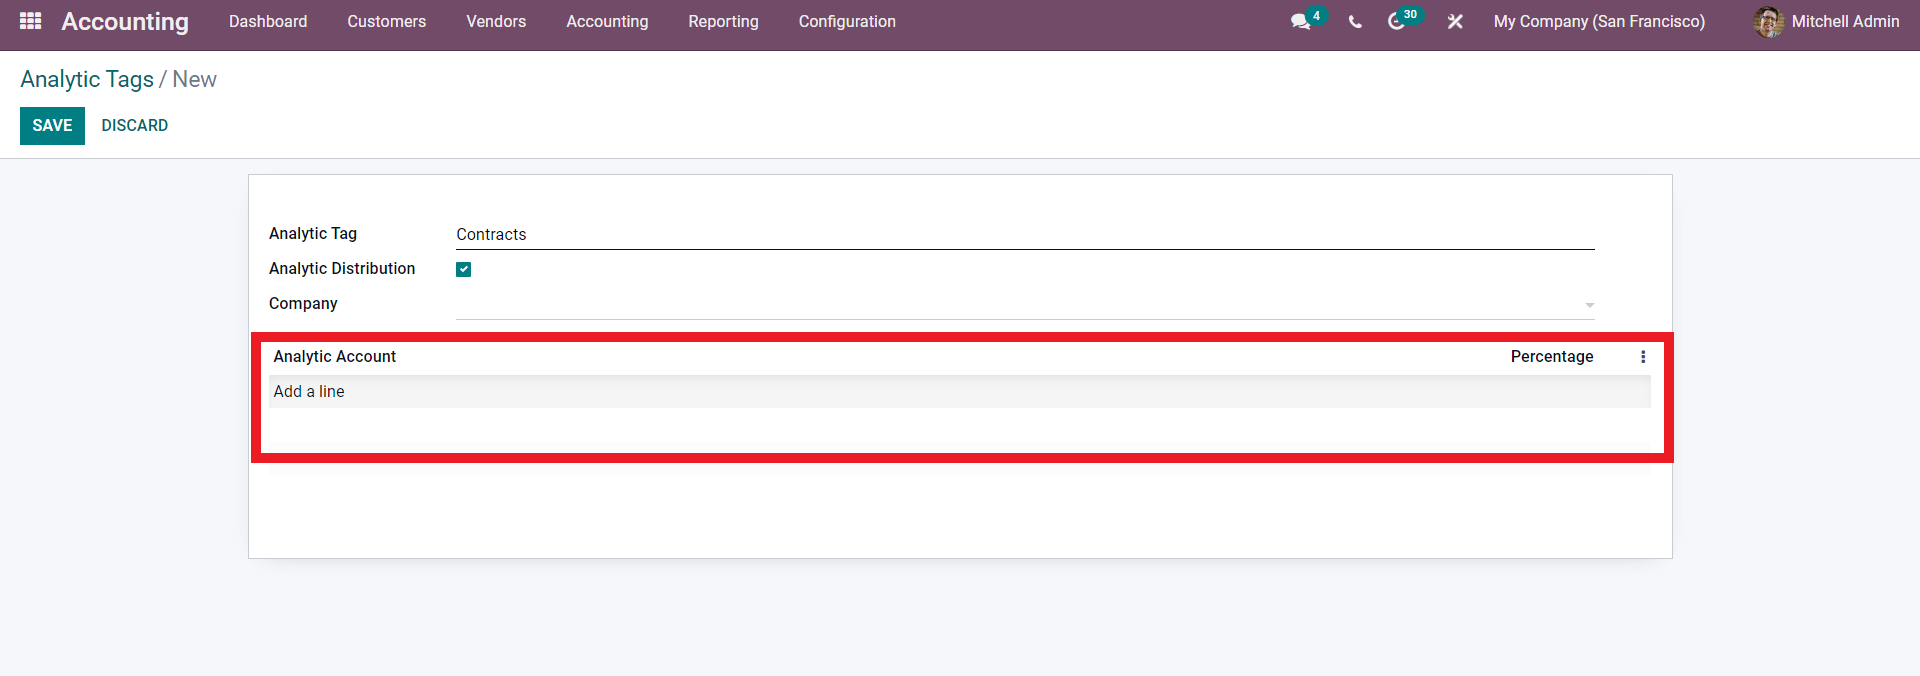
When you select Add a line, a drop-down list of Analytic accounts appears, as seen below.
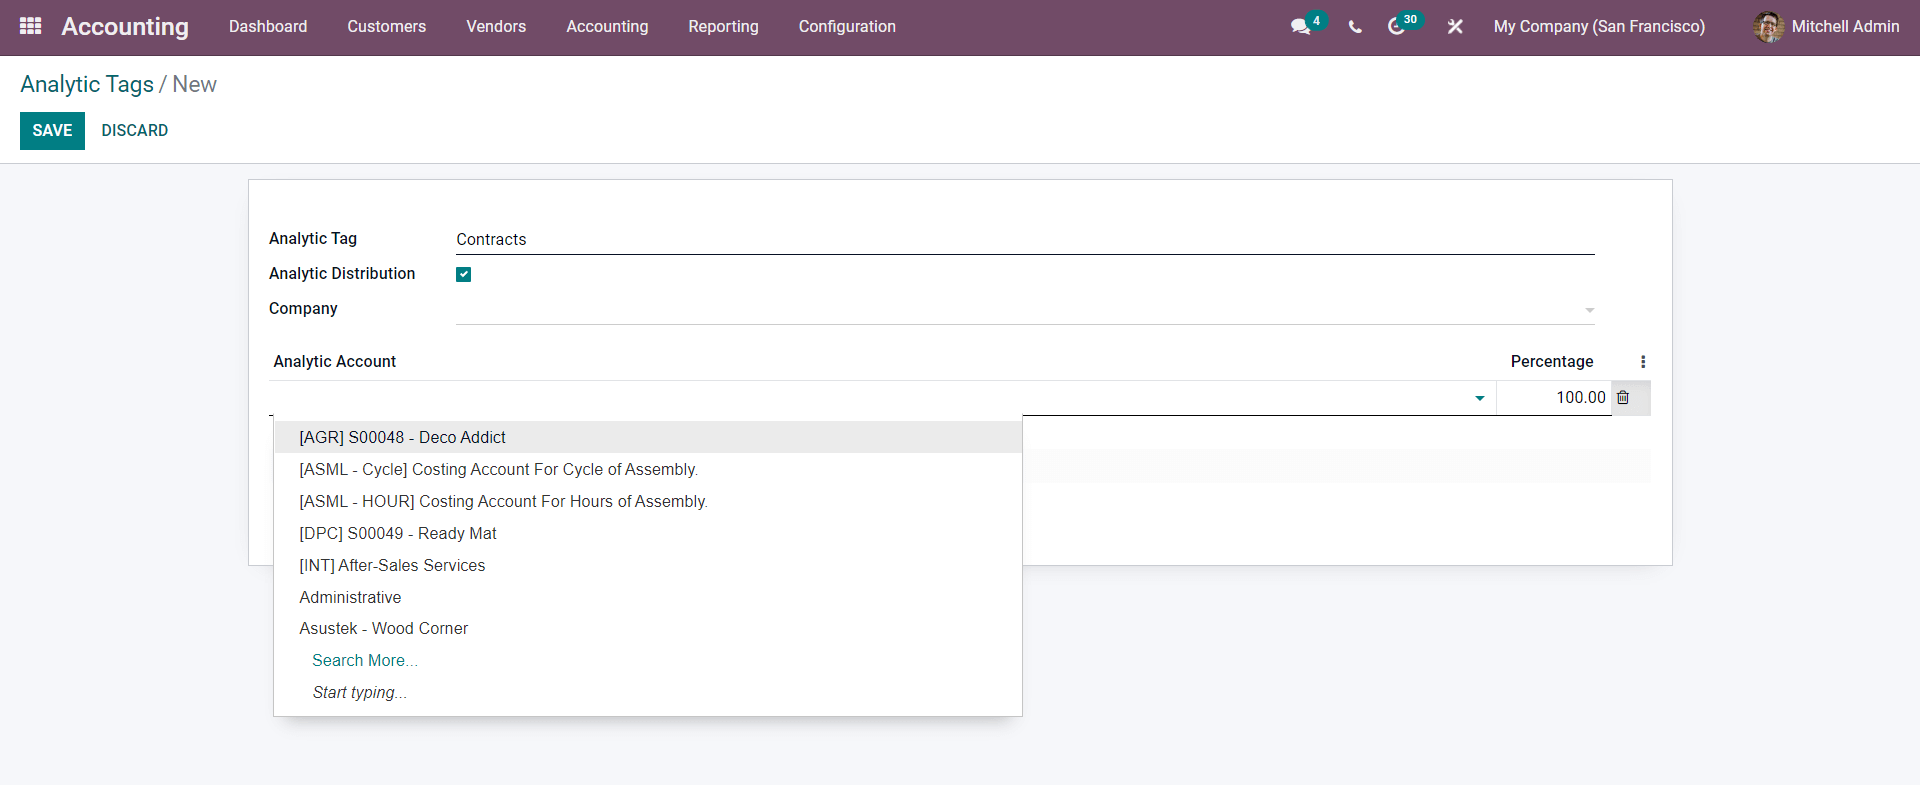
Select the account name from the drop-down menu or type it in manually. If you want to create a new Account, write in its name and a Create and Edit button will appear, as seen below.
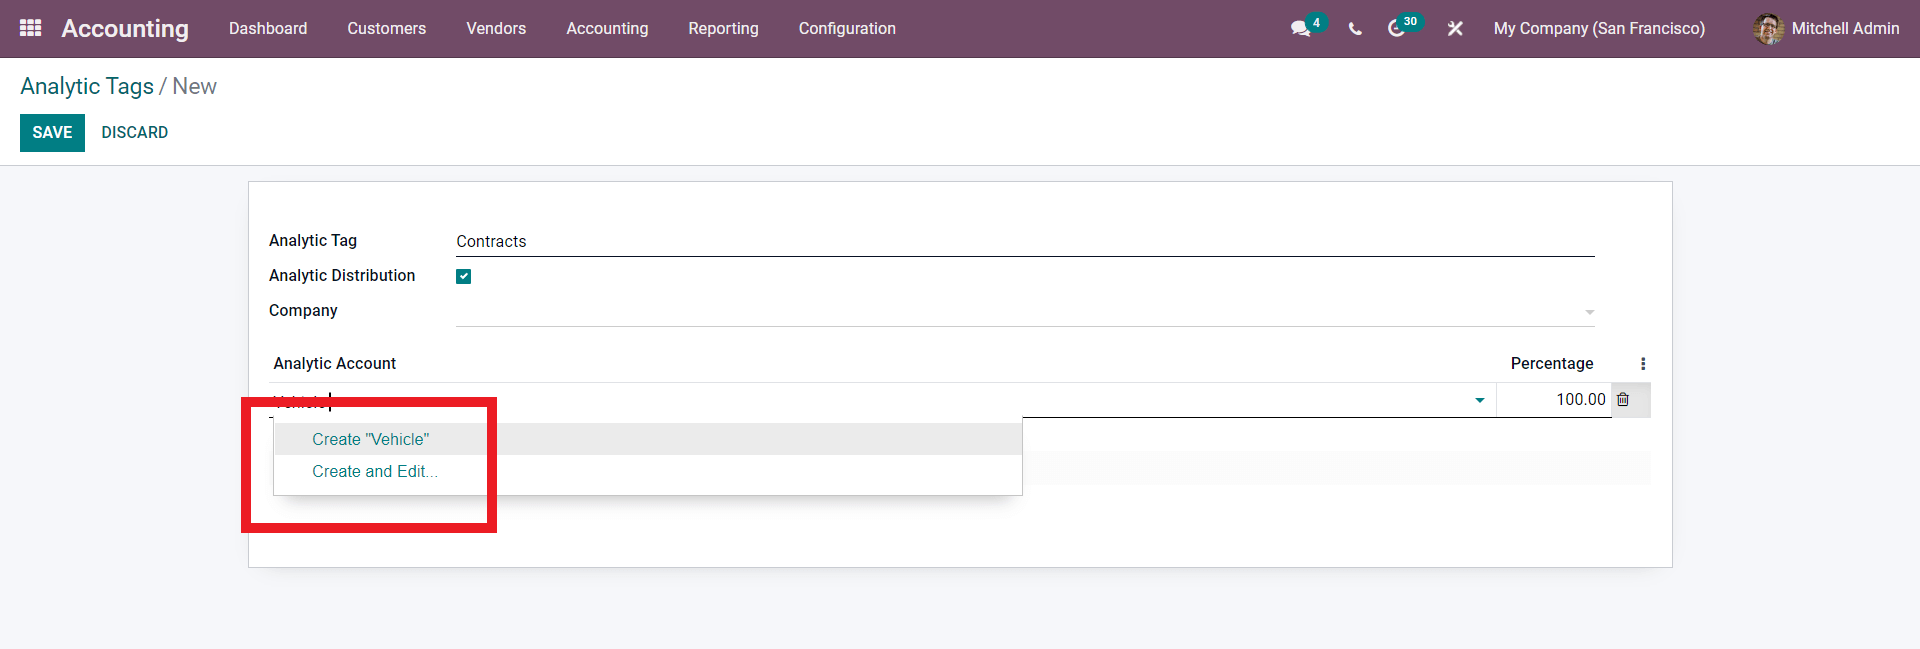
You can establish a new Analytic account from the configuration page by clicking on it, as shown below.
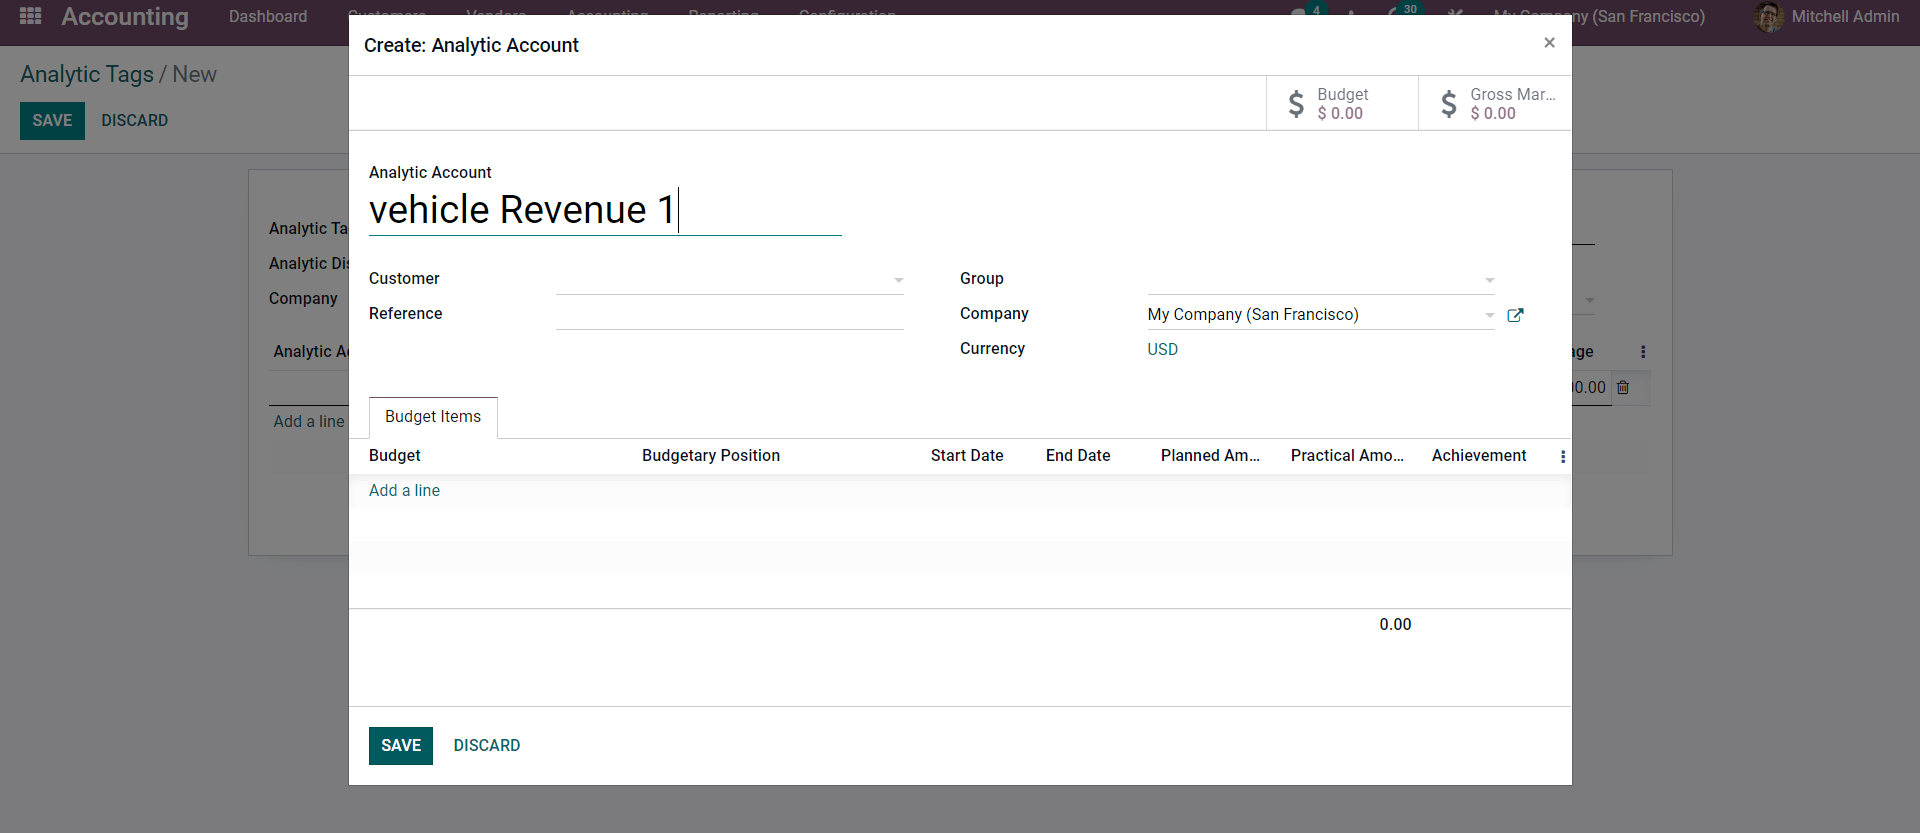
After you've completed the configurations, click the SAVE button to establish the Analytic account. You can also add a Budget from the Budget ITEMS area if you like. As seen below, two accounts are created: Vehicle Revenue 1 and Vehicle Revenue 2.
After you've completed the configuration, click the SAVE button and proceed to creating a customer invoice. Go to the Accounting dashboard and click Invoices under the Customers tab to create custom invoices from the Accounting module. Firm the Invoice section, click the Build button, and create the client invoice as shown below from the configuration page.
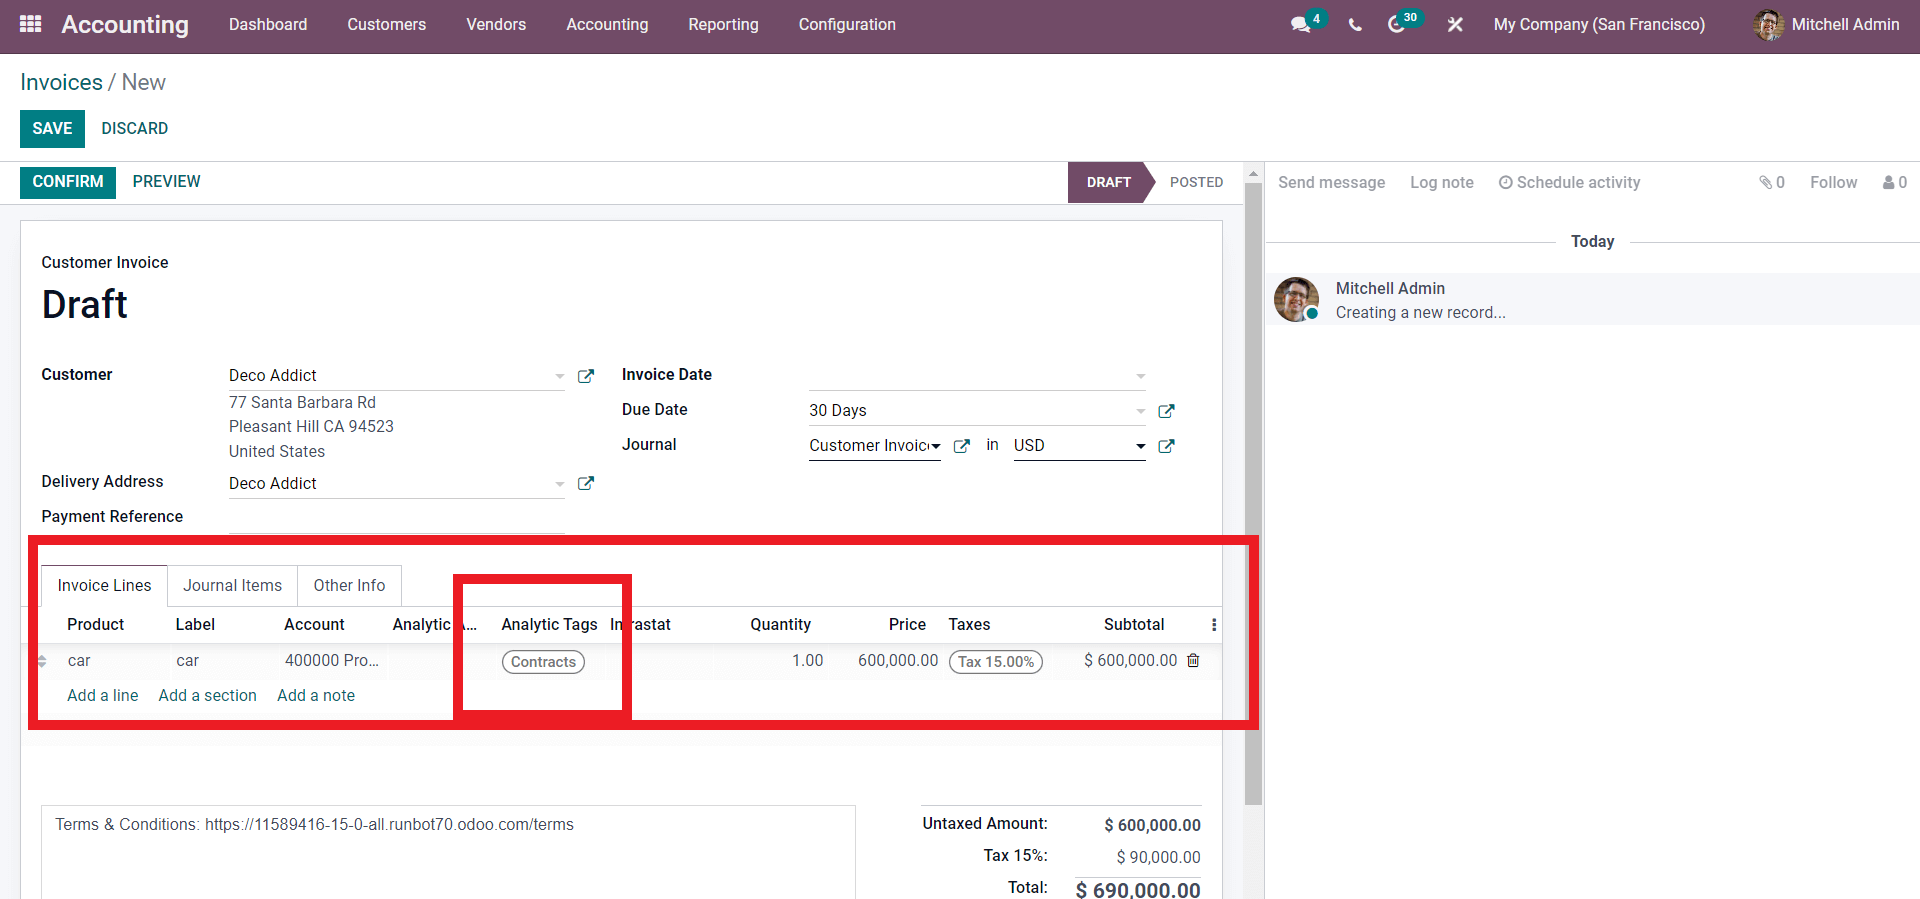
Add the client and the merchandise from the page. Enter the newly formed analytic field in the Analytic tags area, then click the Finalize button to confirm the invoice. Following the invoice configuration, the entry can be found in the Analytical Account area, as illustrated below.
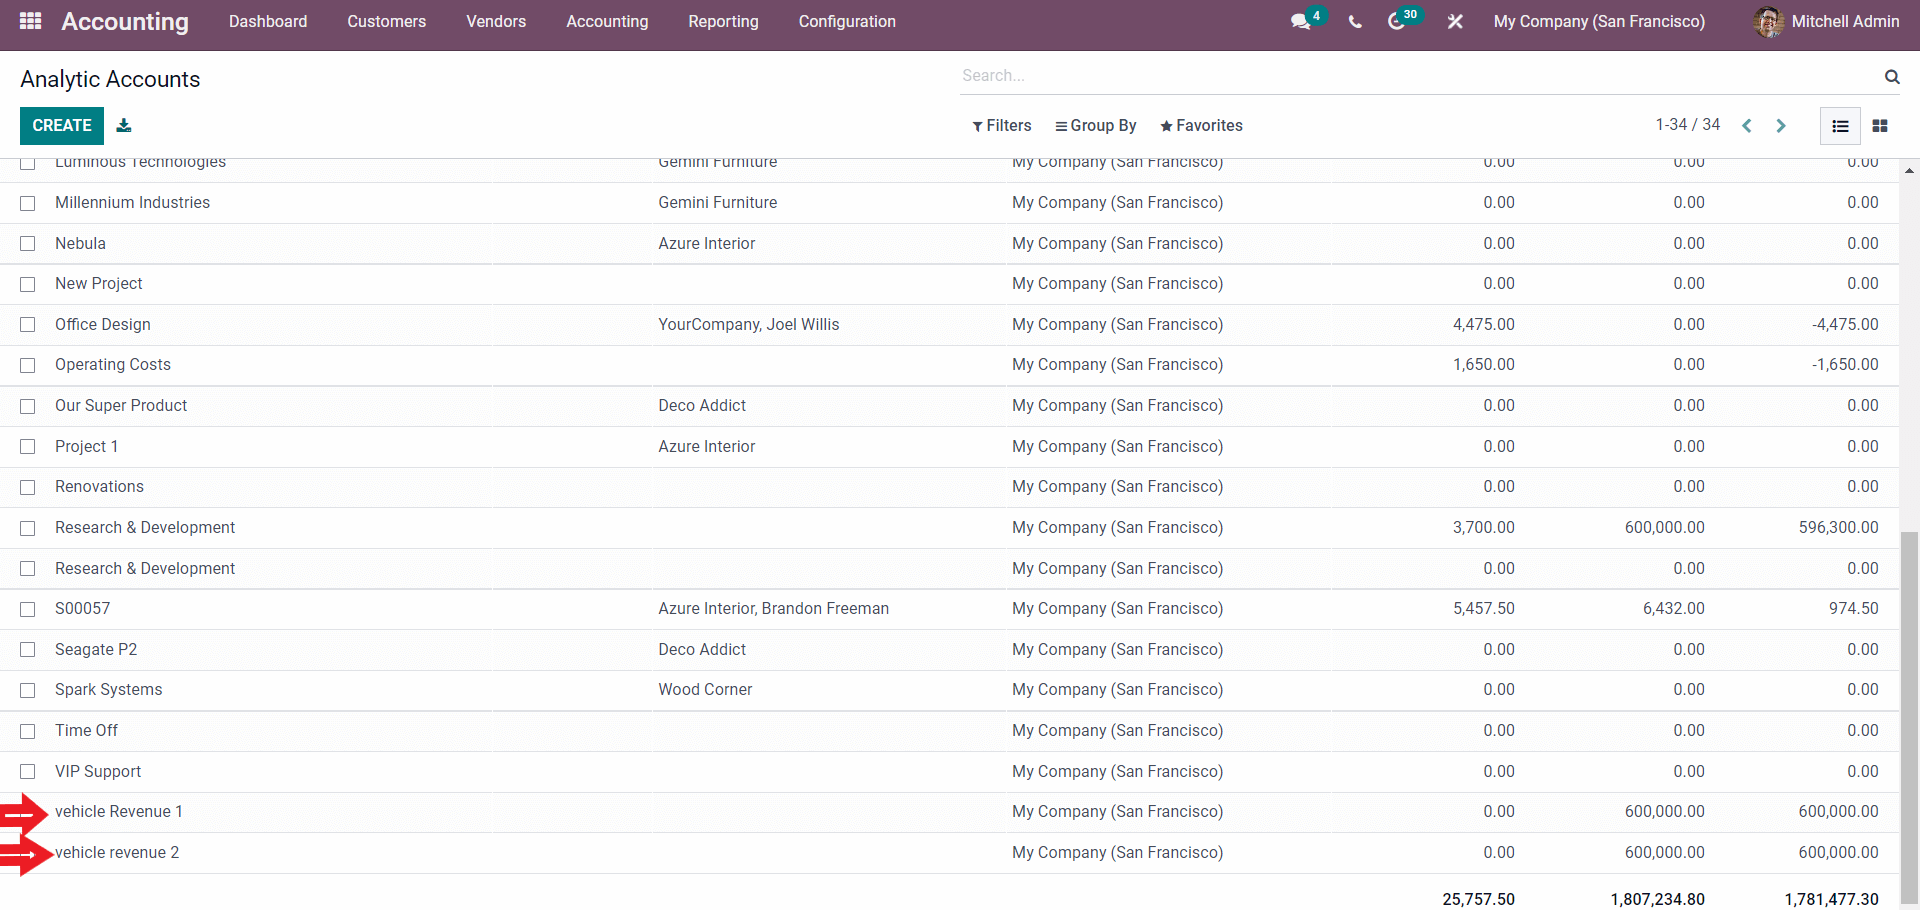
In relation to the Analytic Distribution, the entry is made. In order to prepare and manage a budget effectively, analytic accounting is essential. You can simply monitor and have a complete overview of the performance of the service or product that you are offering to the consumer with the help of the Analytic Account.
Odoo 15 Accounting Module Analytic Accounts