
Odoo 15 Project Module (Tasks & Sub-Tasks)
You can divide a project into distinct tasks and sub-tasks while creating it in the Odoo Project module. You can arrange the project's activities in an organized manner and lessen work strain this way. This will also make it easy for the assigned personnel to finish the job step by step. By separating projects into tasks and subtasks, the project manager may efficiently manage them. In Odoo, you can easily manage project tasks by allocating them to different stages.
Following a few simple steps, you can easily create new projects in the Odoo Project module. You can add tasks to a new project after it has been created.
Odoo 15 Project Module
Tasks & Sub-Tasks
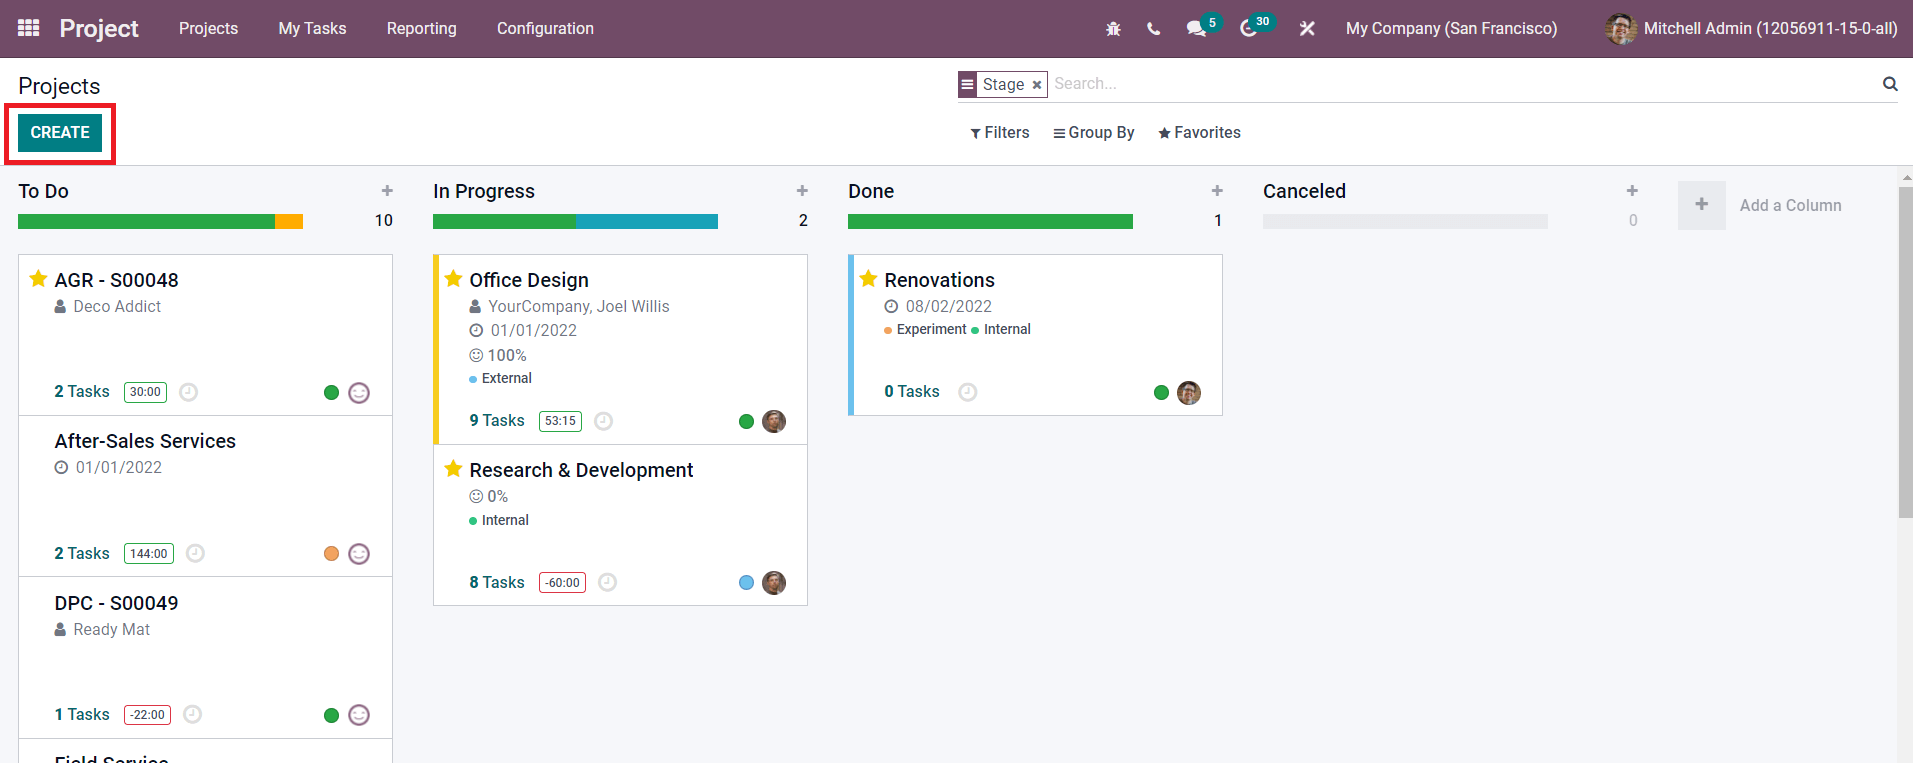
From the Project module's main dashboard, click the Create button to start a new project. You'll see a pop-up window where you may give the project a name.
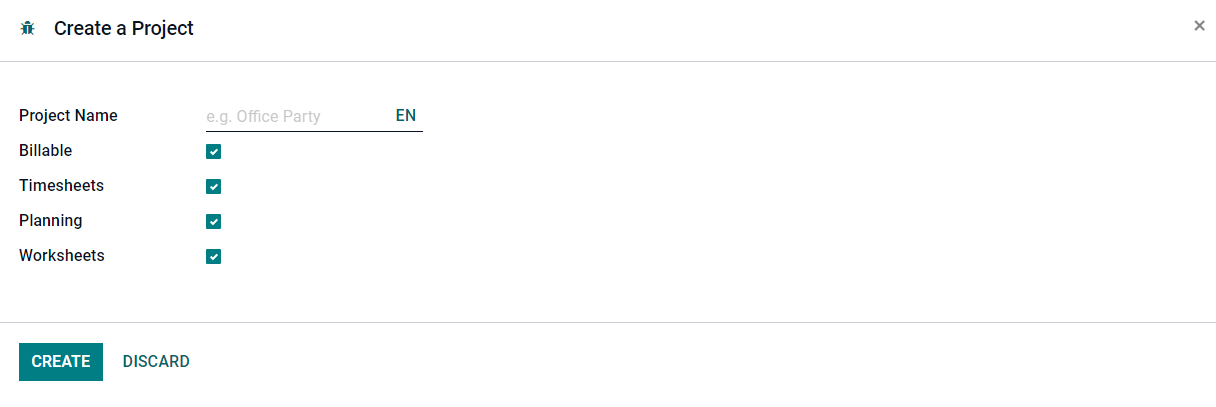
Additional options to activate include Billable (to invoice the project's time and materials), Timesheets (to record the time spent on a project), Planning (to allow project planning), and Worksheets (to enable worksheets on tasks). To begin, press the Create button. You've now started a project. Odoo will redirect you to a new window where you can create tasks for this project after you click the Create button, as seen below.
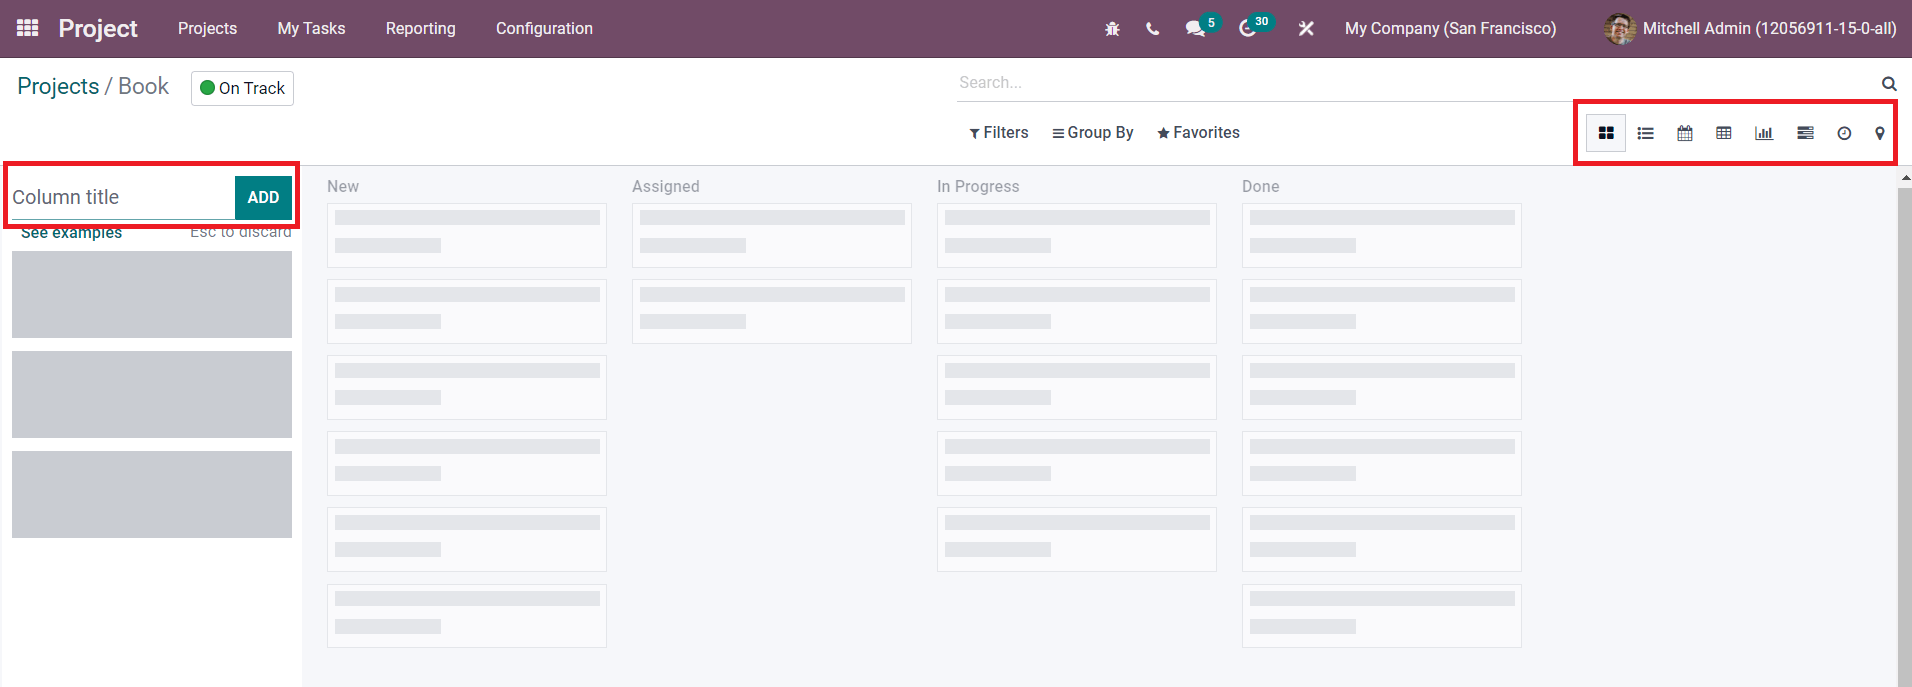
You can use this platform to create new phases for project activities and track their progress. This window gives you access to the task's Kanban, List, Pivot, Calendar, Graph, Map, Gantt, and Activity views.
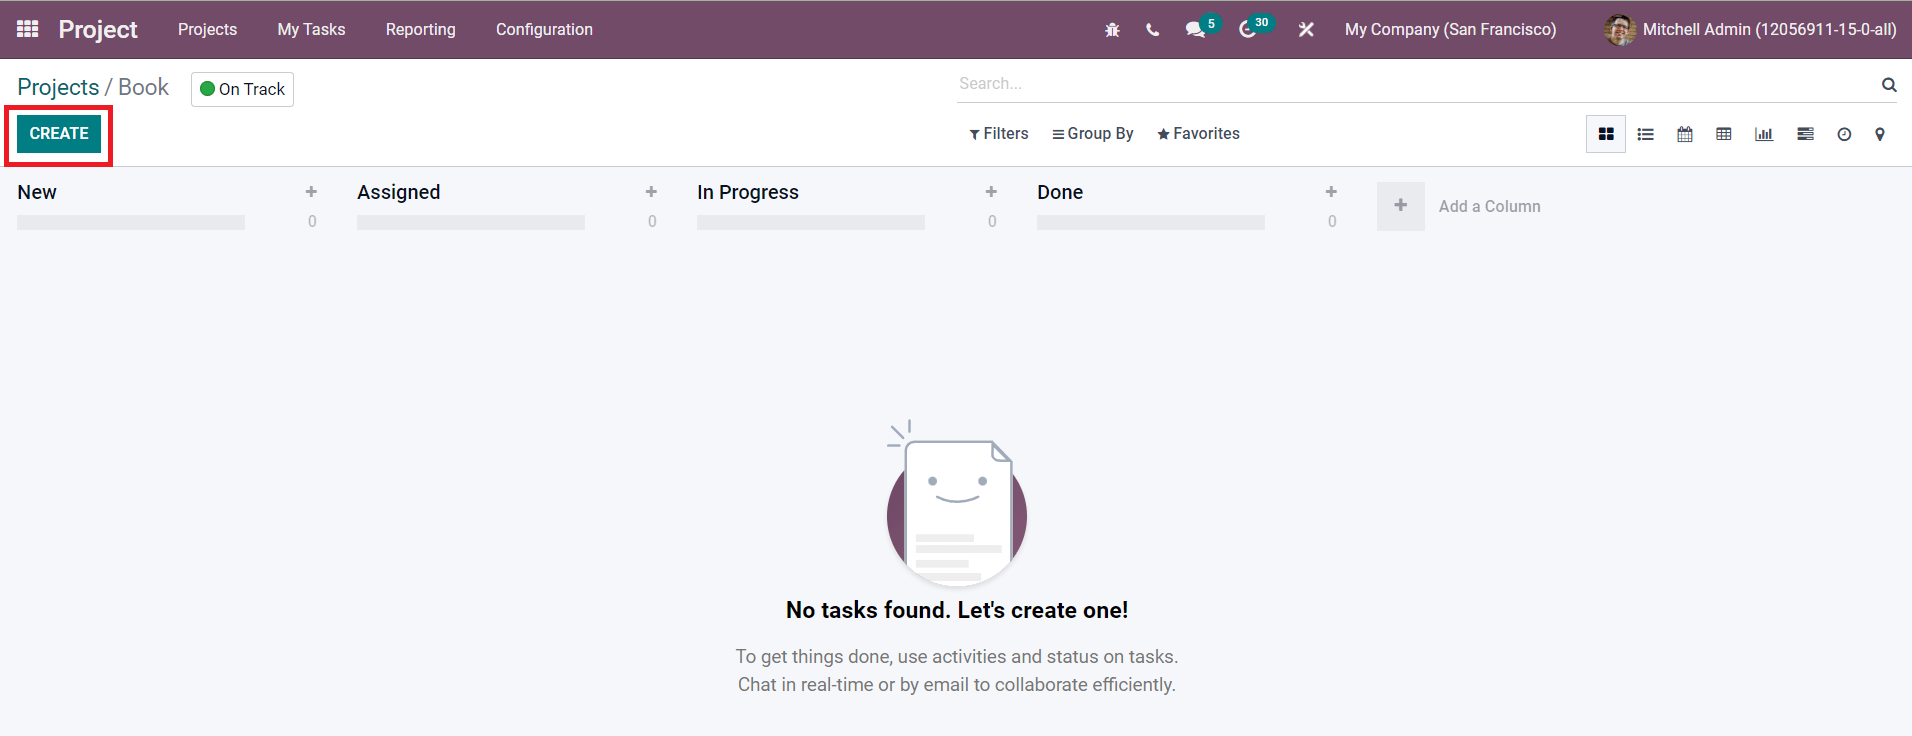
After configuring stages on this platform, you can configure new tasks by clicking on the Create button.
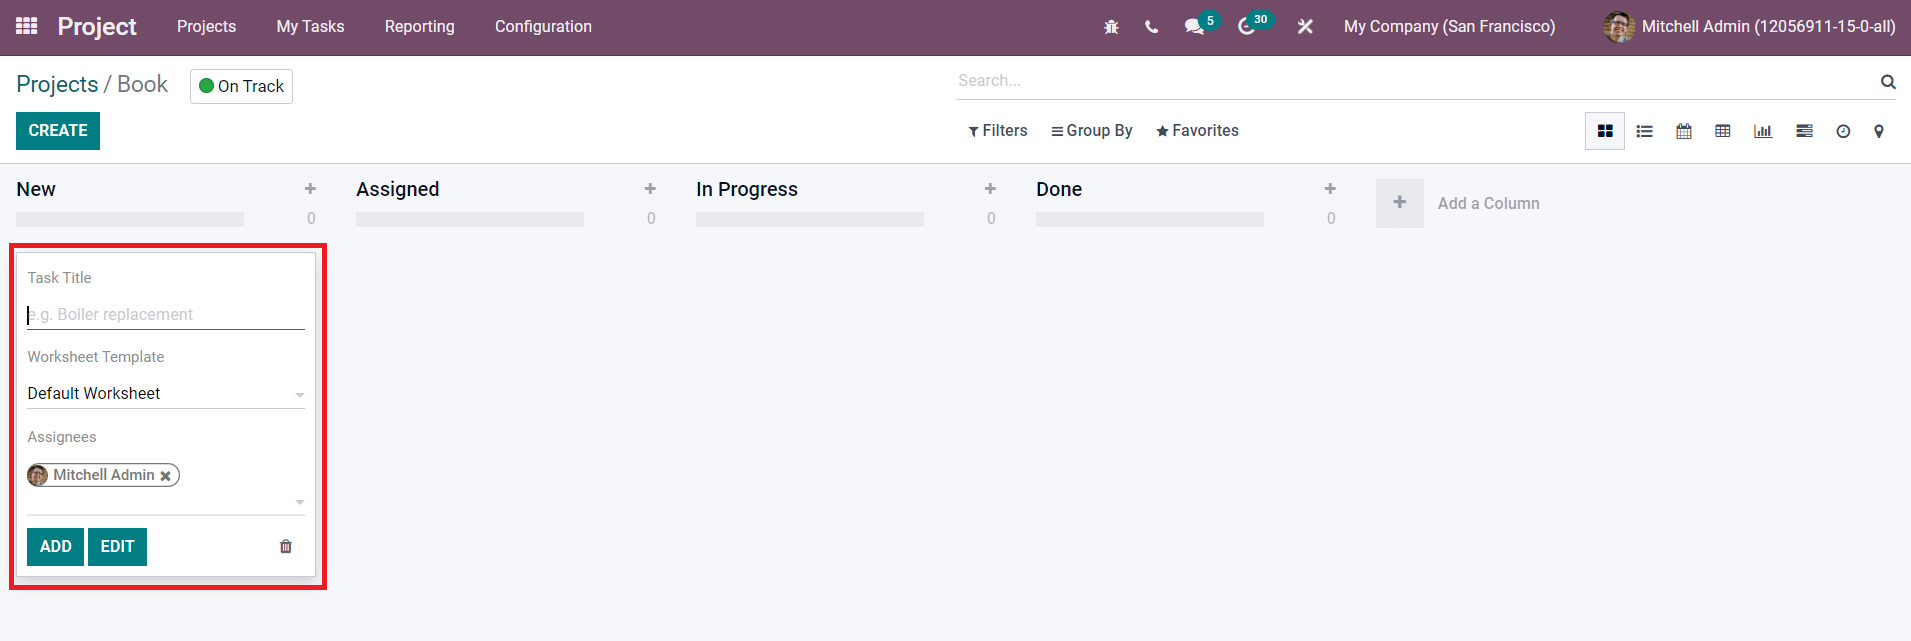
As illustrated in the figure above, a new field will emerge where you may enter the task title, worksheet template, and assigned employees. Using the Edit button, you may add more details to the job.
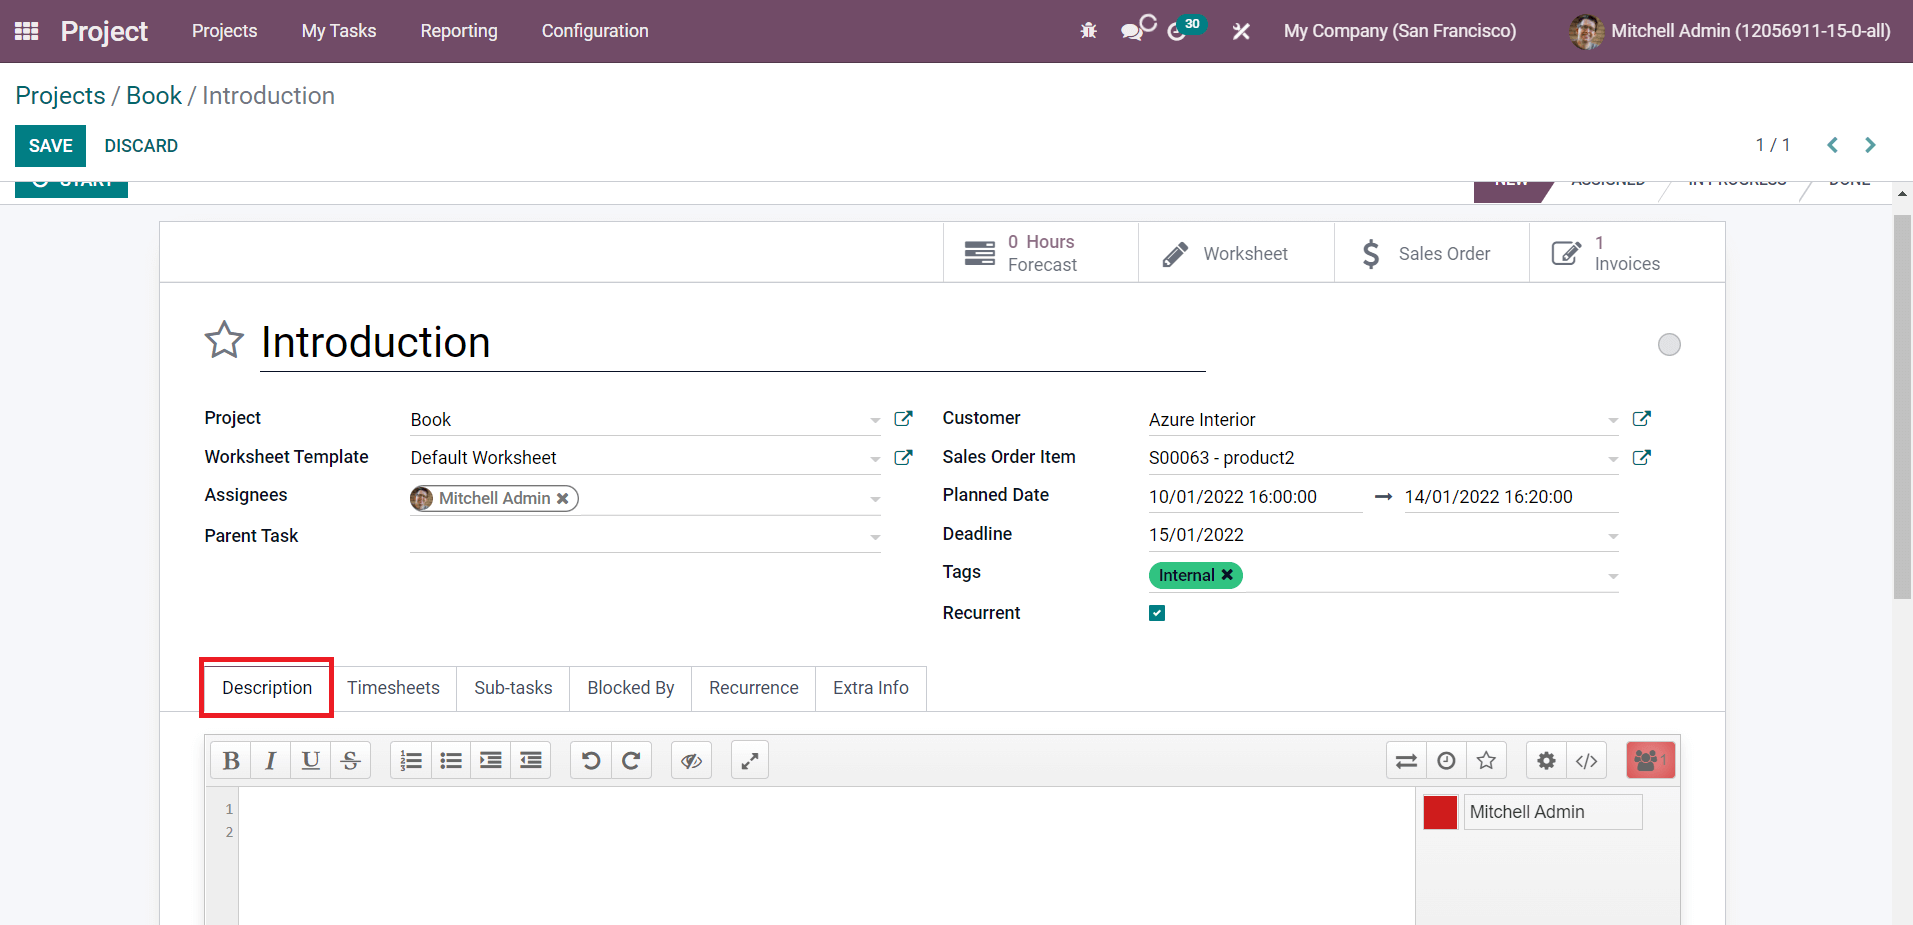
To add a task to your favorites list, click the Star icon next to the task's title. Details on the Project, Worksheet Template, and assignments have already been uploaded. In this window, you can enter the time spent on this project to produce invoices by specifying the Parent Task, Customer, Sales Order Item, Planned Date, Deadline, and Tags. The Recurrence field can be enabled if you want to repeat this task at a certain interval of time. To get this field, go to the Settings menu of the module and turn on the Recurring Tasks option.
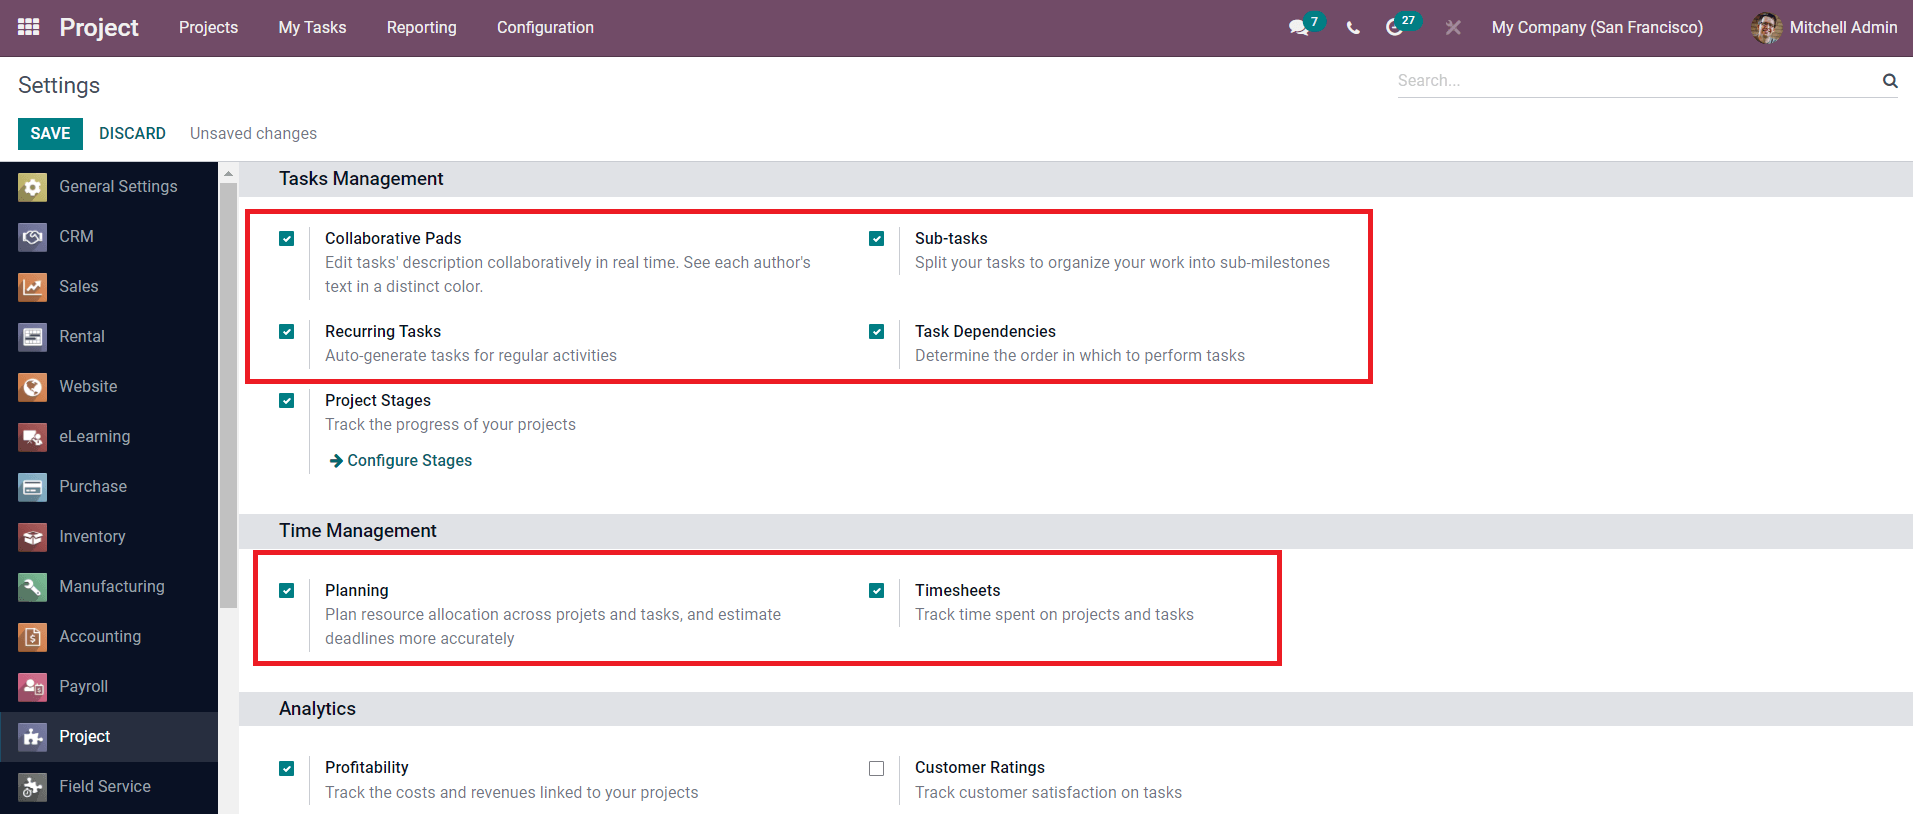
Similarly, you can enable the Collaborative Pads option to display a collaborative pad next to each work description so you can communicate with your peers. Activating the Sub-tasks option will assist you in breaking down your task into smaller chunks. To establish the sequence in which tasks should be completed, use the Task Dependencies option. You may use the Planning option to better plan resource distribution across projects and activities, as well as more accurately anticipate deadlines. The Timesheet's feature can be used to keep track of and record the amount of time spent on each project job. Return to the task creation window after enabling the relevant settings.
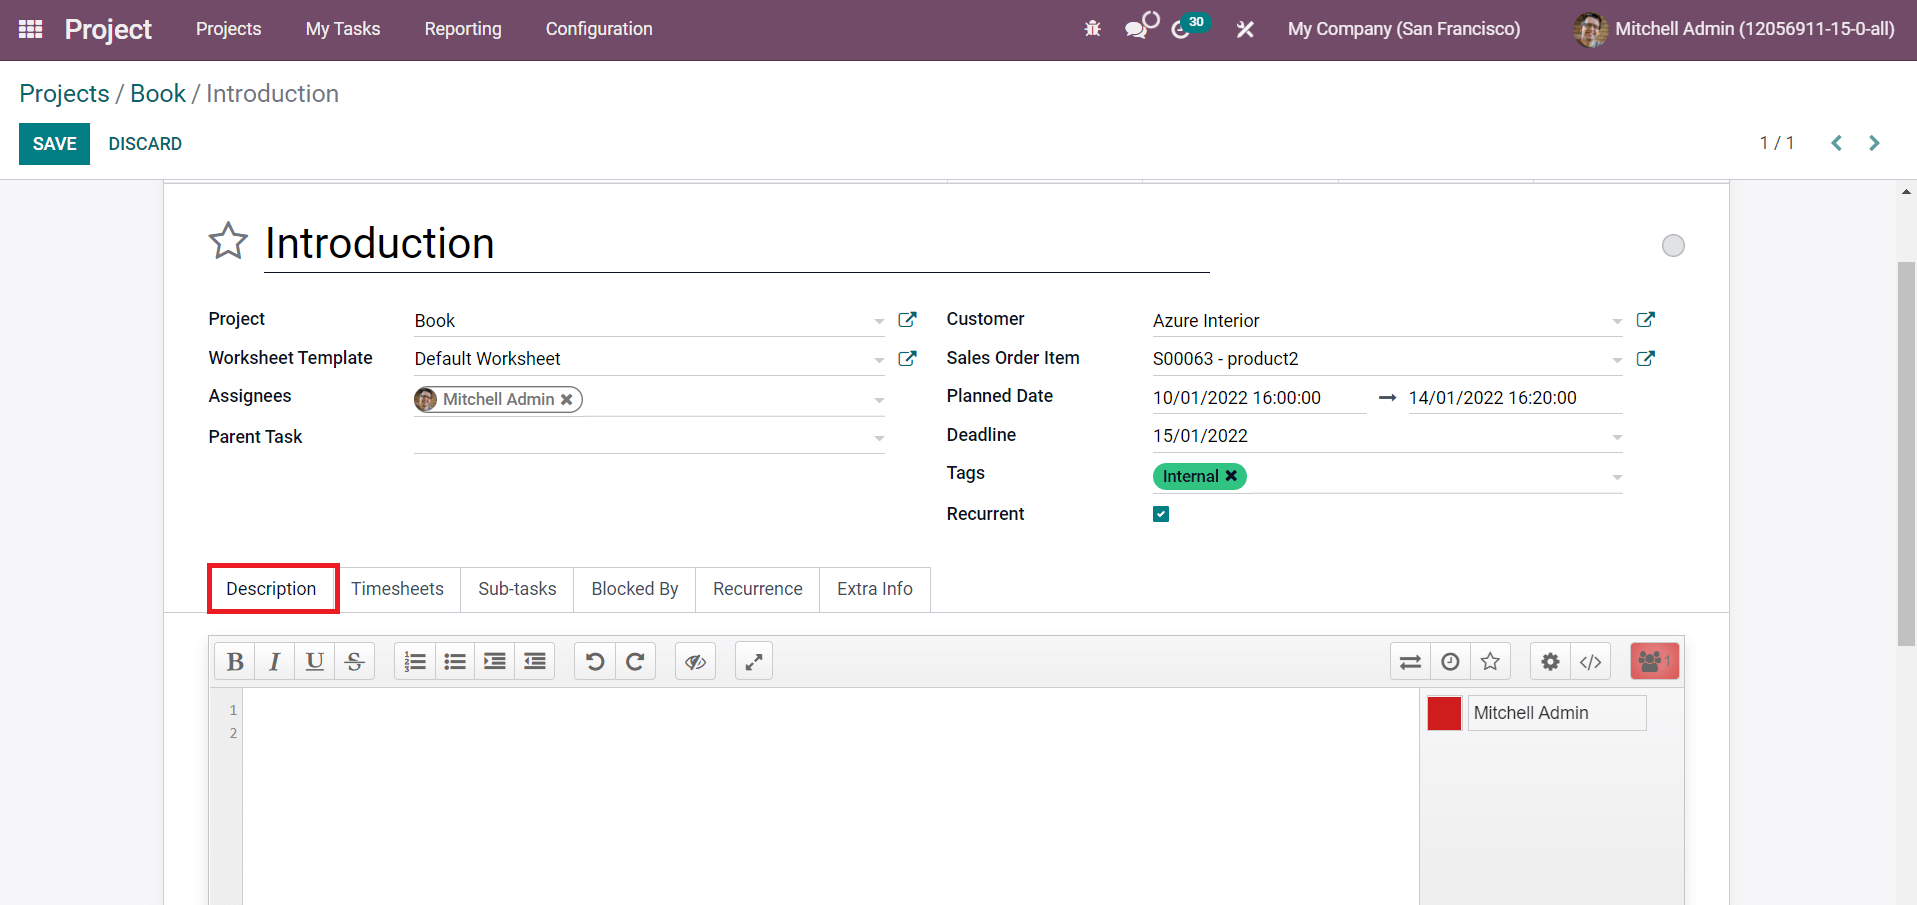
You'll find a collaborative panel in the assignment's Description page, which you may use to chat with your coworkers about the task. This tool allows you to collaborate with your colleagues in real time.
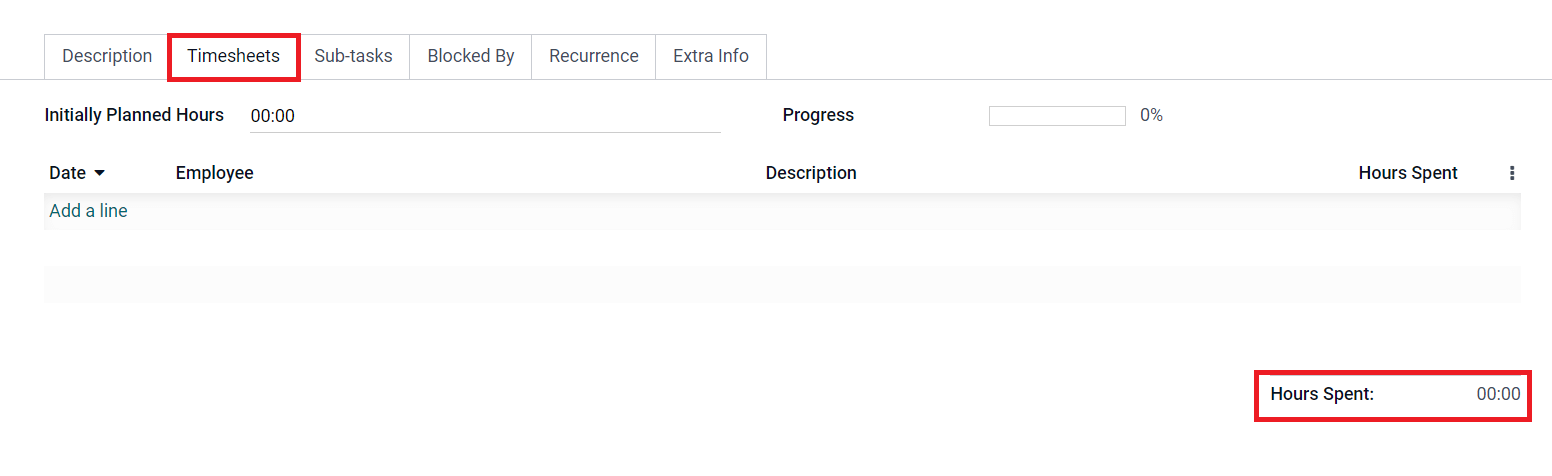
After you've created a task, you may track how much time you spend on it. Under the Timesheets tab, you can see how much time has been recorded. You can enter the time required to perform this activity in the Initially Planned Hours section based on your calculations. Odoo calculates the rate of progress based on the time entered in the Progress column. As shown in the screenshot above, this tab will also display the overall number of hours worked.
After enabling the corresponding option from the module's settings menu, the Sub-tasks tab will appear. You can use this option to divide your task into sub-tasks, which will help you organize the actions of a task in a logical manner.

Add a line by clicking the Add a Line button and filling in the Title, Assignees, Deadline, and Stage fields. After you save the task, a 'View Task' option will appear in this tab, which you can use to view and manage the relevant sub-task.
You can choose the order in which you complete tasks after you've created them for a project. This is simply accomplished using the Task Dependencies option in the Project module's Settings menu. When you enable this option, a new tab named Blocked-By will appear next to each project's task description.

You can provide a list of tasks that you want to block here. The listed tasks will be blocked as a result, and you will be able to finish the present work before they are completed. When you click the Add a Line button, a pop-up box will appear, allowing you to select tasks to add to the block list.
Only when you've enabled the Recurrence option in the task creation window will the Recurrence tab show. You can choose which days you want to repeat the current task, and Odoo will present the details of the Next Occurrences on this tab based on your choices.
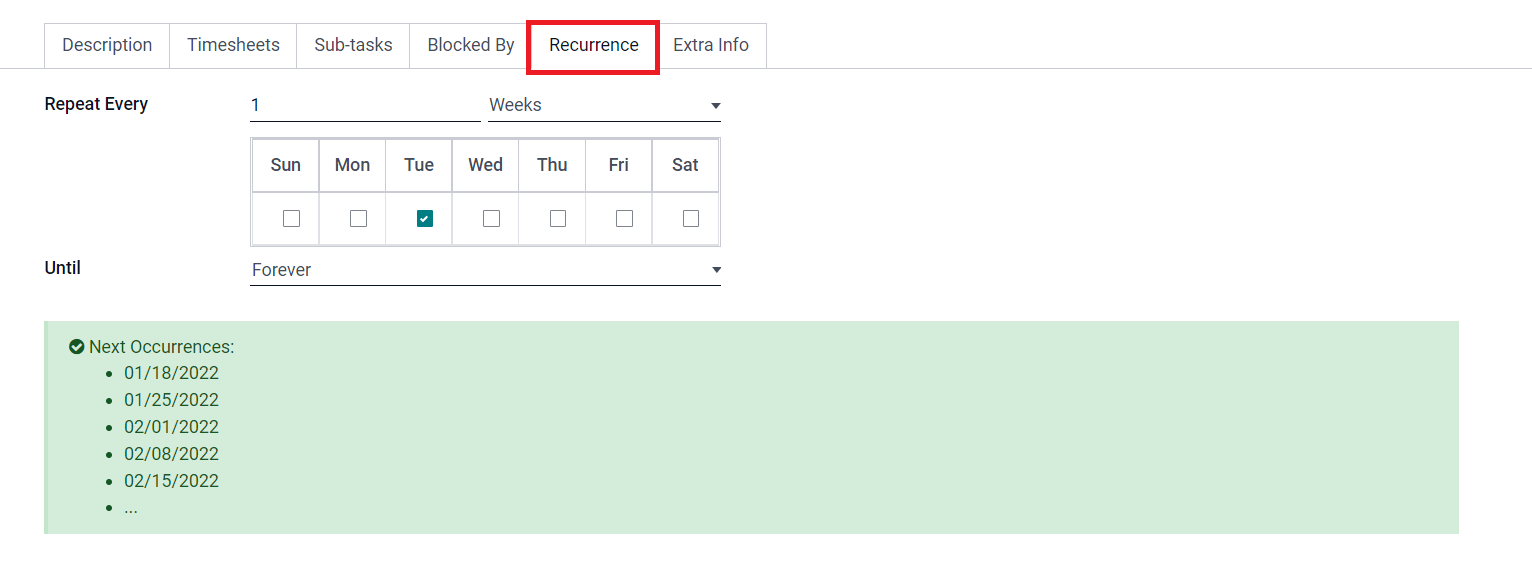
In the Until area, you can set the repetition for Forever, End Date, or Number of Repetitions.
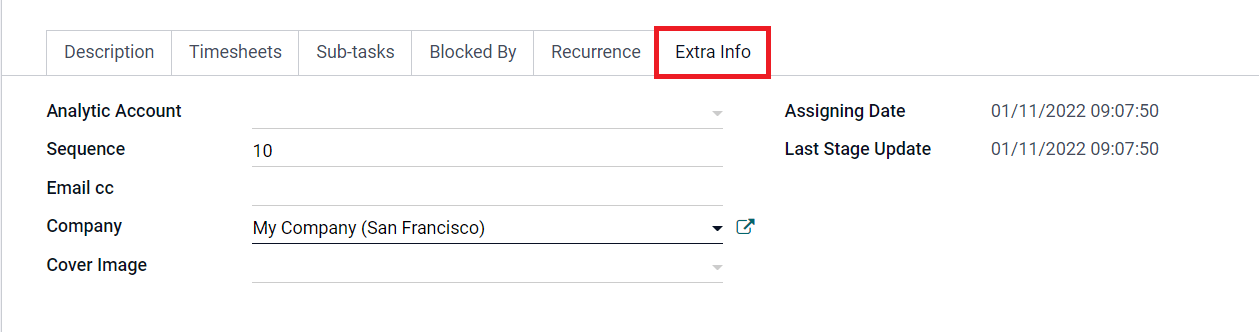
The Extra Info option allows you to customize additional task information.
You must create an Analytic Account in the selected field in order to capture the task's expenses and earnings. In the appropriate fields, you can see the task's Sequence Number, Company, Assigning Date, and Last Stage Update. In the Extra Info tab, you can add an Email cc and a Cover Image for this job.
Finally, with the help of efficient tools, you can use the Odoo project module to systematically arrange all of your projects by separating them into tasks and sub-tasks.
Odoo 15 Project Module (Tasks & Sub-Tasks)