Odoo 15 Social Marketing Module

Odoo 15 Social Marketing Module

In today's business world, social marketing is one of the most effective marketing strategies. Not only traditional marketing but also social media marketing can help improve business-to-customer relationships. Odoo's Social Marketing module is a powerful marketing tool that allows your customers to actively participate in marketing campaigns, allowing you to grow your business quickly. You'll be able to use prominent social media platforms like Facebook, Twitter, Linkedin, Youtube, and Instagram with Odoo 15. 

Odoo Social Marketing Module Features

- Directly send posts or schedule them on key social media platforms to reach as many customers and leads as possible.

- Send Web Push Up notifications to your website subscribers.

- From the module's dashboard, you may immediately communicate with your community via streams such as Youtube, Facebook, and Twitter to gain market insights.

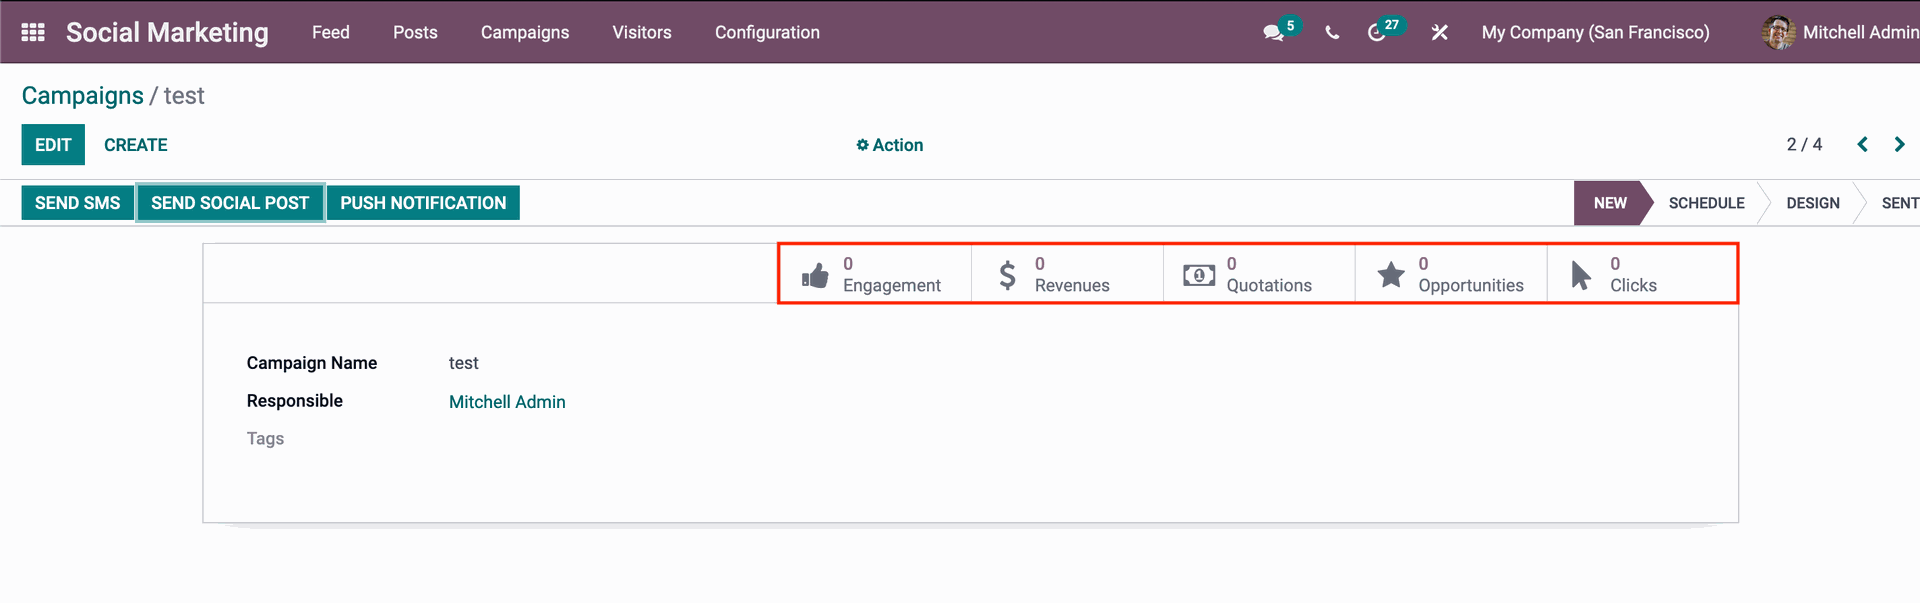
- Track every detail of your marketing campaign, including clicks, revenue, leads generated or developed, and sales, using fully integrated campaigns including emails, SMS, push notifications, and social media postings.

- Make contact with your online visitors using the precise information gathered by your website.

Odoo 15 Social Marketing Module Configuration and application

The dashboard for Odoo15's Social marketing module is shown in the image above. As you can see, the website currently has no streams.
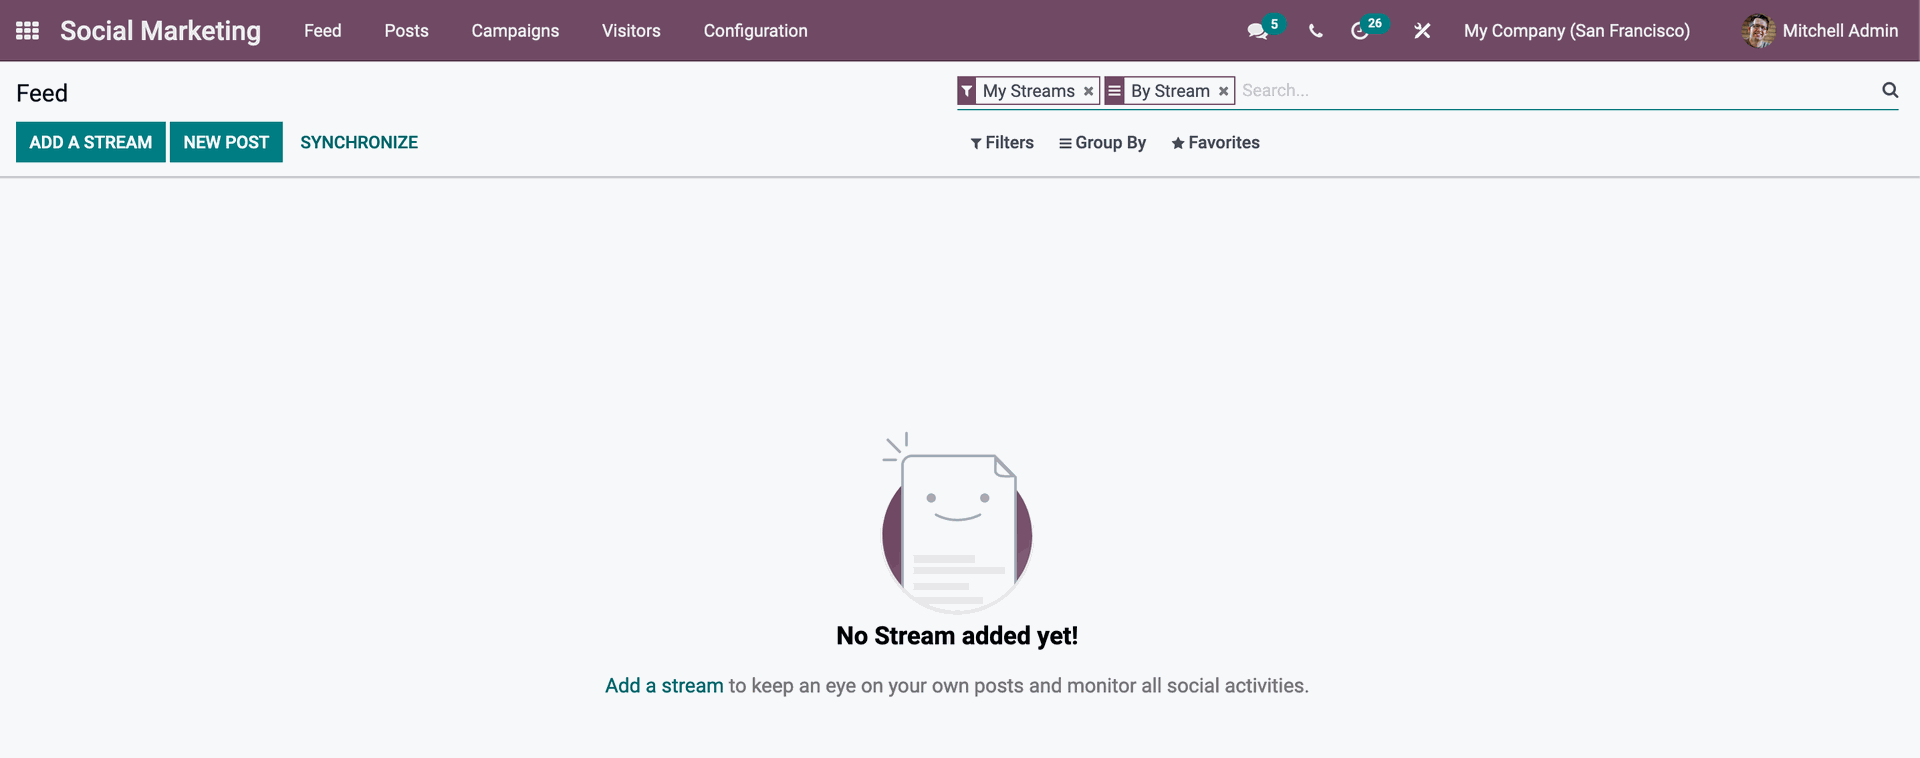
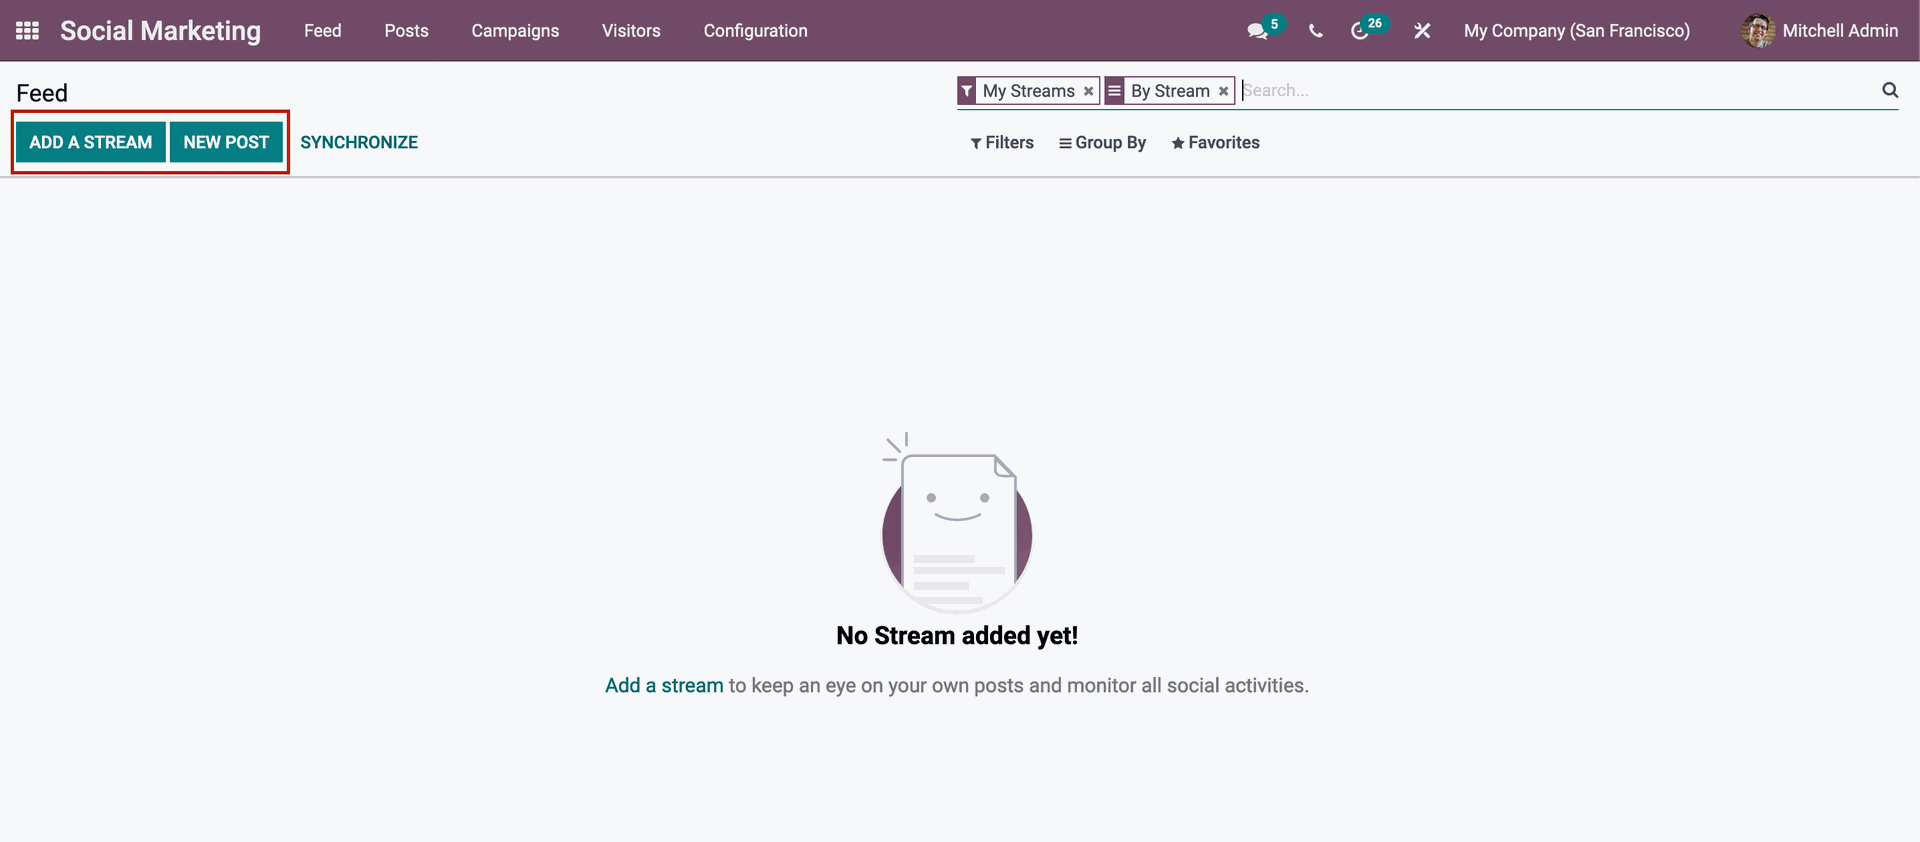
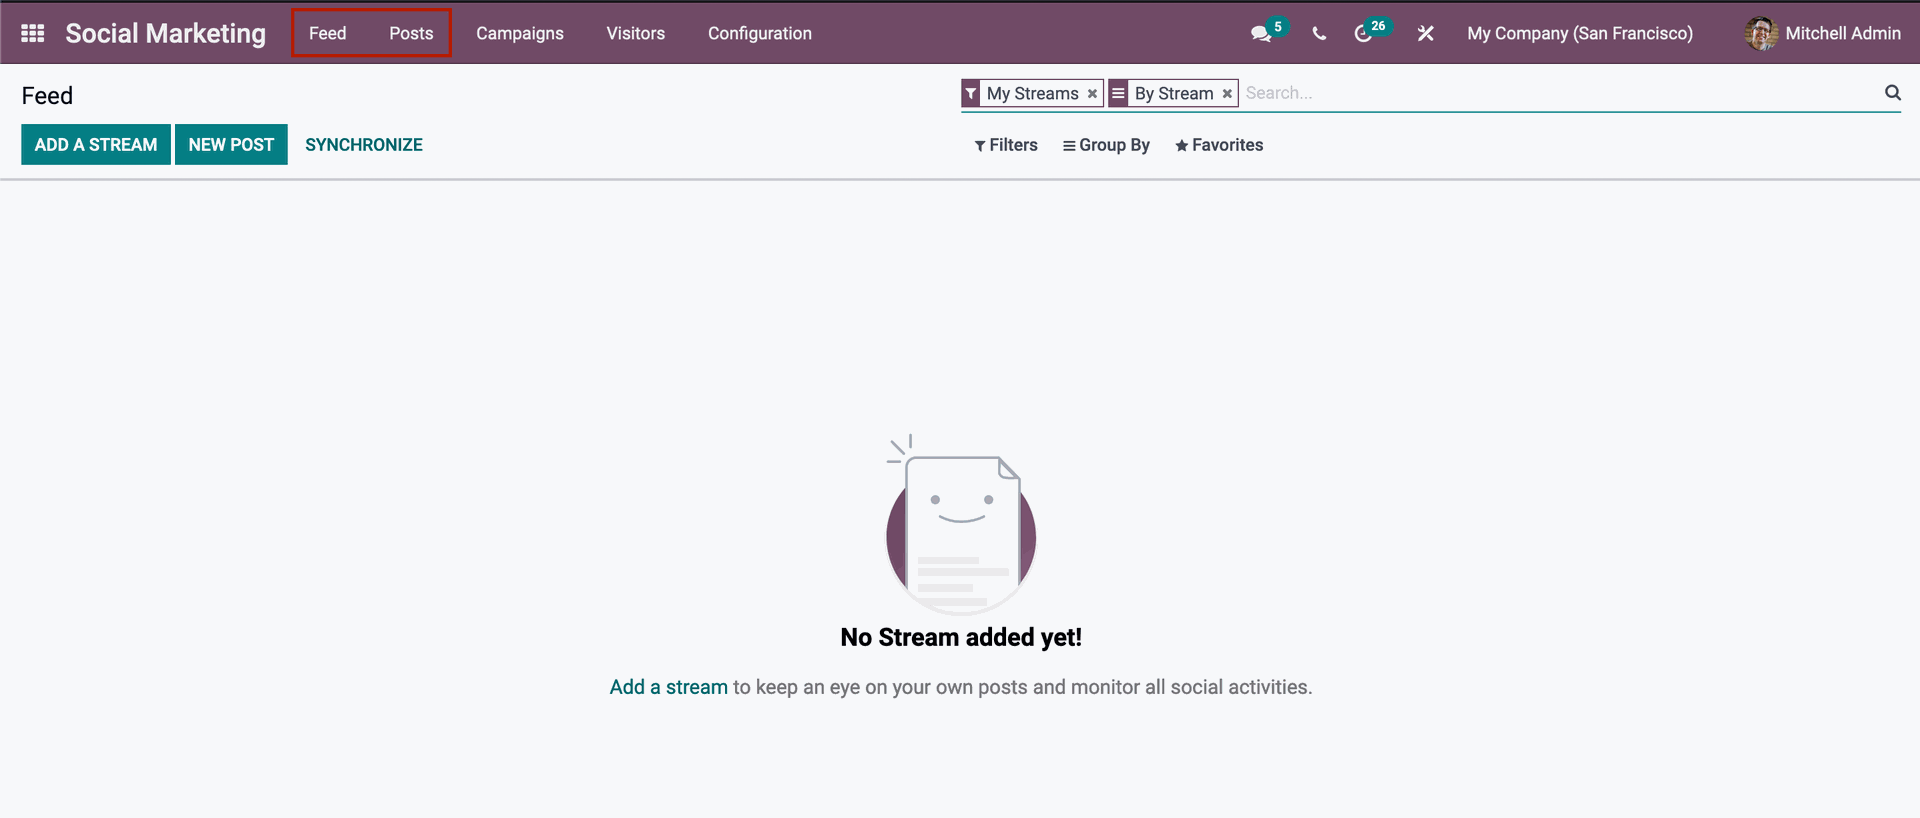
To begin using other social media applications than existing websites for marketing, you must first add a social media site to the stream. The module is simple to set up and use, from the Dashboard in your social marketing application. To connect a social media account to Odoo, click the Add a stream button as shown below. To add a new social media, click the Add a stream option.

Odoo will present you with a list of major social media sites from which to pick, as seen below. 
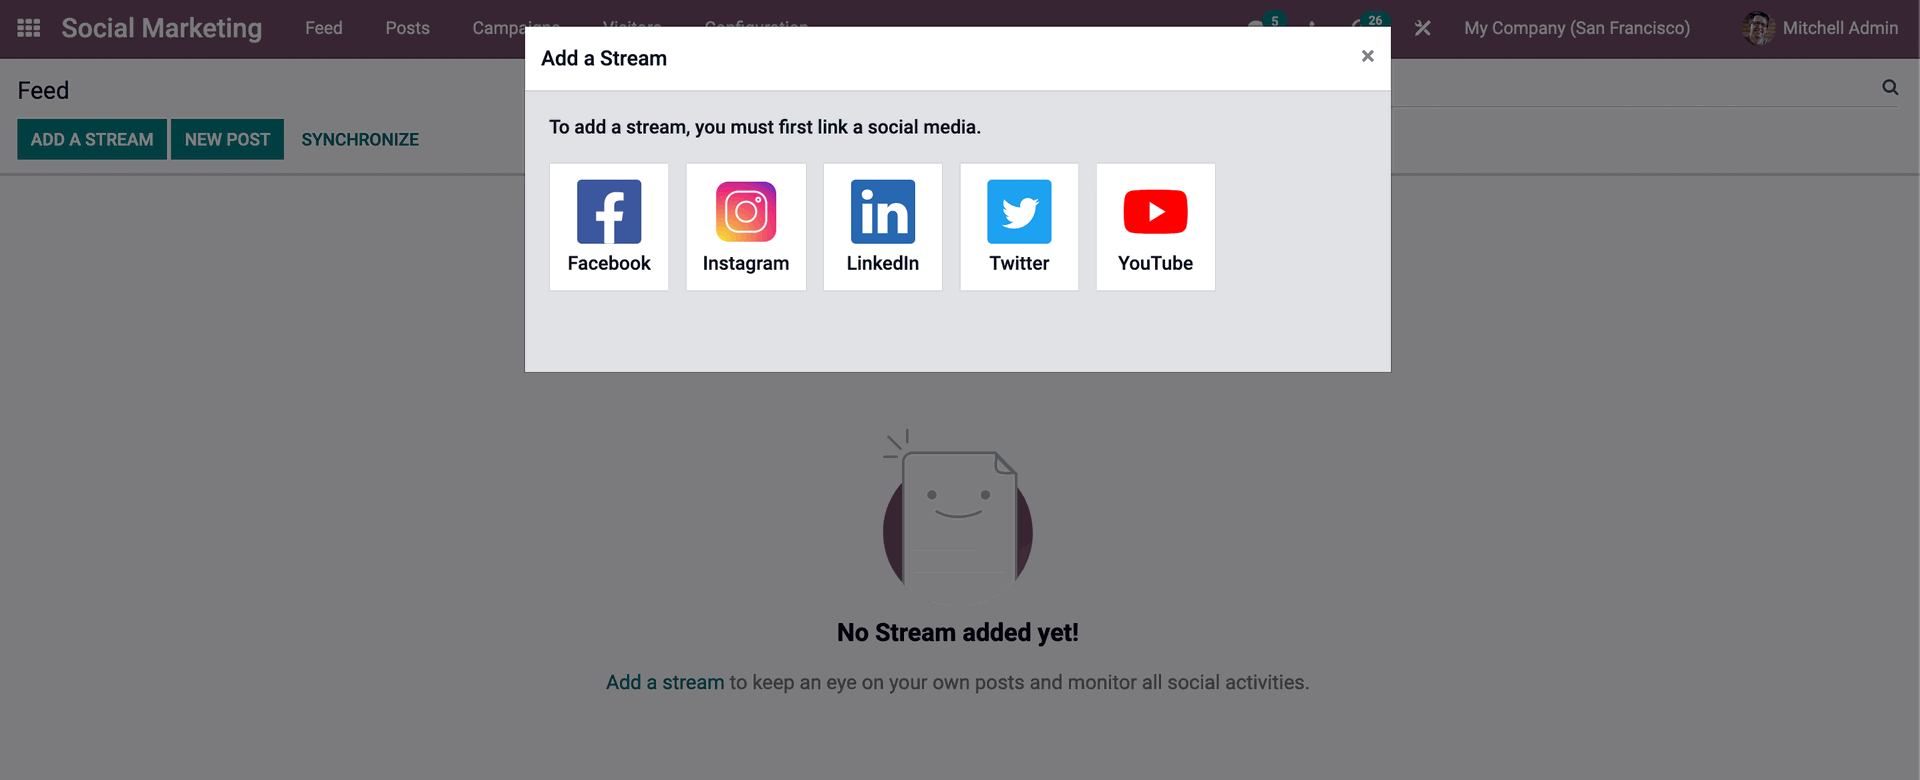
Choose the social media network you want to use for marketing. Odoo would like the social media site that you use to build a blended working experience. To add and link your social network accounts, grant the necessary permissions.
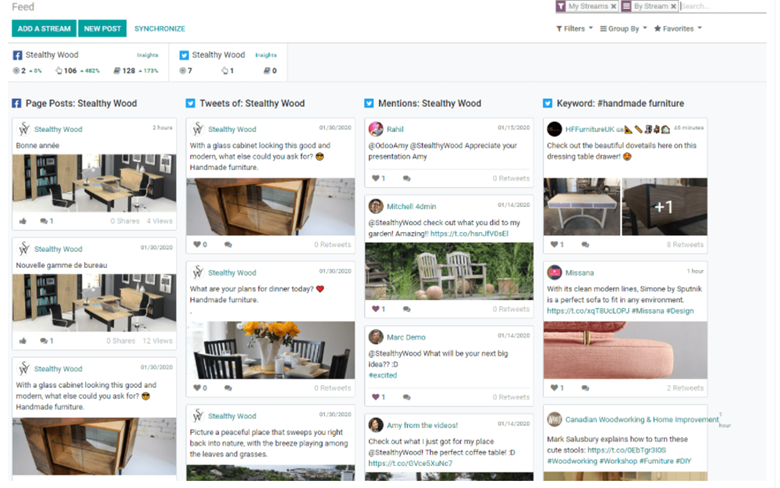
Odoo will instantly send you to the Feed after you add the social media pages, and a column containing the publication will be created and added as shown below. 
To publish content to your social media, navigate to the New post option or button from the Social marketing module's dashboard.

As demonstrated below, you can also create a social post from the post tab. When you click it, the Posts part of the page will appear, as illustrated below.
 
Click on Create to see the configuration page
Here you can customize the complete post form. If you've linked your social media accounts, you'll find them beneath the option to post on. Choose the social media platform where you'd like to share the marketing message. Except for Push notification choices, all you have to do is configure the complete procedure, including the message and the files you wish to upload as the post. You may get a full overview of your posts using the Calendar function of Odoo's social marketing module. You have a full overview of the entire process, including draft postings and posts that are scheduled to be published later. From the Post tab, you can access the calendar option. Select the Calendar view from the Posts tab, as seen below.
The calendar page will open after you click the calendar button indicated above. 

You can get a quick overview of the posts from this page. This tool is quite beneficial if you have a large number of posts scheduled across many social media sites, as it allows you to efficiently manage and oversee the entire process, as well as manage postings and marketing. 

Odoo Social Marketing Module Push Notification

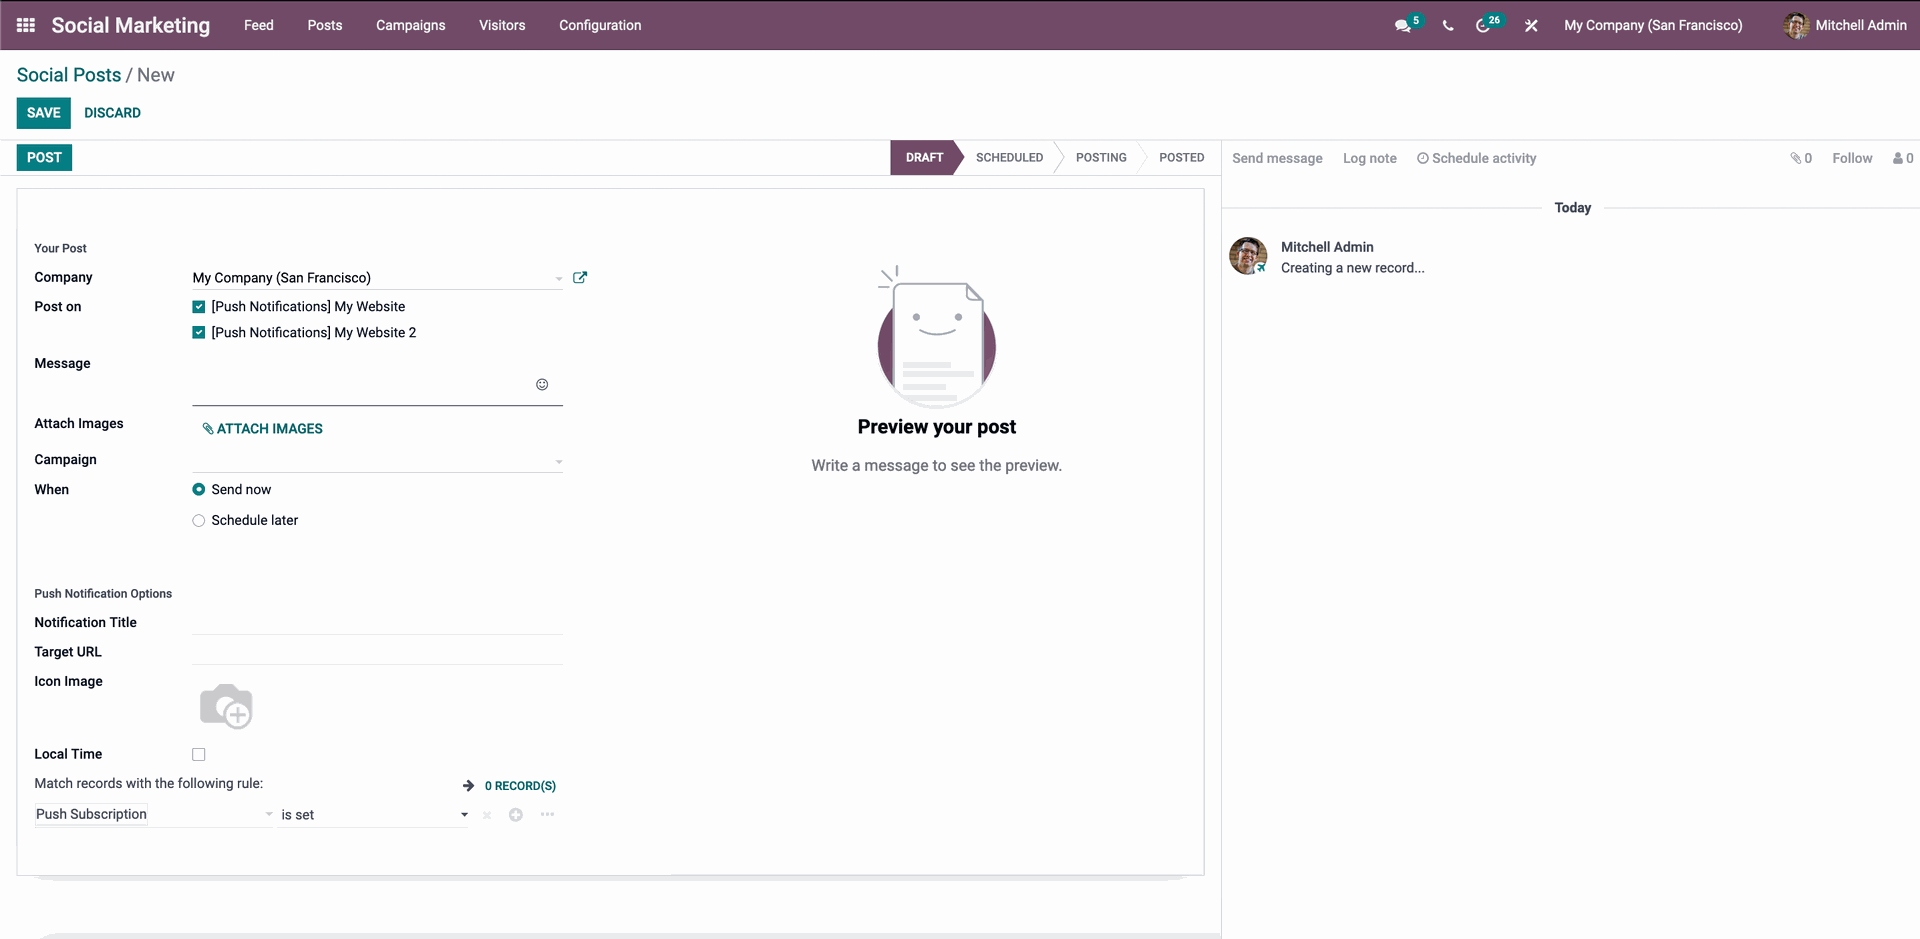
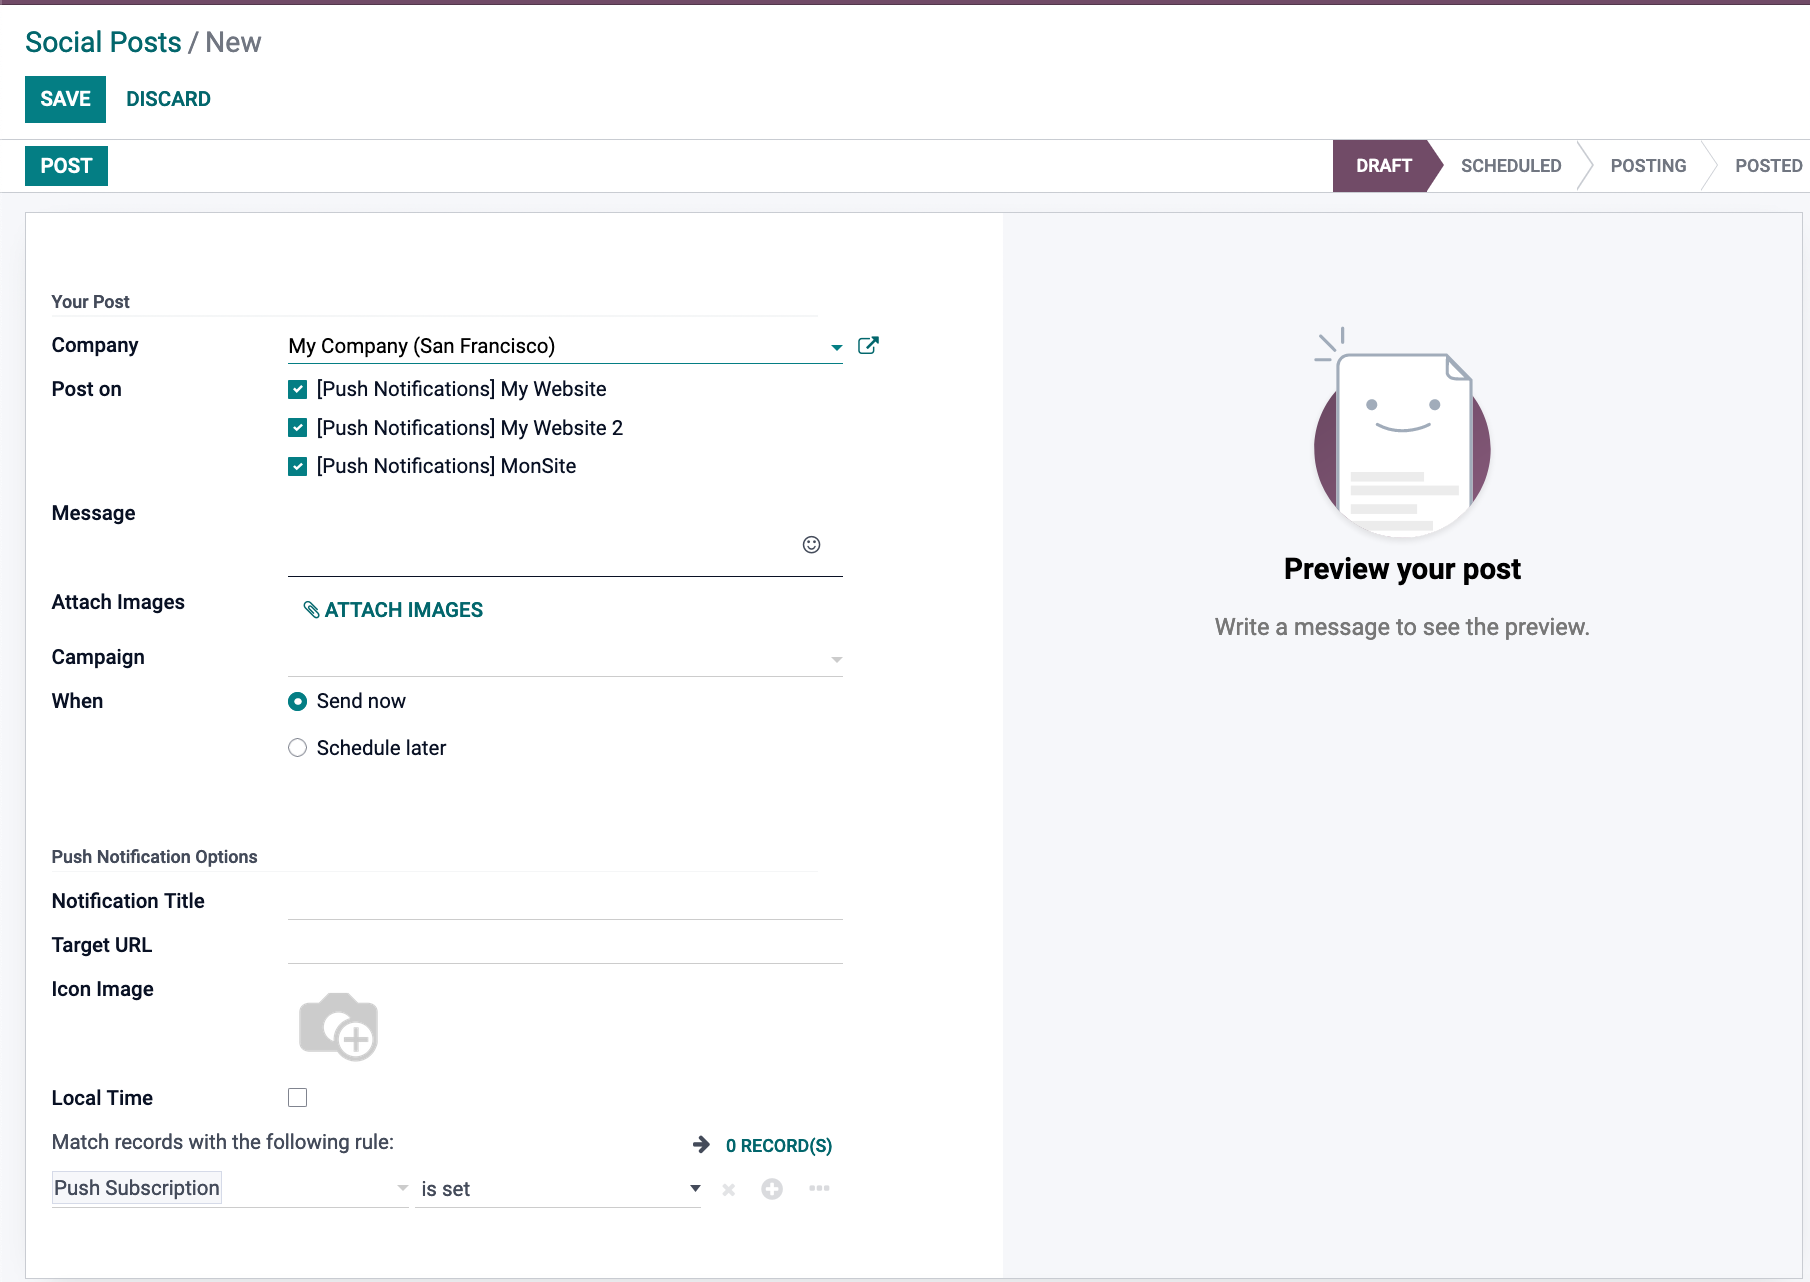
The online pushup notification feature is critical for the distribution of marketing messages. You can use this function to send notifications to your customers' smartphones. This functionality can be used to tell customers about new programs, product releases, news, articles, updates, product information, and more. To do so, you'll need the users' permission, so they can rest assured that their information is secure. You can enable this option by scrolling down to the Web push notification area in the Website setup settings, as shown below. 
 
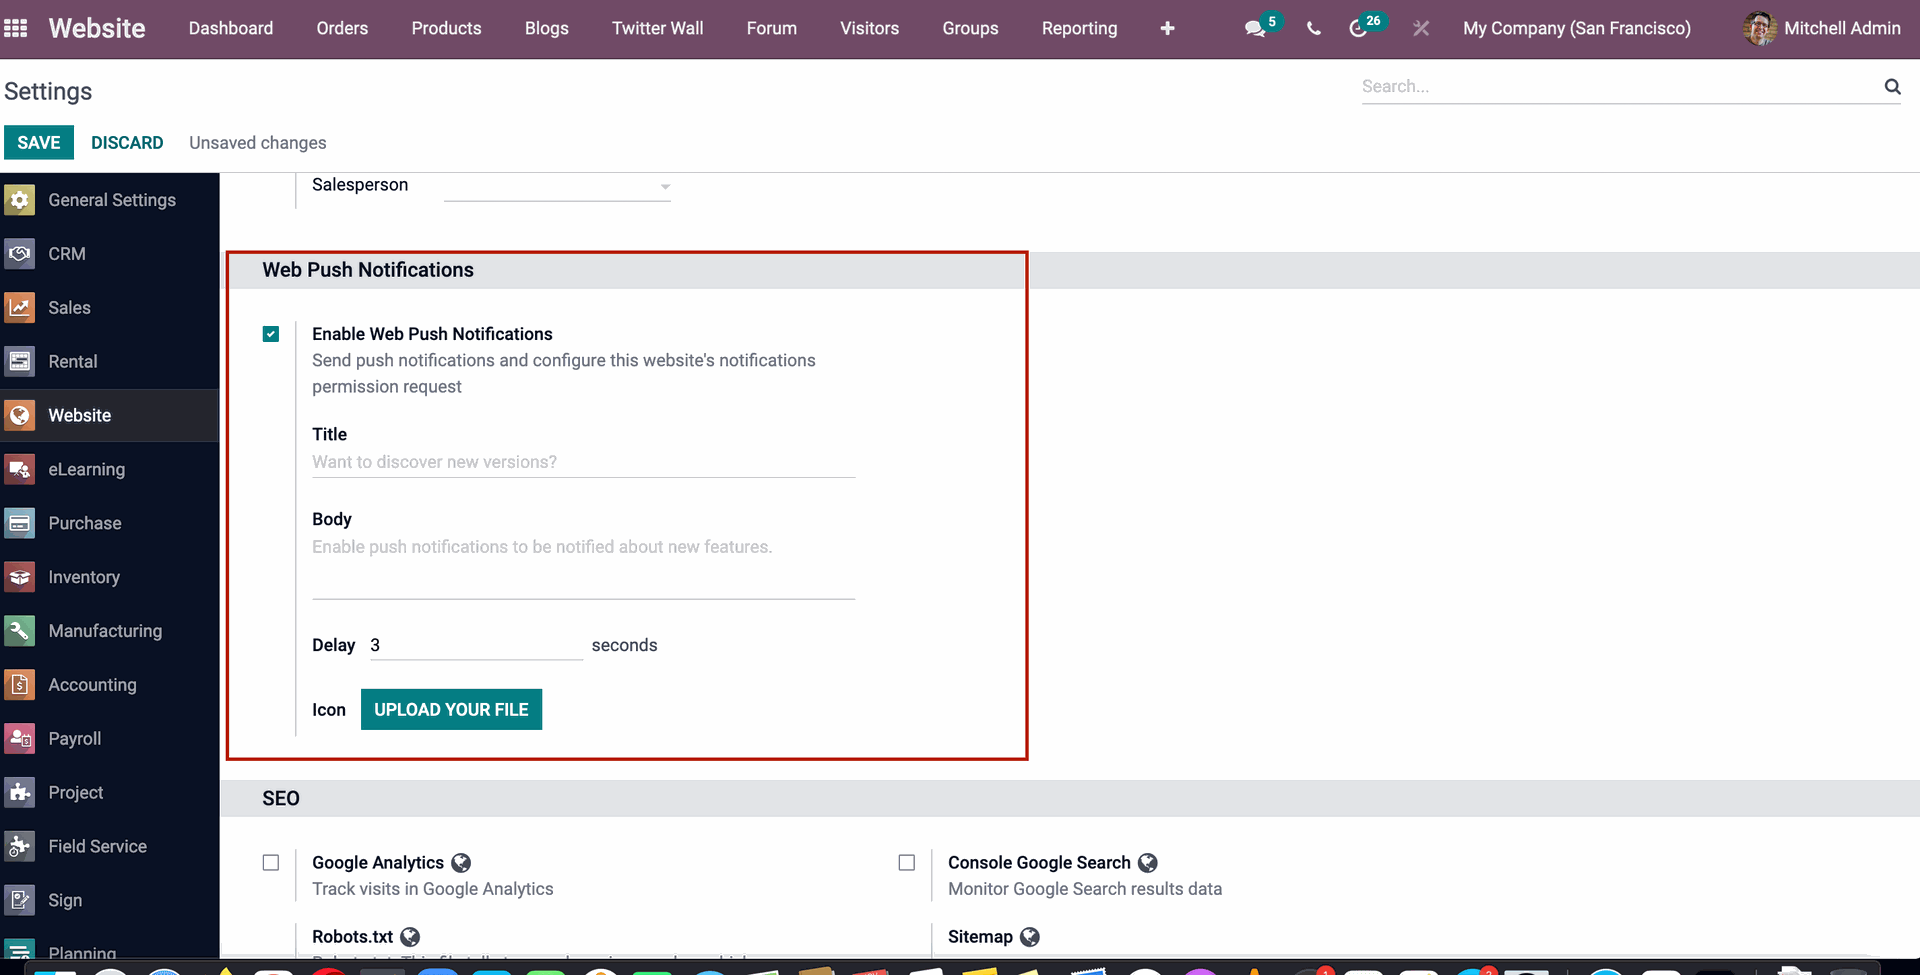
From this page, you may turn on push notifications. Add the title, body, and delay time, which is the amount of time the user will have to wait for the permission request to appear once they visit your page. By clicking the Upload your Life Button, you may select the icon and upload it. The Web pushup notification tool is accessible through the Social marketing module when it has been configured. To deliver Push-Up notifications, you can select visitors individually or as a group. See who's online by going to the Visitors tab in the Social marketing module. 
Visitors who are online will be represented by a green dot, while those who are offline will be represented by a red dot. As seen here, you can only send notifications to visitors who are online.
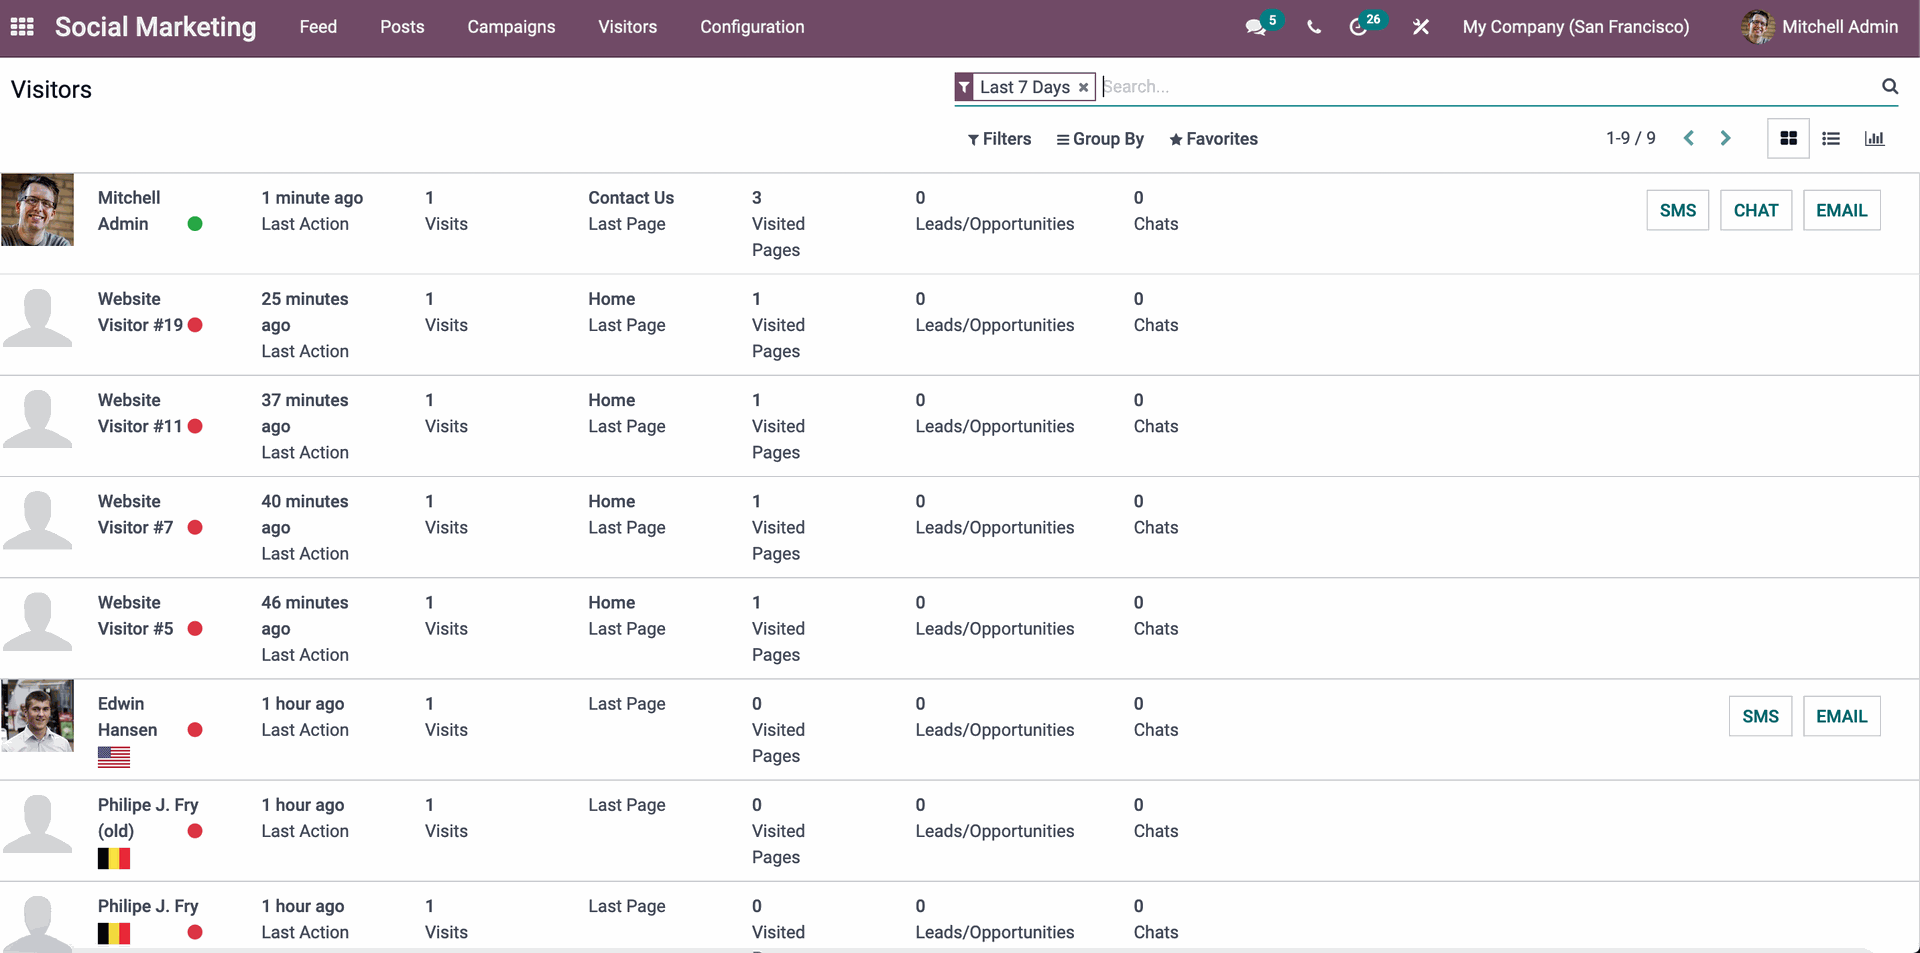
Choose the person you wish to receive a Push notice from the list. The page will appear as shown below, with the visitor's details as given below. 
The options for push notifications can be found here. To activate it, simply click on it.
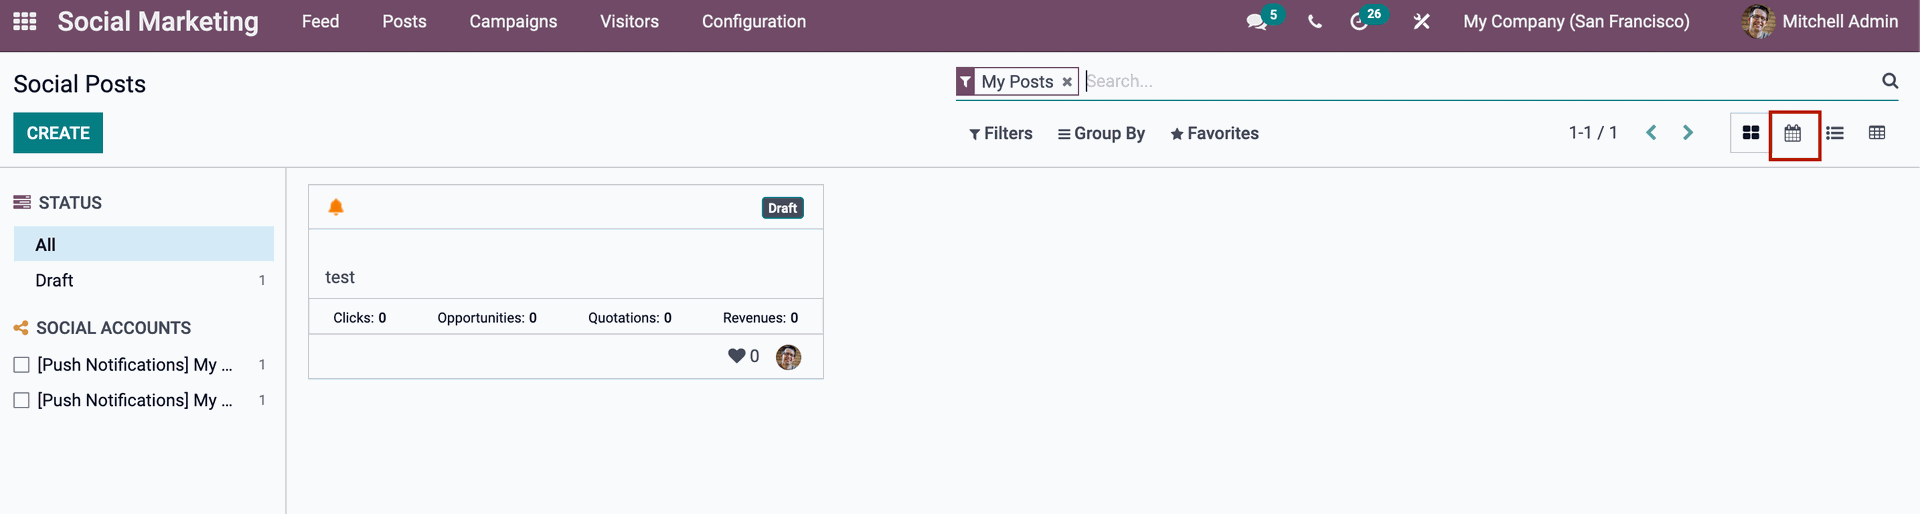
However, to create a group or send it to numerous recipients, navigate to the Create button in the Post tab of the social marketing module's dashboard, as illustrated below. To customize and create new social media posts, go to the create tab as shown below. 

The indicated part in the accompanying image shows the Push notification choices. Here you may customize the entire notification form. You can configure your push notification using either this approach or the previously specified method. You can create rules for alerts from this page, and the notification will be sent to customers or leads who meet the criteria you specified. 

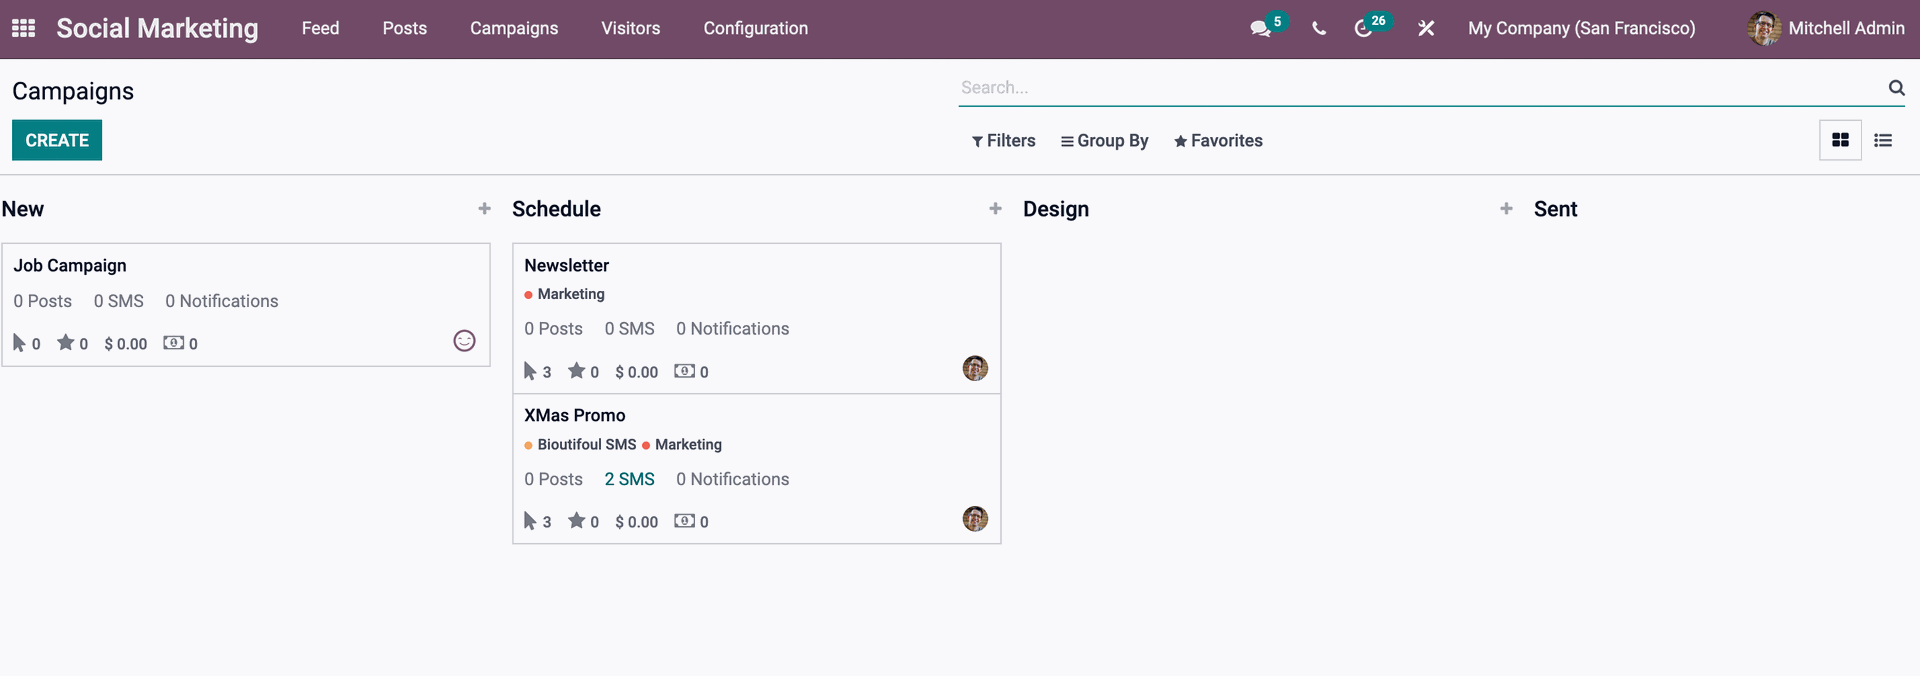
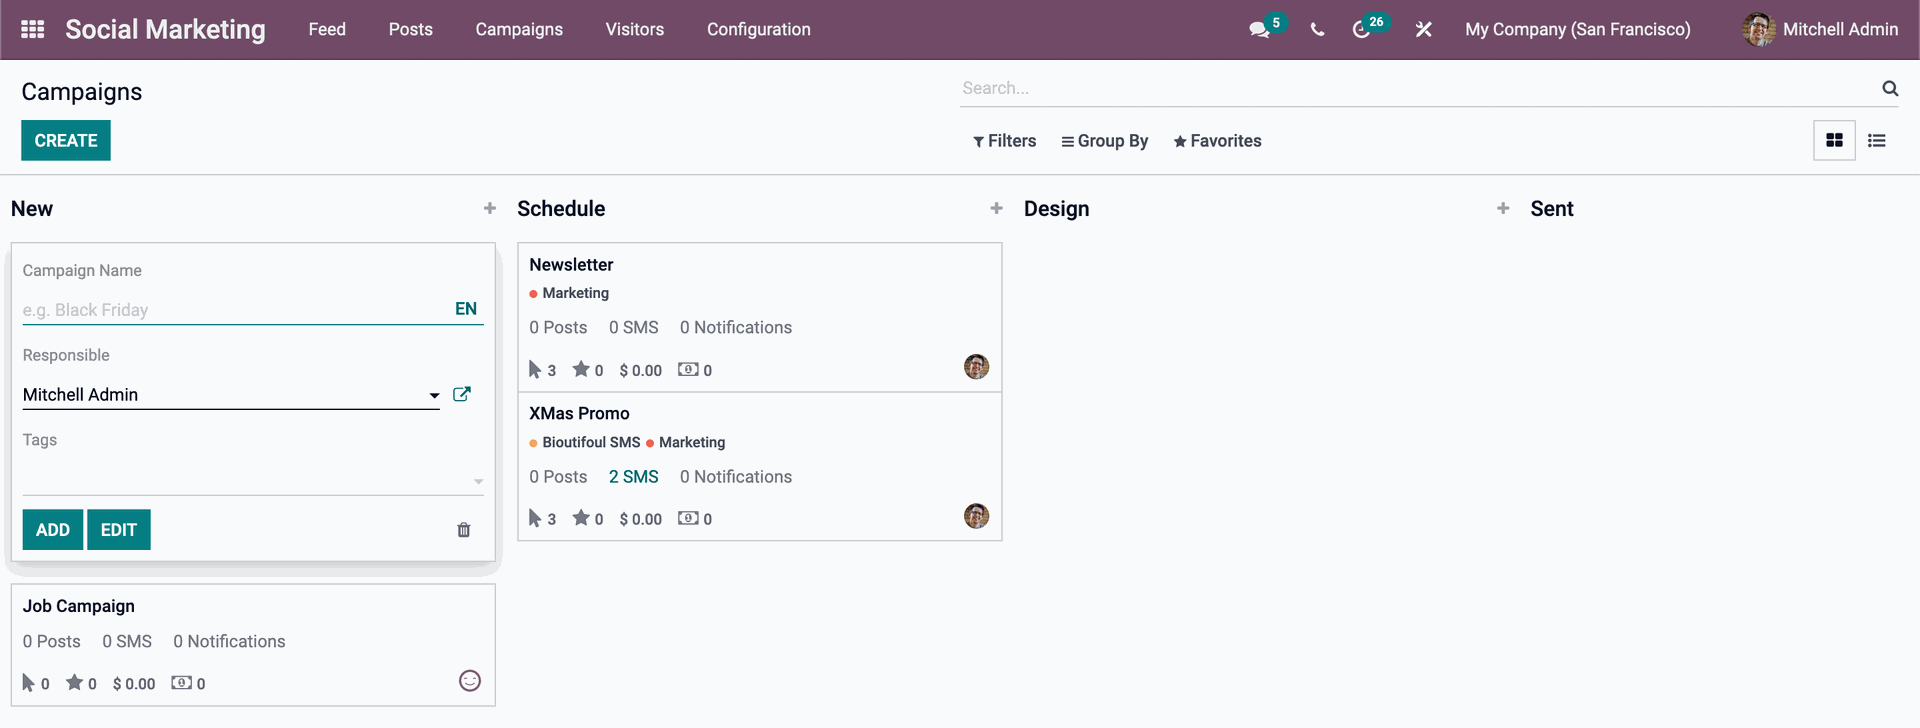
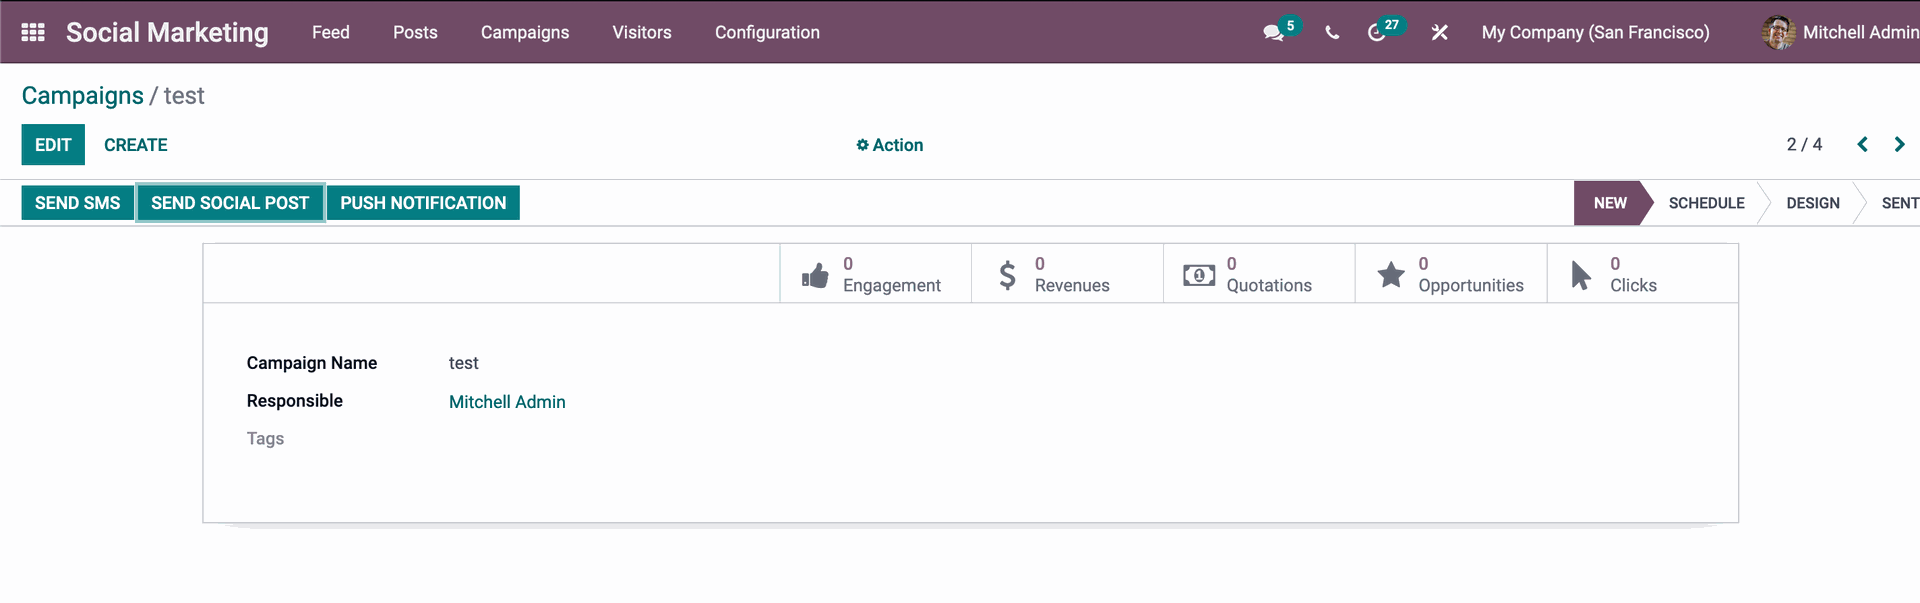
Create Campaigns with Odoo Social Marketing Module

From the Campaign tab of the Social marketing module, you can create and manage campaigns with ease. To create or manage campaigns, go to the Campaign tab and then click on Create, as illustrated below. 
 
Fill in the blanks to configure the campaign and assign a person to be in charge of it. After you've finished configuring the campaign, click the Add button to save it. As illustrated below, the newly created campaign will appear in the Campaign area.
 
Click on the newly created Campaign to access it
You have a variety of alternatives for informing your visitors or customers about the new campaign. The campaign can be distributed via social media, SMS, or push notification. Odoo will show you the setup page for the option you selected when you select the desired root to send the campaign information to. You'll also have access to every detail about the campaign. As demonstrated below, you can include details on Revenues, Quotations, Opportunities, and even the amount of clicks on the campaign you sent. 
 
Get real-time updates about your campaign to help you improve and develop your marketing approach. Odoo's social marketing module is packed with complex capabilities, including a live chat tool, to ensure that no one from your company goes unnoticed. Through social media, you may sell your products effectively and clutter-free. With Odoo's strong support for the most prominent social media networks, you can effortlessly sell your items through them. You may transmit and manage marketing information with the websites by integrating the website module. Using every function and tool available in the module can significantly boost your marketing plan. 
 
 
Odoo 15 Social Marketing Module
Ismail Harake November 23, 2021
Share this post
Our blogs
Sign in to leave a comment
Odoo 15 eCommerce Module
  /