Odoo 15 Studio
Customization is necessary in every company sector in today's advanced technological world. People buy products, personalize them to their needs, and then use them, much as they do in the automobile and electronic industries. People in this universe purchase products based on their features and whether they will be able to alter them with future upgrades. As a result, business magnets must improve their business planning and perspectives. To stand out in this competitive market, the vendor must present new business scenarios with customizable goods that aim to increase efficiency and scale up your firm, among other things. When implementing new business ideas, you must be well-versed in understanding the diverse needs of your clients and working or organizing your company accordingly. If a dedicated tool is used to manage your business operations, you will be able to work your industry according to the customization. It can be installed without the use of a coding platform.
People in the twenty-first century are contemplating and implementing more advanced solutions that may impact their life skills. Why do people choose a dish with a customizable ingredient list?
If you buy a sandwich, for example, you can select the interior fillings, which encourages people to prioritize their desires. What options are there to enable us to evaluate the facts that can apply, as in a firm, if you need to apply the functionalities and construct a business management software as per your desire? Odoo 15 Studio is an application that comes with the Odoo Enterprise and Resource Planning software.
If you are unfamiliar with programming and coding, you may use the Odoo 15 Studio app by following simple drag-and-drop instructions. It was created by Odoo developers with the intention of allowing people without programming skills to simply implement their functionalities and manage their company processes.
This blog focuses on how to easily and dexterously customize your company applications using Odoo ERP with the Odoo 15 Studio application.
Now let's take a closer look at Odoo Studio and how it may help you grow your business.
Why do you use Odoo 15 Studio in your business?
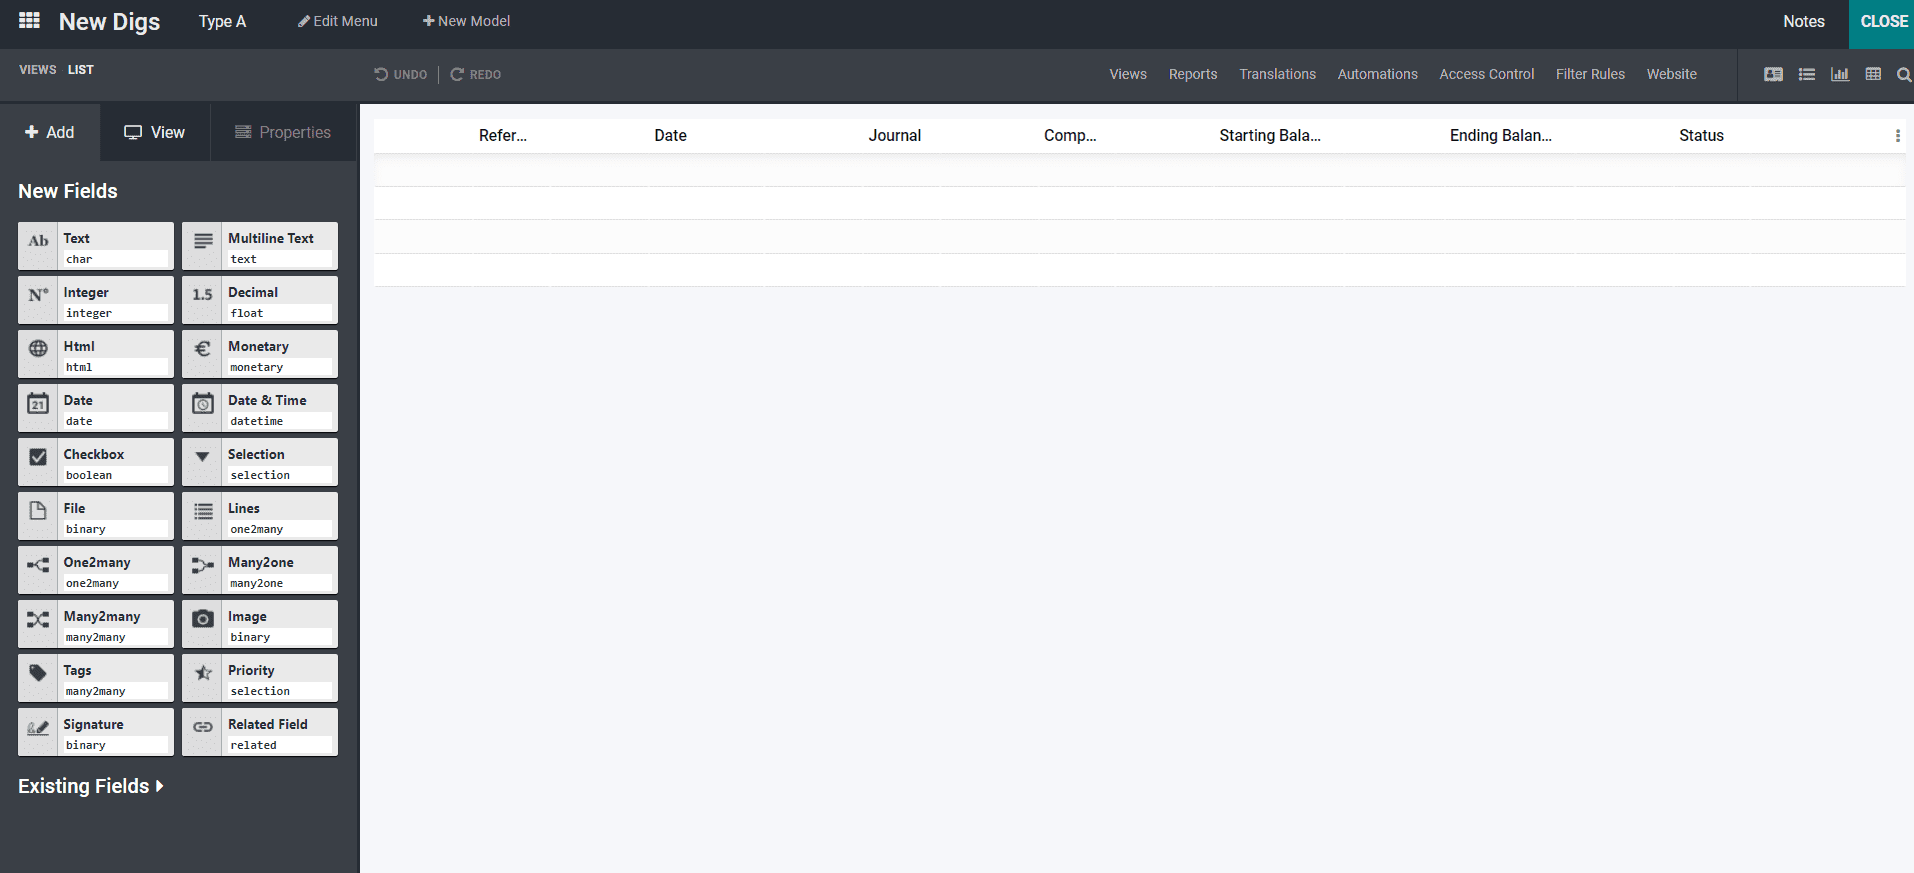
a) Created your data model without using any programming or sophisticated code.
When you use Odoo Studio in your business, you don't have to rely on developers or programmers to create your data model. You can quickly customize your data model and create your company operations to your specifications. You don't have to input the codes by hand to create your data model. You can also design your data model using a simple online interface rather than writing complex code.
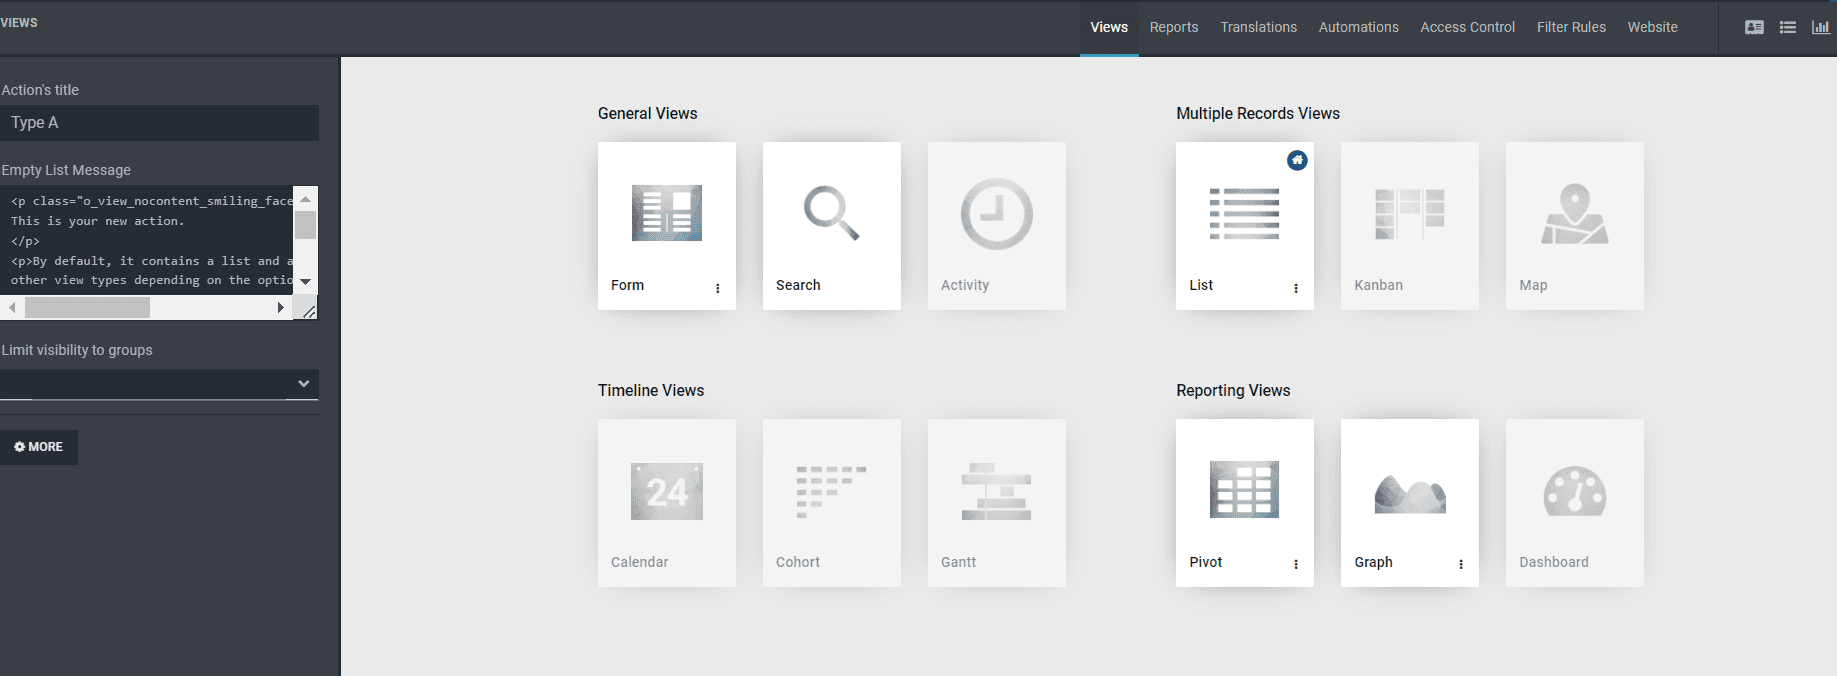
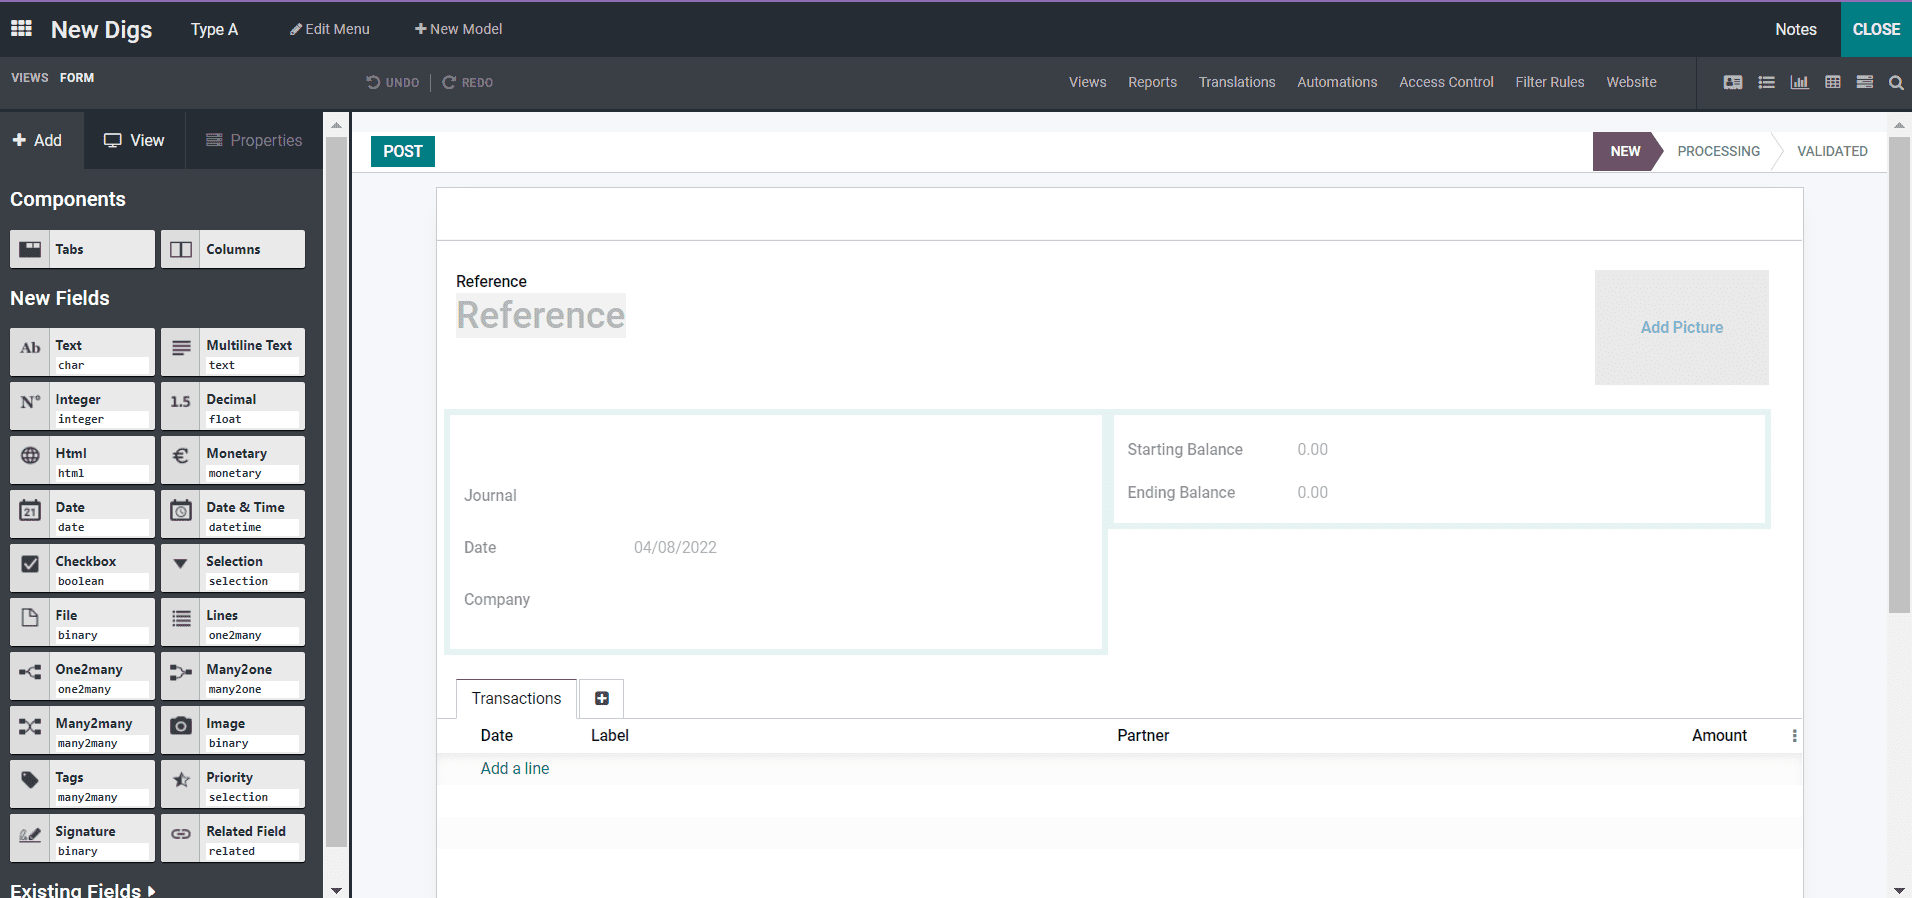
b) You can customize your homepage without using XML code by customizing the views and changing the lists, views, formats, and so on.
You can construct views, lists, and formats without writing any XML code in Odoo Studio using the web designing tool. You can develop a prototype, change your views, and modify the lists, views, and formats in Odoo Studio's editor tool to meet your needs.
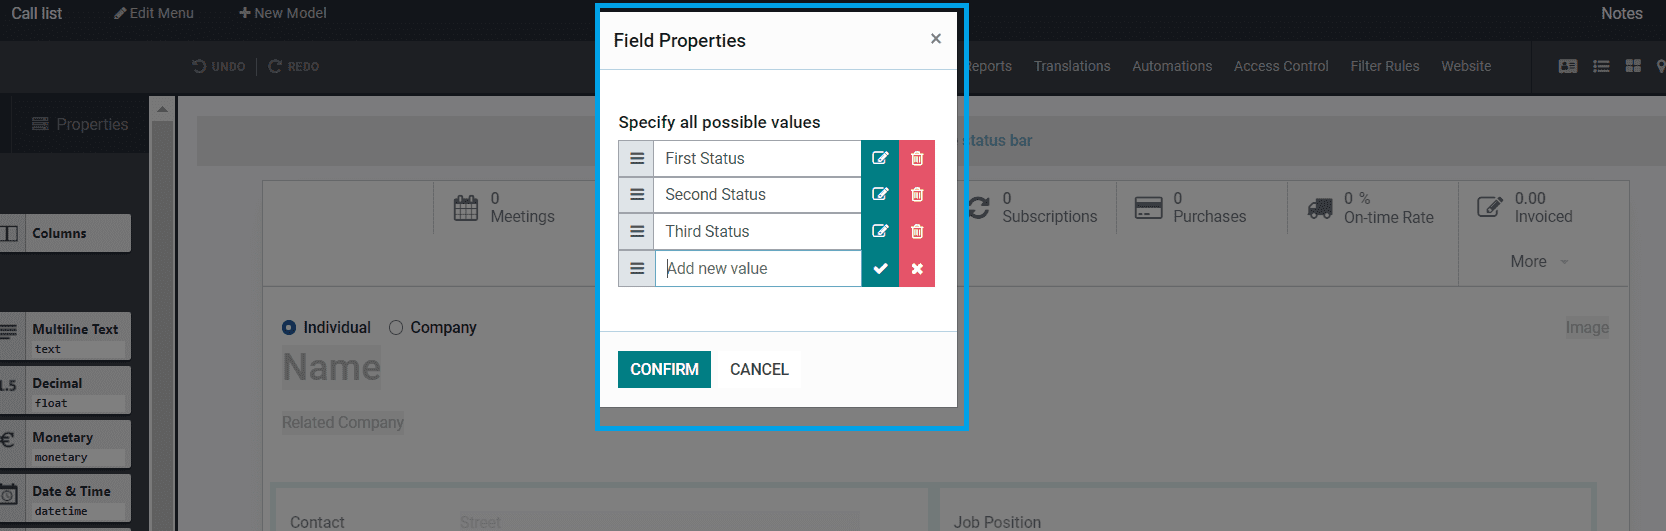
c) Customize the views using the built-in XML editor option.
You can use an integrated XML editor in Odoo Studio to customize views according to your needs. The XML editor's built-in capability allows you to create a database in Odoo while designing your customized application. This built-in feature allows you to create and view the XML as you see appropriate.
d) Takes care of the automated procedure.
The Odoo Studio manages the automated actions for you with the help of Python.
f) Encourages you to export your bespoke applications.
You can export your custom applications as a zip file and import it into the already installed Odoo. It makes it easier to install Odoo from a network.
Now let's look at how you may use Odoo 15 Studio to personalize your business applications.
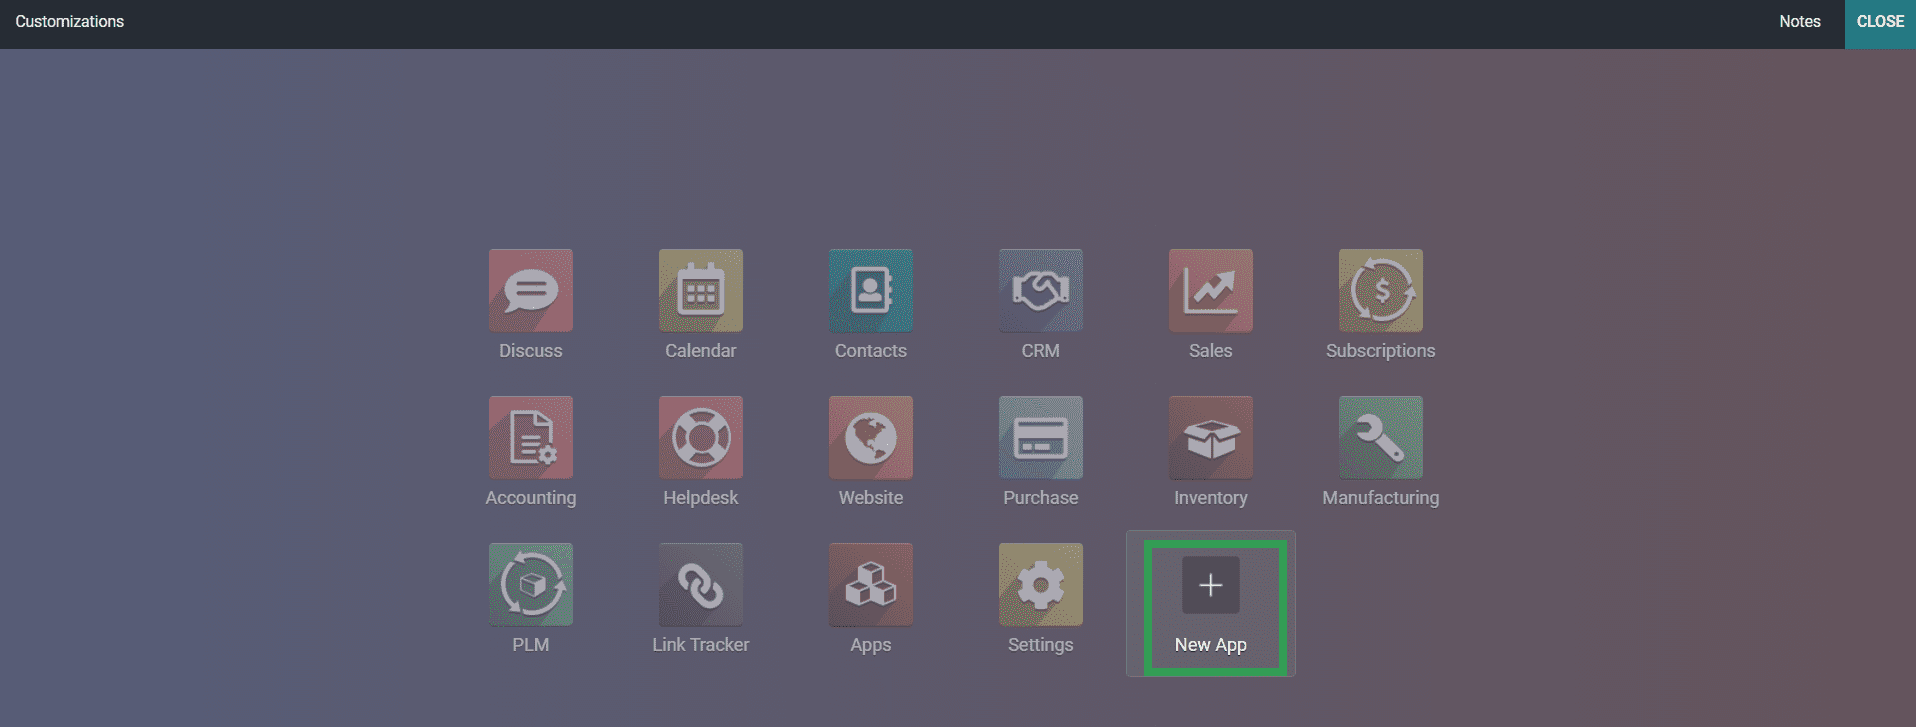
Odoo Studio must be downloaded from the Odoo Apps Store.


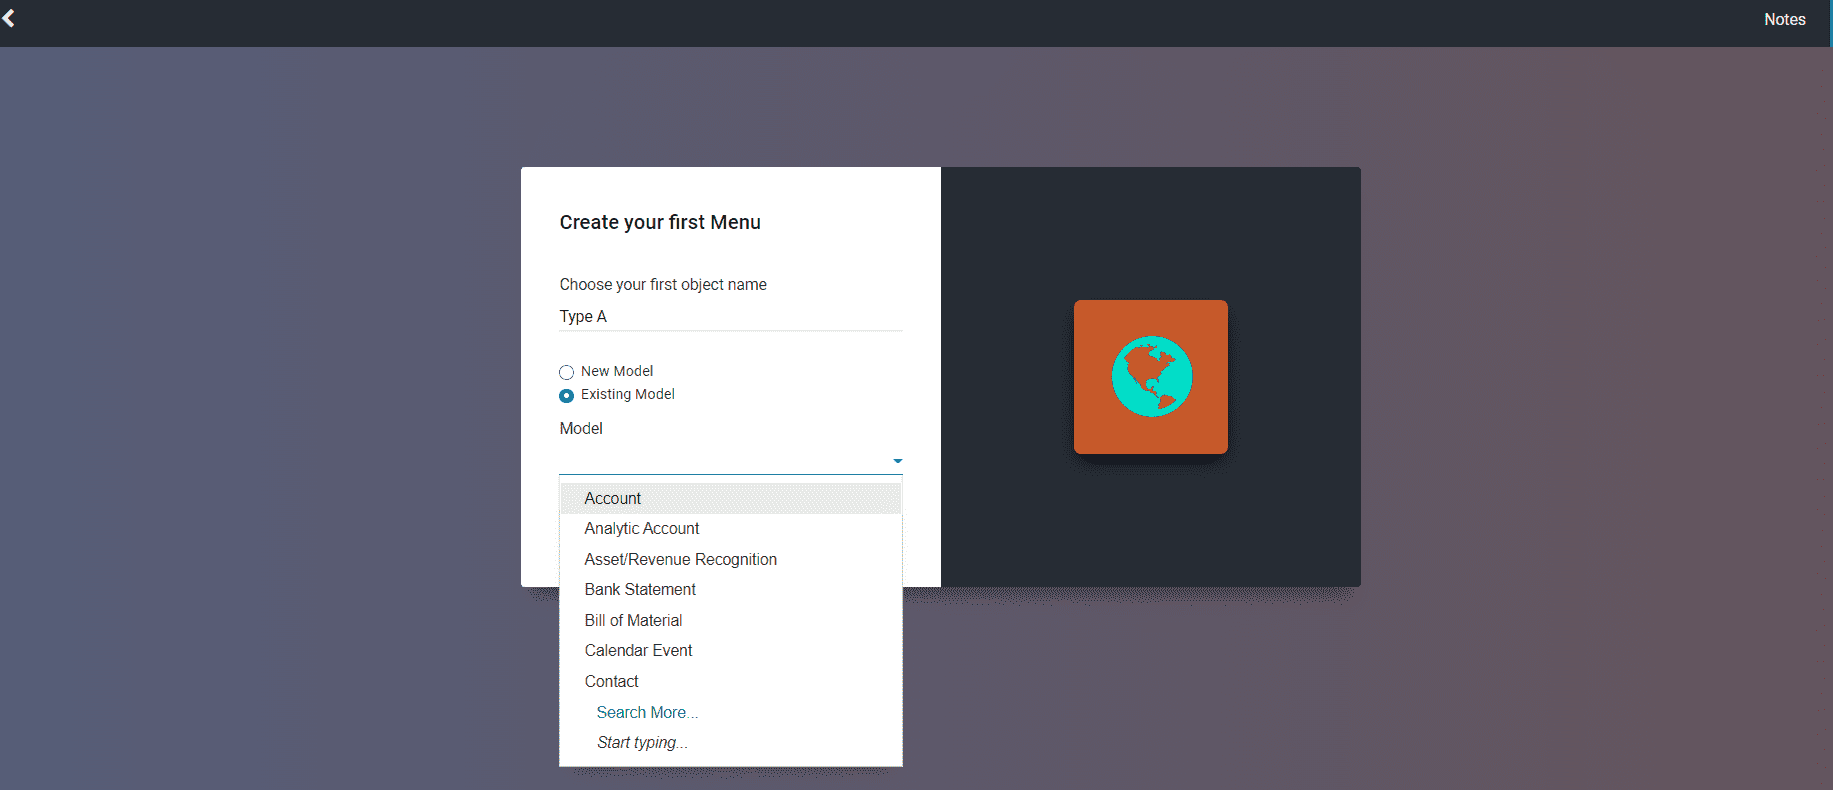

Similarly, you can choose Existing Model by adding an object name and creating the icon according to your needs, and selecting it brings up a drop-down choice. As a business need, you must select one of the options from the drop-down selection. Later, by clicking on the arrow that represents the next mark, you will be taken immediately to the supplied window, as shown in the screenshot below.
Before we go into the details of the Existing Model, let's have a look at how to add each section to the New Model.
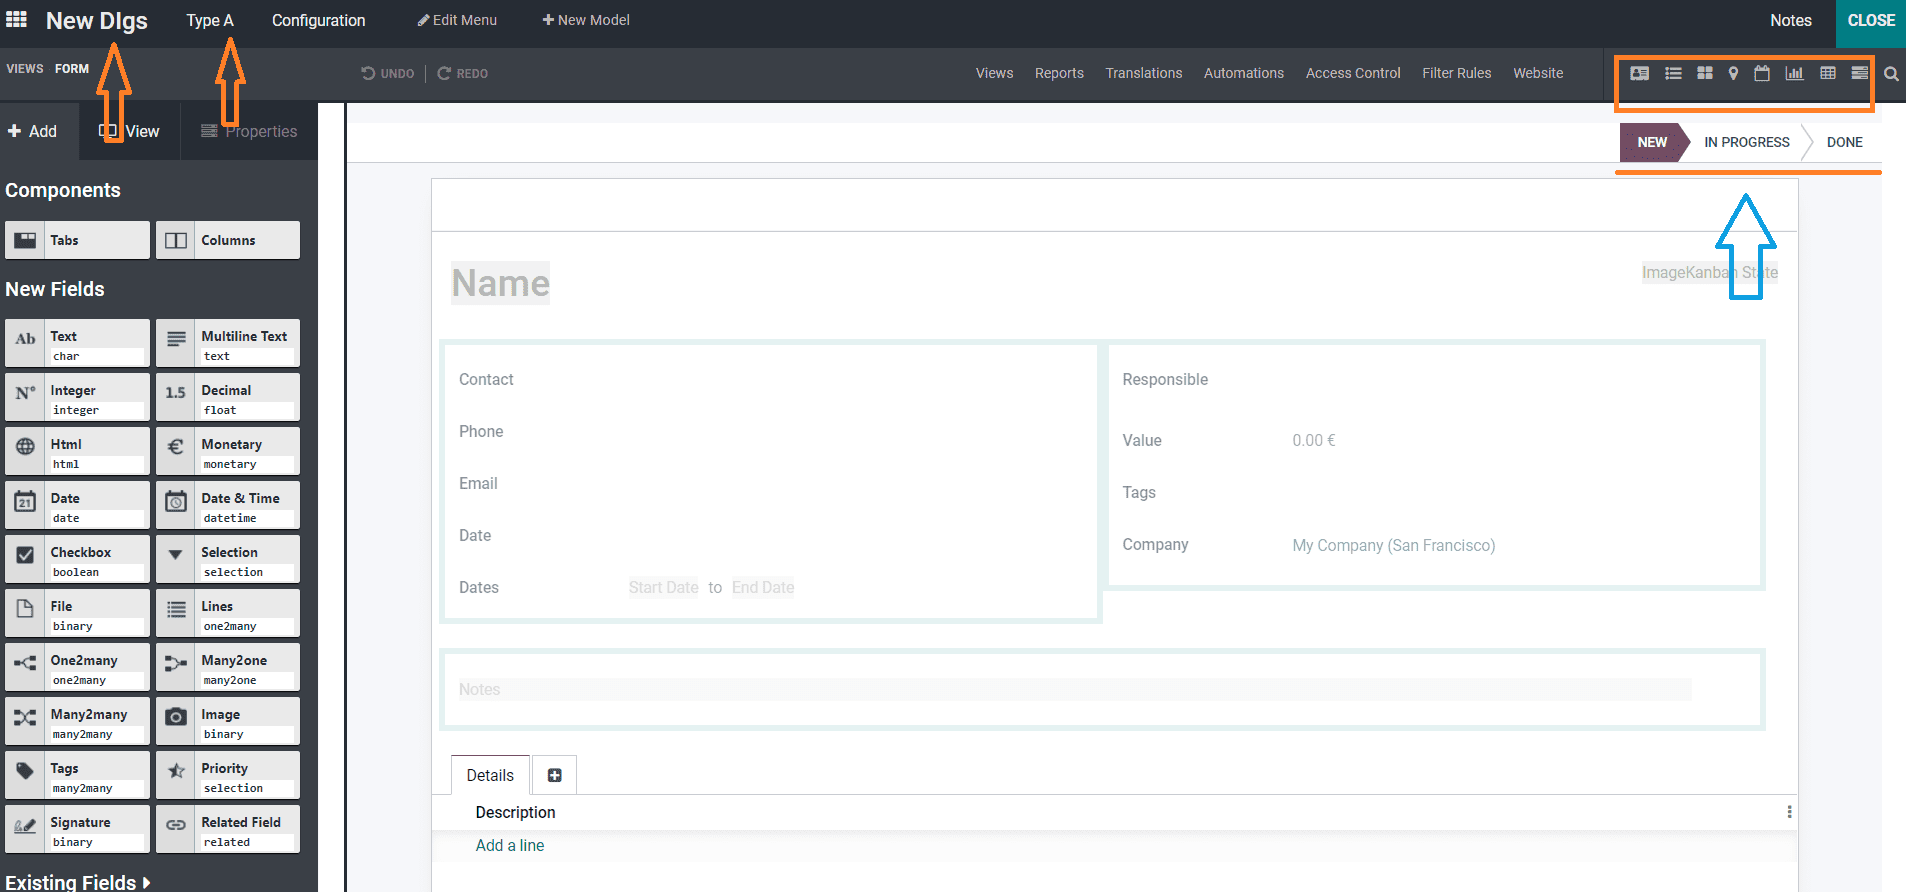
Now, you may apply it in relation to the above screenshot by observing the right-hand side of the piece if you need to adjust the aspects with any configurable features.
The following are the customizable properties for each:
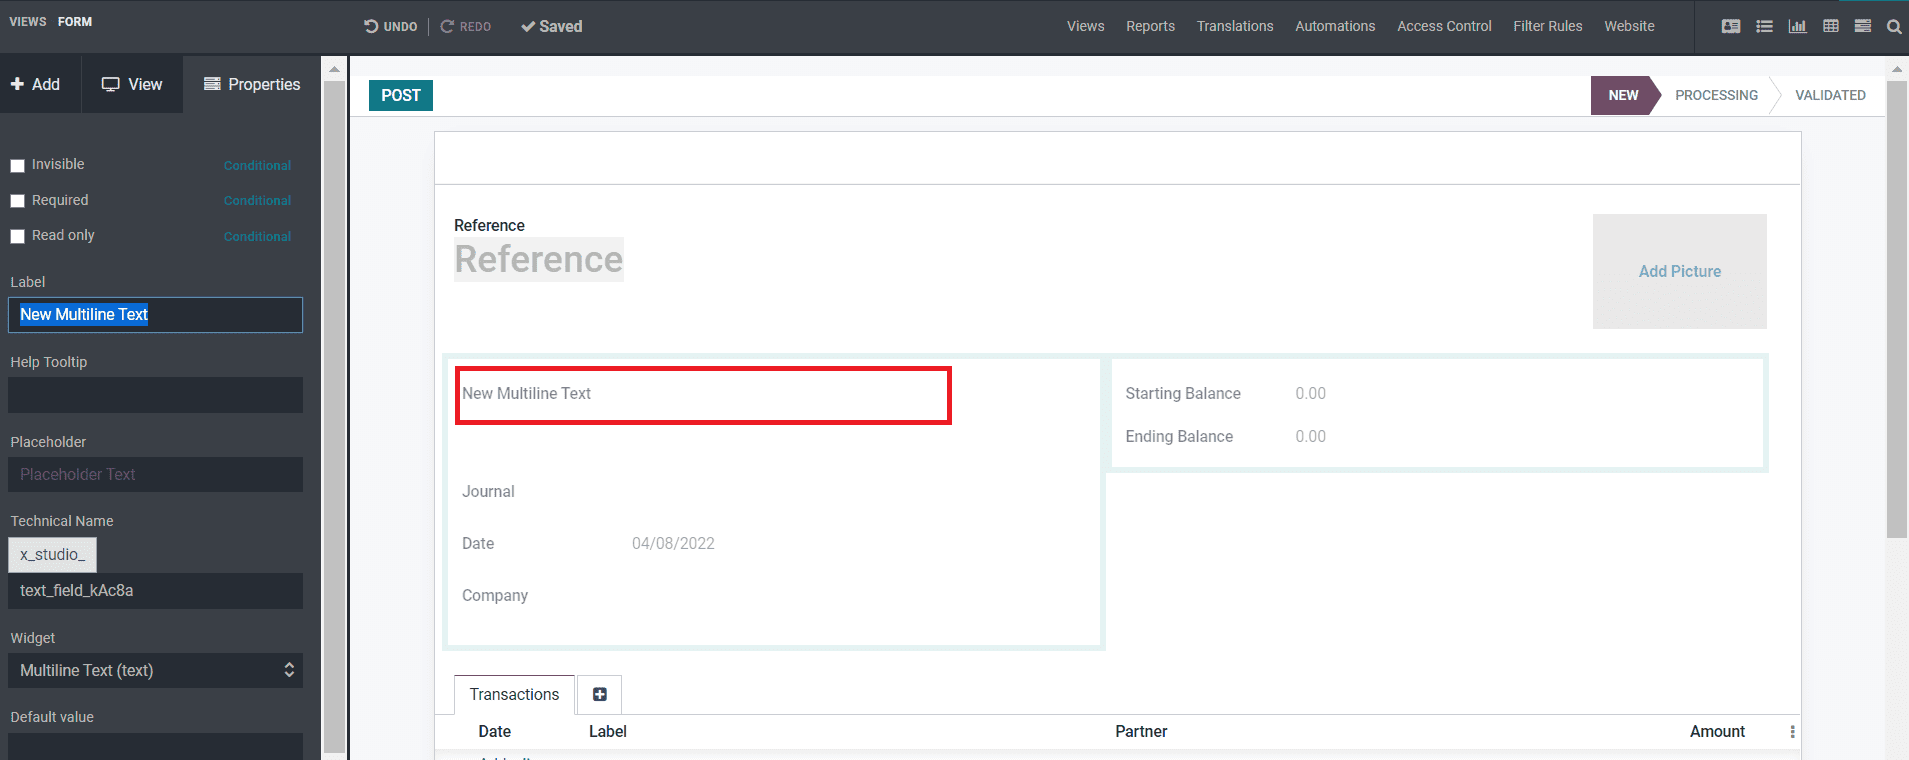
Required: This field must be enabled in order to allow entries in your application menu.
Read Only: By enabling this feature in any field, the user is expected to read the content without changing it.
Label: If this option is selected, a label with a description is displayed in this section.
Help Tooltip: By adding this field to any area, you can activate a feature that allows you to provide any useful tip to the appropriate part of the application.
Widget: It improves the user experience by allowing them to describe themselves in the widget if they enter the application.
Default Value: It indicates where the application is illustrated in an application menu.
Limit Visibility To Groups: As the name implies, this setting restricts visibility to specific people or groups.
Conclusion: Odoo 15 Studio
We hope you now have a better knowledge of how the business application is set up to meet your needs. And you've come up with a brilliant concept for modifying your business application to fit your specific operations and tasks. We'll be able to approach you with a new blog in Odoo 15 Studio, with additional customisation possibilities and functionality.
ERP Cloud LLC, an Odoo Certified Partner, offers a variety of Odoo ERP services, including Odoo Implementation, Odoo Customization, and Odoo Integration, based on individual business requirements.
If you're interested in learning more about Odoo and implementing it in your business, please contact us at sales@erpxcloud.com. Our specialized team of Odoo professionals is ready to create and implement the best solutions for your businesses to achieve maximum outcomes in terms of leads, sales, and money.
Odoo 15 Studio