
Odoo Marketing Automation
Odoo uses marketing automation to build targeted marketing programs that are automated. Marketing automation in Odoo 14 aids in the automation of workflow. It will also aid in the expansion of the company.
End-to-end customer journeys are also supported by the feature. Marketing automation can assist you in creating email templates and designing compelling email campaigns. It, in a nutshell, automates several facets of marketing. To streamline the workflow, a user might experiment with different sorts of actions in marketing automation modules.
Install the Odoo Marketing Automation Module.
Now go to the dashboard by clicking the app.

From the dashboard, you can build campaigns. The dashboard also provides access to a list of previously produced campaigns. You may also check the status of the campaigns from this page.
From the dashboard, you can see the name of the campaign, the total number of campaigns, active campaigns, completed campaigns, and the number of campaign participants.
By clicking the CREATE button, you can start a new campaign in Odoo Marketing Automation
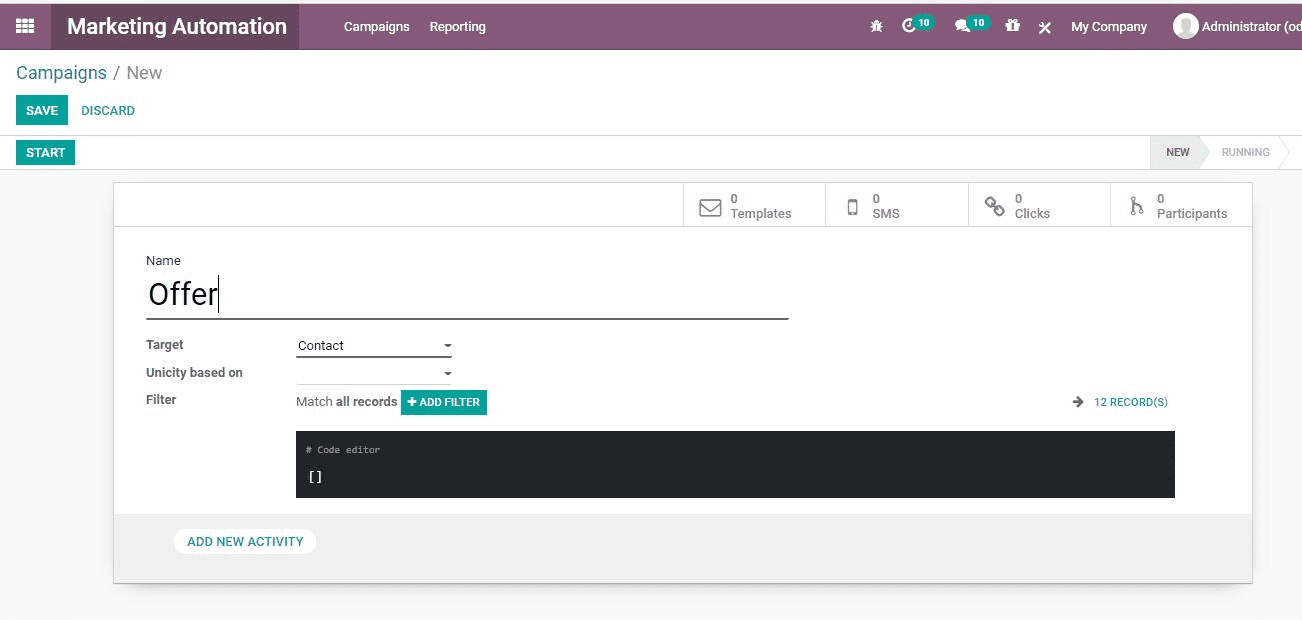
Name: It refers to the campaign's name.
Set the target model, such as Contact, as an example.
Add a new activity: You can create several activities to include in the campaign by selecting this option.

There are several fields under this heading:
Name: It refers to the activity's name.
Type of activity: It chose whether to send an email or send a text message as an activity.
Mail Template: The activity's mail template.
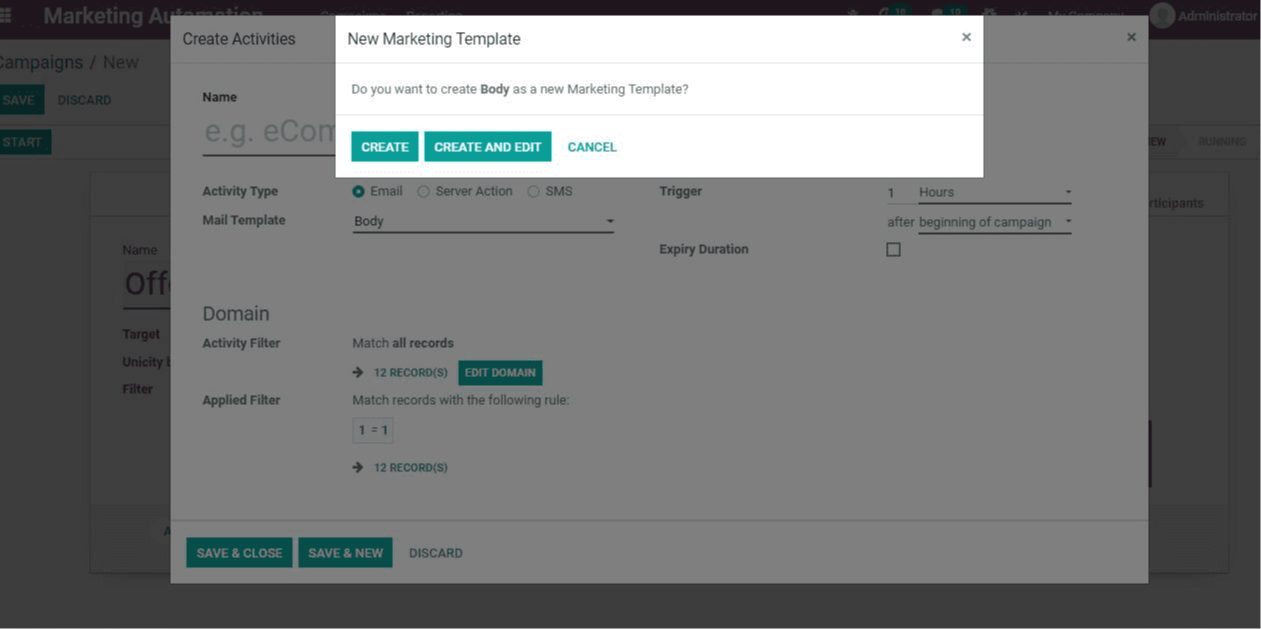
Create a mail template
To configure email templates for activities, go to the email template selection field and click the link button.
You'll be presented with a window with the opportunity to build a new template.
When you click Create, you'll be taken to the window below, where you can choose a template.
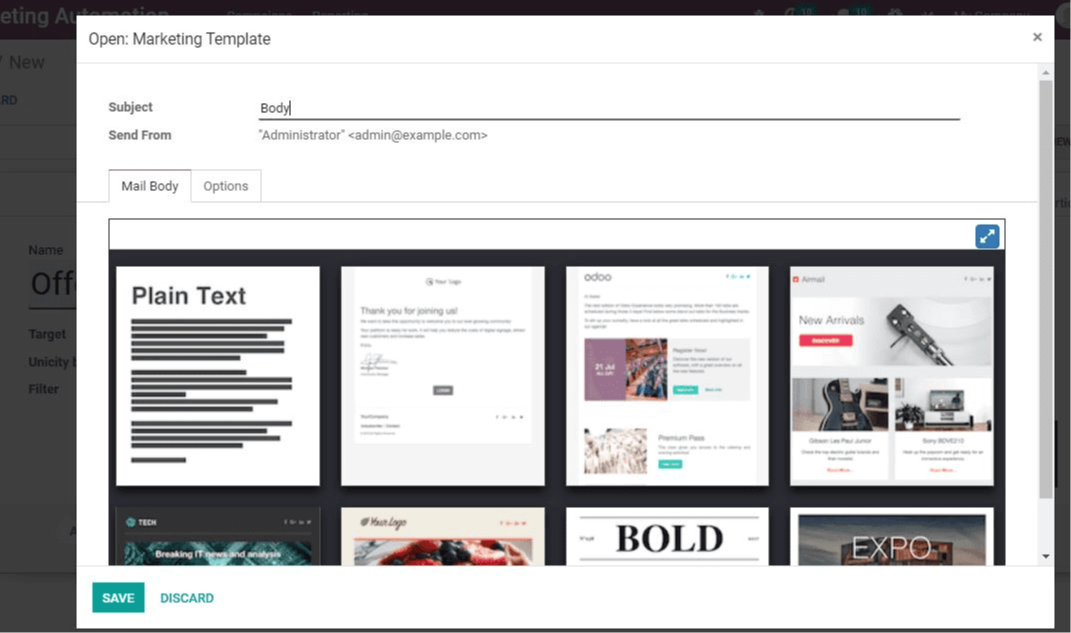
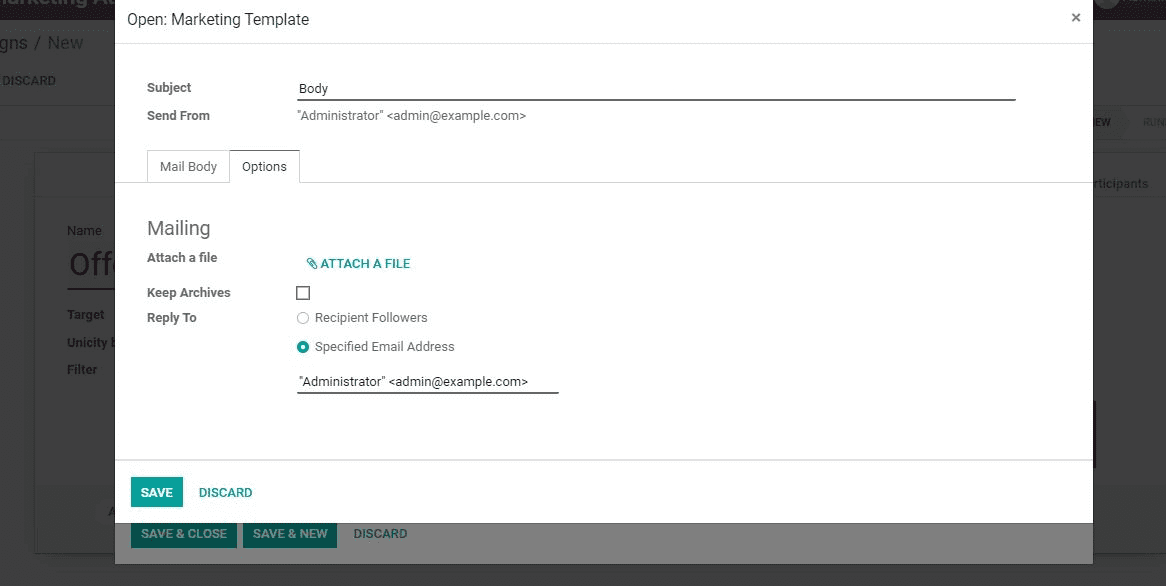
Attach files, reply, and other mailing options are available here.
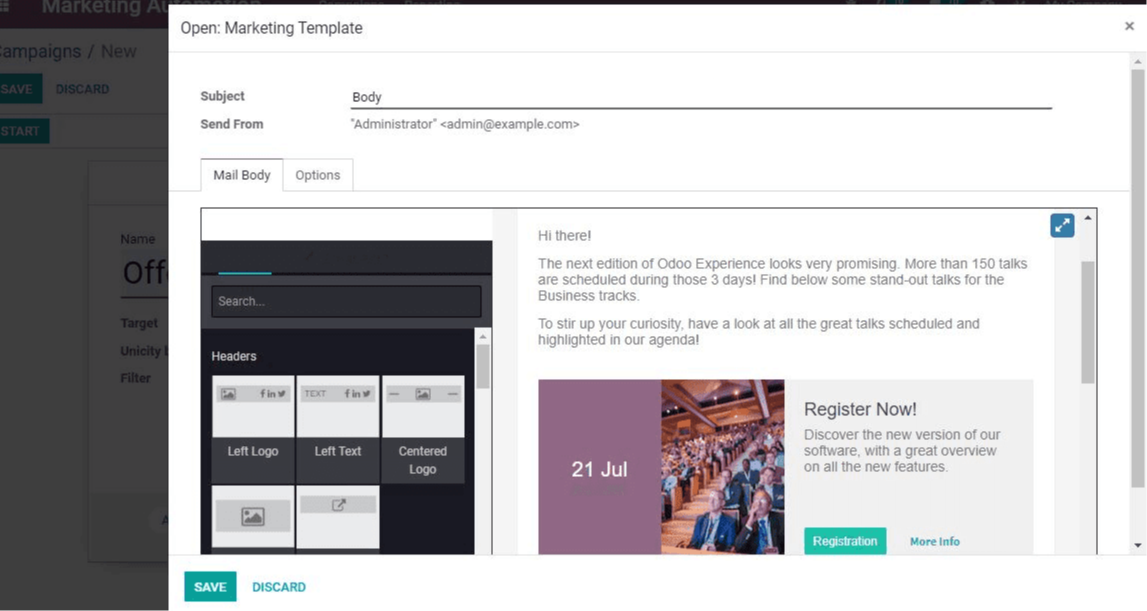
To create and schedule the activity, save and close the window after you've finished the process. After that, you have the option of clicking Save and Close or Save and New. Then you may go back to Campaigns and fill out a few more fields.
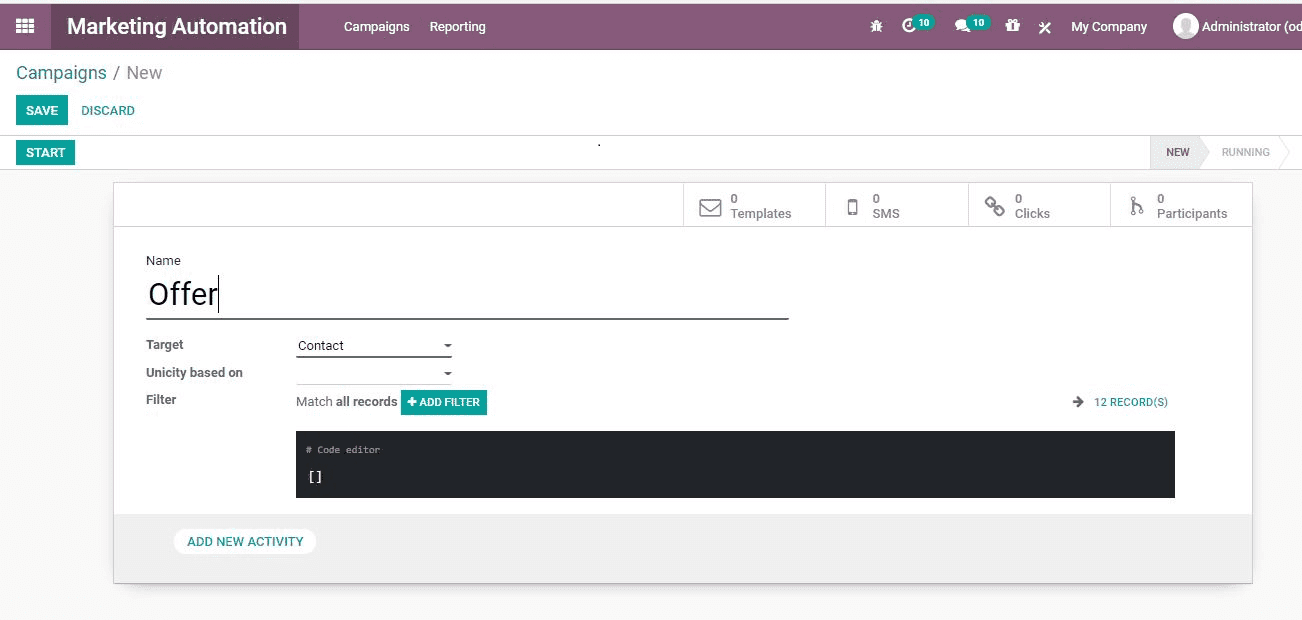
Filter: Filter allows you to filter records that match a specified rule. Time intervals such as an hour, a week, or a month are used as triggers.
Expiry date and time: The campaign's end date and time.
Another field where you can obtain information is the domain. The activity filter aids in the selection of the record.
The rule that is utilized to match the filtered document is known as the applied filter.
After you've entered all of the information, click Save.
Click the Start Button to begin the campaign.
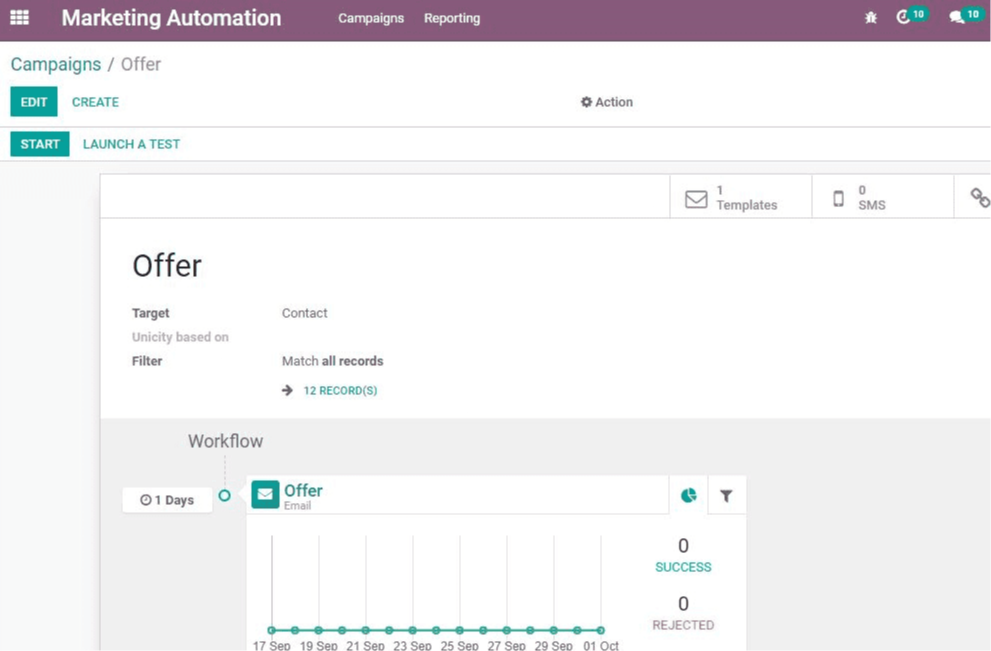
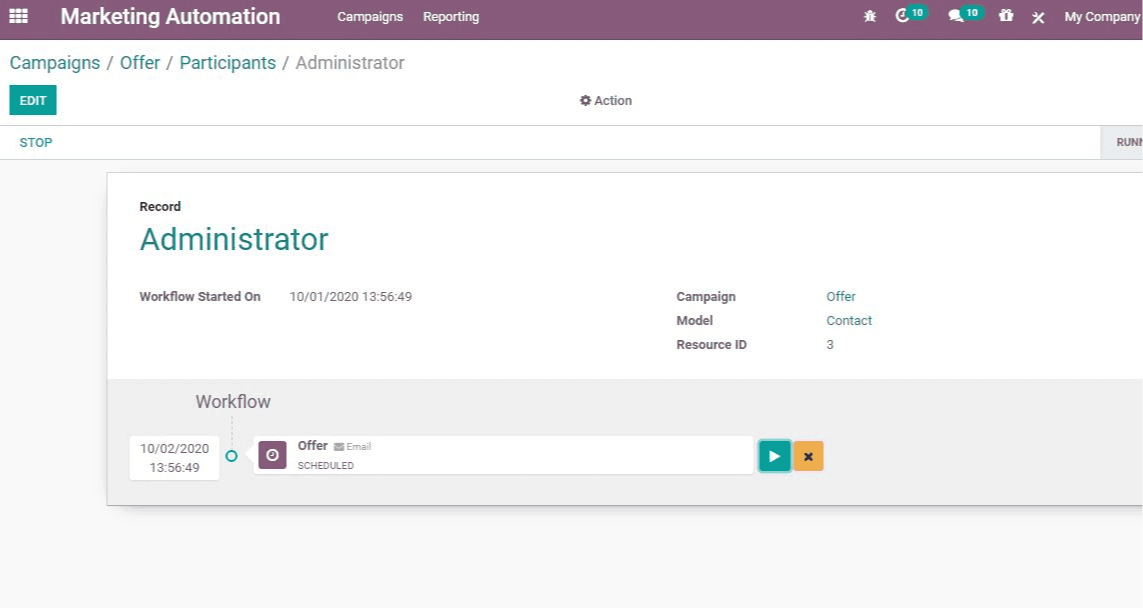
To end the campaign, click the Stop button. By selecting Participants, you will be sent to a list of participants.
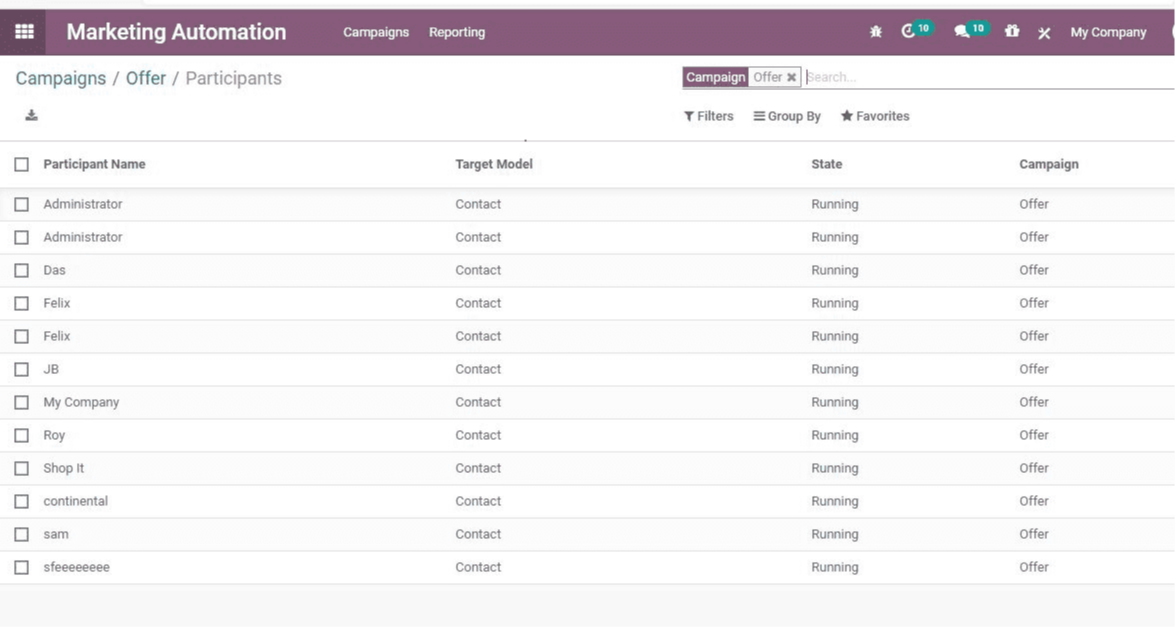
You can find the activities scheduled for any of the participants by clicking on their names.
Creating Reports
Odoo Marketing Automation allows users to generate reports on the performance of their campaigns. Line Tracker, Traces, and Participants reports can all be generated independently.
The line tracker will assist in the generation of a report based on the number and count of clicks. The Traces option allows you to create a report based on the Document ID and count, whereas the Participant report is based on the record ID and count.
Odoo Marketing Automation